Miele 51632105USA Operating instructions

Category
Washing machines
Type
Operating instructions

This manual is also suitable for

Operating and Installation Instructions
Washer
PW 6241
PW 6321
To prevent accidents
and appliance damage
read these instructions
before
installing or use.
M.-Nr. 06 572 435
en - US, CA
2
IMPORTANT SAFETY INSTRUCTIONS
Guide to the washer
Operating panel .............................................................................8
Use
1. Turn on the washer ........................................................................10
2. Sort and load the laundry ...................................................................10
Maximum dry laundry weights .................................................................11
3. Add detergent............................................................................11
4. Select a program .........................................................................14
5. Select wash options (if needed) ..............................................................14
6. Adjust the program (if needed) ..............................................................15
7. Select Delay Start (if needed)................................................................16
8. Start the program .........................................................................16
9. End of program...........................................................................17
Skipping program cycles .....................................................................18
Program stop ..............................................................................18
Program end with water in the drum.............................................................18
Canceling a program ........................................................................19
Program sequence ..........................................................................20
K Information ...............................................................................20
Language selection .........................................................................21
Chip card use
Card operation .............................................................................22
Optional modules
Liquid dispensing system.....................................................................23
Peak load cutoff ............................................................................25
Communication module ......................................................................25
Load module...............................................................................25
Cleaning and Care
After each use..............................................................................26
Cleaning the exterior.........................................................................26
Frequently asked questions
Power failure - Emergency door release .........................................................30
Fault messages.............................................................................31
After sales service
Guide to the data plate symbols
Help to protect the environment
Installation Instructions
Installation site .............................................................................37
Removing the shipping struts ..................................................................37
Plumbing..................................................................................38
Connecting the water intake / water drain hoses ...................................................38
Electrical connection ........................................................................39
Quick Guide
Contents
3
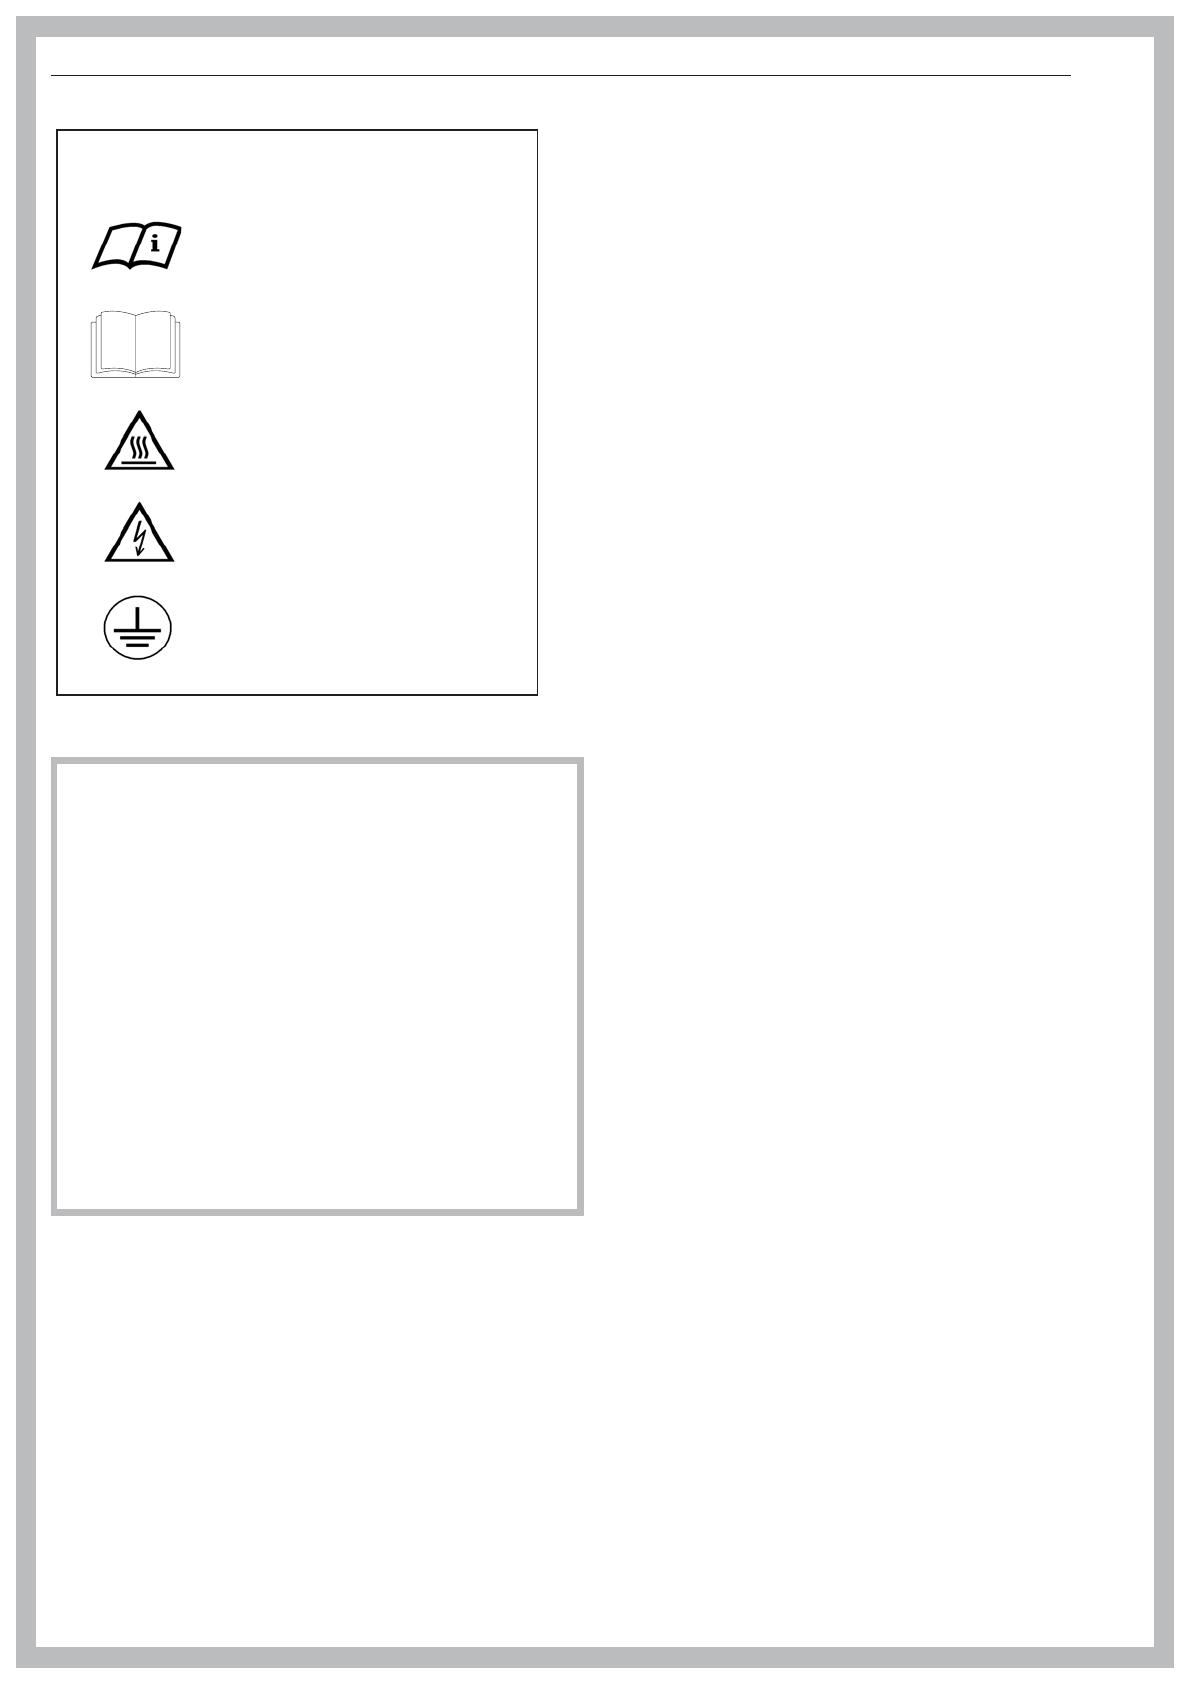
Explanation of safety instructions and
warnings on the washer
Read the operating instructions.
Read all the instructions, e.g. the
installation instructions.
Caution, hot surfaces.
Caution, voltage up to 1000 V
Grounding
,
READ AND SAVE THESE INSTRUCTIONS
Keep these operating instructions in a safe place
and pass them on to any future user.
Read all instructions before installation or use of the
washer to prevent injury and machine damage.
Installation, repair and maintenance work should be
performed by a Miele authorized service technician.
Work by unqualified persons could be dangerous.
This appliance complies with current safety require
-
ments. Improper use of the appliance can lead to
personal injury and material damage.
All personnel working with this machine must be ful
-
ly trained in all aspects of its use and safety.
Correct usage of the washer
~
Only use the washing machine to wash items which are
specified by the manufacturer to be machine washable on
the fabric care label. Any other applications may be dange
-
rous.
~
Persons who lack physical, sensory or mental abilities,
or experience with the appliance should not use it without
supervision or instruction by a responsible person.
~
This washer-extractor is only intended for laundry which
has not come in contact with flammable substances.
~
Dry cleaning solvents must not be used in this machine.
Such solvents could cause a fire or explosion.
~
Do not wash articles that have been previously cleaned,
washed, soaked or spotted with gasoline, dry-cleaning sol
-
vents, organic oils or other flammable substances. These
articles give off vapors that could ignite or explode. Do not
add these items to the wash load.
~
CAUTION: Fire hazard!
Do not store or use gasoline, gasoline-based substances
or any easily flammable materials near the machine. Do not
use the top of the washer as a storage area.
~
Do not store any chemicals (liquid detergents, wash
aids) on the top of the washer. The chemicals could dama-
ge the surface. Spilled chemicals must be immediately
washed off with a wet sponge.
~
Under certain conditions, hydrogen gas may be produ-
ced in a hot water system that has not been used for 2
weeks or more. HYDROGEN GAS IS EXPLOSIVE. If the hot
water system has not been used for such a period, turn on
all hot water faucets and let the water flow from each for se-
veral minutes before using the washing machine. This will
release any built-up hydrogen gas. Do not smoke or use an
open flame during this time, the gas is flammable.
~
Check the wash results when the laundry was soiled
with biological oils or grease. If the laundry is not sufficient
-
ly cleaned, a spontaneous combustion might occur when
the laundry is dried in a dryer.
Use special detergents or wash programs.
~
If the washer is operated in a publicly accessible area,
the operator must ensure the safe use of the appliance.
~
Ensure that any one operating this machine is familiar
with these important safety instructions.
IMPORTANT SAFETY INSTRUCTIONS
4
Electrical Safety
~
Be certain this appliance is properly installed and
grounded by an authorized technician. For electrical safety
this machine must be grounded. It is imperative that this
basic safety requirement be tested by a qualified electrici
-
an. Consult a qualified electrician if in doubt.
~
Repairs to electrical or steam appliances should only be
carried out by a Miele authorized technician in accordance
with local and national safety regulations. Unauthorized re
-
pairs could cause injury or machine damage.
~
Do not repair of replace any part of the appliance or at
-
tempt any servicing unless specifically recommended in
these operating instructions. Contact Miele’s Technical Ser
-
vice Department for assistance.
~
Do not damage, remove, or bypass any of the safety
features and controls of the washer.
~
Do not operate the appliance if the control panel, wires
or cables are damaged.
~
Do not operate the washer when housing parts have
been removed and the moving or electrical parts are expo
-
sed and accessible.
~
The washer is only completely isolated from the electri
-
cal supply when the circuit breaker has been tripped or the
power main shut off.
~
Do not use force to open the washer drum door. The
door handle is equipped with an extra safety mechanism to
guarantee that the door remains locked.
~
Faulty components must only be replaced with genuine
Miele spare parts to guarantee the safe operation of this
machine.
Use
~
Do not let children play in, on or near the washer. Do not
let them play with the controls or operate the unit. Close su
-
pervision of children is necessary when the appliance is
used near children.
~
Always close the door after loading or unloading the
washer, to prevent:
children from climbing into the washer, or hiding small
items in the washer.
small animals from climbing into the washer.
~
The drum door glass will be hot when washing at very
high temperatures. Do not touch the glass.
~
Do not reach into the appliance if the drum is moving.
~
Take care not to pinch or cut your fingers on the hinges
of the drum door or lint flap. Use the handles.
~
The area necessary to open the drum door completely
must not be obstructed by doors or other structures.
~
Do not drink washer water! Harmful residues could be
present.
~
Always follow the instructions of the chemical manufac
-
turer when using cleaning agents and special application
chemicals. Only use such chemicals for the purpose and in
the situation specified by the manufacturer. This will pre-
vent the danger of adverse chemical reactions and material
damage.
If in doubt, check with the manufacturer to be sure that the
product is suitable for use in this machine.
~
Dyes, dye removers and descaling agents may only be
used in this machine if the manufacturer states they are
suitable for use in a washing machine. Always observe the
manufacturer’s instructions carefully.
~
Fabric softeners may be used with this machine. Follow
the manufacturers instructions.
~
Do not use high pressure cleaners to hose down the
washer.
~
Check the hoses regularly for leaks to prevent water da
-
mage.
~
Do not tamper with
the controls.
IMPORTANT SAFETY INSTRUCTIONS
5
Additional information
~
Disinfecting and cleaning agents often contain chlorides
(salts) which can cause steel surfaces to rust. To protect
the machine from rust damage, only use chloride free disin
-
fecting and cleaning agents for washing/disinfecting and
for cleaning the machine. If you are not sure about an
agent contact Miele’s Professional Department. If you acci
-
dentally spill an agent containing chloride on the machine it
should be rinsed off with water and dried with a soft cloth.
~
The manufacturer of the washer does not take responsi
-
bility for the effect of the chemical on the laundry or the ma
-
chine when a chemical cleaning agent is recommended on
technical application grounds.
~
Keep the area around the machine clean and free of de
-
bris.
~
Before the appliance is removed for service or discar
-
ded, remove the door.
~
The interior of the machine should be cleaned periodi
-
cally by a qualified service agent.
Using accessories
~
Only use genuine Miele accessories. If other parts are
used, guarantee, performance and product liability claims
may become void.
Chlorine damage to components
How to handle chlorine bleach and perchloroethylene
(PCE)
~
Heavy use of chlorine products increases the risk of da
-
mage to appliance components.
Depending on the chlorine concentration, the exposure
time, and the temperature, the use of liquid and powdered
chlorine-based bleaches can erode the stainless steel
protective layer and lead to corrosion of the appliance
components. Therefore, it is recommended that these
products not be used. Instead you can use oxygen-based
bleaches.
If you still need to use chlorine-based bleaches in special
cases, you will need to perform a neutralizing step each
time. Failure to do so can result in permanent and
irreversible damage to the washing machine and the
laundered items.
Chlorine neutralization
Chlorine neutralization must be done immediately following
the use of a chlorine-based bleach. For best results, use
hydrogen peroxide or an oxygen-based laundry soap or
bleach, without draining the tub.
If thiosulfate is used (especially with hard water), lime
deposits can form, leading to residue on the laundered
items or a build-up in the washing machine. The preferable
alternative is to use hydrogen peroxide, because it helps
promote the neutralization of chlorine.
The exact amounts to be used, and at what temperature(s),
should be selected based on the recommendations of the
neutralizer manufacturer, then checked for efficacy. The
laundry will need to be tested to ensure that no active
chlorine remains behind after neutralization.
SAVE THESE
INSTRUCTIONS
IMPORTANT SAFETY INSTRUCTIONS
6
a Emergency Stop button
Pressing the red button turns the machine off.
b Control panel
c Detergent compartments
Pull the handle to open the flap.
d Drum door
Pull the door handle to open the drum door. Do not
use force.
e Door handle
The door handle is equipped with an extra safety
mechanism to guarantee that the door remains
locked.
f Service panel
g Plinth
Guide to the washer
7
f
a
b
d
c
e
g
Operating panel
a Display*
1 Hot Wash 194 °F
2 Cottons 140 °F
3 Cottons Intensive 140 °F
i FC A
After turning the machine on, the display shows
briefly a welcome screen and switches to the
program list. The last started program is highlighted.
b Control keys
The control keys have different functions depending
on the machine status. The functions are shown in the
display above each button.
If programmed to "Button allocation direct", the first 6
programs from the program list can be selected
directly with the control keys 1 to 6.
c Start button
The circle illumination flashes if a selected program
can be started. To start a program press the "Start"
button. Once a program has started the Start button
can be pressed to show the original display.
* Contents in the display will vary with
program offering.
d Optical interface PC
The optical interface on the machine’s control panel
provides the connection point for data transfer
between the machine’s controls and a PC.
e Jog shuttle
Turn the jog shuttle to display selections and input
fields.
Press the jog shuttle to confirm display selections or
changes.
f Card reader
For card operation. Washing programs can be
uploaded and downloaded on the program card. The
programs on the card can be used to operate the
washer.
g I On button
Turns the machine on.
h 0 Off button
Turns the machine off.
i Emergency Stop button
Only use in case of an emergency.
^
Press the red button to turn the machine off. After
clearing the danger turn the button clockwise to un
-
lock it.
^
Press "Start" to continue the interrupted program.
Guide to the washer
8
Control keys
^
Press once to activate the function, press again to
deactivate the function.
i Manual operation
(Used by Miele Service Technicians)
See Programming Manual.
FC Functions
Press this key to temporarily select another language
and/or access the Supervisor level.
A Back to the previous display
+ i Block plus
The respective program block (e.g. prewash) will be
added to the program.
m Starch Stop
Press this button to stop the program and allow
starch to be added to the laundry.
k Spin Stop
Press this button if a final spin is not required after the
final rinse.
mDelay start
Press this key to select a start time in the display.
K Information
To show program information
fStop/Finish
Press to stop a selected program or end an already
stopped program.
q Drain
ü Skip
Cycles of a program in progress can be skipped or
repeated.
e/- Following or previous line
S Save
See Programming Manual
$ Program locked
If a program is locked it cannot be stopped or ended
with the 0 "Off" button after 1 minute.
) Program unlocked
ß Dispensing
ä Dispensing not available
\ Operating data
->l<- Reset to 0 (zero)
To reset the load sensor to "00.0" when the drum is
empty and the display shows a load size.
D Data transfer
Operator Card
No programs are saved on this card. To transfer the
data from the control to the card and vice versa see
Programming Manual.
30 programs containing 6 blocks each can be saved
on the card.
The rear side of the card can be labeled.
Guide to the washer
9
1. Turn on the washer
^
Open the on-site water faucet (and the supply fau
-
cet for steam, if relevant).
^
Turn on the electrical supply at the mains (on site).
^
Press l "On" to turn the washer on.
The welcome screen shows.
PROFESSIONAL
PW 6xx1
Welcome
Then the program list is shown. The last started
program is highlighted.
1 Hot Wash 194 °F
2 Cottons 140 °F
3 Cottons Intensive 140 °F
i äFC A
2. Sort and load the laundry
^
Empty all pockets.
Foreign objects left in pockets (e.g. nails, coins,
paper clips, etc.) can cause damage to clothes
and the machine.
^
Sort the laundry.
^ Only wash fabrics according to this wash care la-
bel.
^ Open the drum door by pulling the handle.
^ Load the laundry loosely into the drum.
Use
10
To prevent fabric damage, check that laundry will
not be caught in the closed door.
^
Close the drum door with the handle.
Do not swing the door shut.
Maximum dry laundry weights
PW 6241
54 lbs / 24 kg laundry
35 lbs / 16 kg wet cleaning
PW 6321
72 lbs / 32 kg laundry
42 lbs / 19 kg wet cleaning
3. Add detergent
^
Open the detergent compartment flap,
pull out the respective containers and add deter
-
gent.
^
For standard programs add detergent to compart
-
ment:
2 = for the main wash
1 = for the Prewash (if required)
3 = fabric softener
4 = liquid bleach
5 = liquid detergent
^
Do not exceed the maximum fill level, the excess
will flow directly into the drum.
^
Close the detergent compartment.
Use
11
Detergent
Only use the correct amount of high efficiency low
sudsing detergent. Too much detergent will cause
oversudsing.
Dosage
Follow the instructions on the detergent packaging to
ensure the correct usage and dosage amount for
your water hardness.
Adjust the amount of detergent if the load is smaller
and more or less soiled than normal.
Water hardness
Water
hardness
levels
Water qua
-
lity
Hardness le
-
vel in mmol/l
German
hardness
°d
I soft 0 - 1.3 0 - 7
II moderate 1.3 - 2.5 7 - 14
III hard 2.5 - 3.8 14 - 21
IV very hard over 3.8 over 21
If you do not know the water hardness in your area
contact your local water authority.
Fabric softener
^
Pour liquid fabric softener into the compartment ac
-
cording to the manufacturer’s instructions. Do not
exceed the maximum fill level, the excess will
prematurely activate the siphon and be wasted.
^
Close the compartment lid and push in the dispen
-
ser drawer.
The fabric softener will automatically be dispensed
during the final rinse cycle.
A small amount of water will remain in the
compartment at the end of the program.
Never mix fabric softener and starch in the fabric
softener compartment, 3. This will clog the
dispenser.
Use
12
Starch
In the detergent container
1 Hot Wash
m
Program stop - Starch stop
Door can be opened.
i ü f
"Program stop - Starch Stop" flashes in the display
when it is time to add starch to the laundry.
^
Add starch prepared according to manufacturer’s
instructions into compartment 3, 4 or 5. The wash
time is automatically extended by 4 minutes.
^
Press "Start" to continue the program.
In the drum
^
Once the program stops in "Starch Stop", open the
drum door and add starch to the laundry load pre
-
pared according to the manufacturer’s instructions.
^
Close the drum door.
The display shows:
1 Hot Wash
m
Program stop - Starch stop
Door can be opened.
i ü f
^ Press the"Start" button to continue the program.
Bleach
Only bleach items with the x symbol on the fabric
care label.
Liquid bleach can only be used in a program
designed for bleach. Add bleach to compartment, 4,
only. It will be automatically added to the second
rinse.
A third rinse is necessary when using bleach (see
the Programming Manual).
,
With increased use of chlorine the possibility of
machine damage rises.
Fabric dye
Fabric dye and color aids must be suitable for use in
a washer. Always follow the instructions of the
manufacturer.
Use
13
4. Select a program
^
Select a program by turning the jog shuttle (e.g.
Program 1 Hot Wash).
The following will appear in the display:
18 Extra Drain
1 Hot Wash 194 °F
2 Cottons 140 °F
i äFC A
^
See the Programming Manual for more information.
^
Confirm the selected program by pressing the in
-
ner button of the jog shuttle.
The display shows:
1 Hot Wash 54.0 /54.0 lb
194 °F Main wash
Rinse 1100 rpm
+im k m A
5. Select wash options (if needed)
^
Press one of the wash option buttons.
To deselect the option, press it again.
+ i Block Plus
A pre-wash can be selected for heavily soiled laundry
in certain programs. If a pre-wash is an option the
"+i" field is highlighted. If a pre-wash is not
available, the "+i" will not be shown.
m Starch Stop
Starch can be selected with all standard programs
(excluding Extra Spin and Extra Drain). The m field
is highlighted in the display.
k Spin Stop
Spin Stop can be selected with all standard programs
(excluding Extra Spin). The k field is highlighted in
the display.
Use
14
6. Adjust the program (if needed)
Laundry weight
The laundry weight can be manually selected.
1 Hot Wash 54.0 /54.0 lb
104 °F Pre-wash
194 °F Main wash e
+im k m A
^
Turn the jog shuttle to "Laundry weight" and press
to confirm the selection.
The weight shown on the right side indicates the max.
weight.
^
Turn the jog shuttle to the desired laundry weight
and press to confirm the selection.
Temperature
In 1°F steps from cold to the maximum program
temperature.
^
Turn the jog shuttle to "Temperature" (104 °F for
Pre-wash) and press to confirm the selection.
1 Hot Wash 54.0 / 54.0 lb
104 °F Pre-wash
194 °F Main wash e
+im k m A
^ Turn the jog shuttle to the desired temperature and
press it to confirm the selection.
Spin speed
The spin speed can be adjusted from 0 - 300 in 25
rpm increments. Depending on the machine model
and the program selected the max. spin speed
ranges from 600 - 1100 rpms.
^
Turn the jog shuttle to "Spin speed"
and press to confirm the selection.
1 Hot Wash 54.0 / 54.0 lb
Rinse 1100 rpm -
+im k m A
^
Turn the jog shuttle to the desired spin speed and
press it to confirm the selection.
Use
15
7. Select Delay Start (if needed)
Use the m "Delay start" button to program the washer
to start automatically at a later time.
Setting the delay start
^
Press m "Delay Start".
The following will appear in the display:
1 Hot Wash 54.0 / 54.0 lb
Start time: 16 : 10 Start date: 2.4.2003
After setting the delay start press Start.
m A
The display shows the current time of day and date.
The entry field is highlighted for hours.
^
Press, then turn the jog shuttle to select the hour.
Press it to confirm the selection.
^
Repeat with the minutes, day, month and year.
^
Press the "Start" button to start the program at the
selected start time.
1 Hot Wash 54.0 / 54.0 lb
194 °F Main wash
16:15 -2.4.2003 Start: 6:00 -3.4.2003
+im k m A
The display shows the current time of day, date and
the start time.
^ If the door is opened before the delay start time
has elapsed, press the "Start" button again.
Canceling the Delay Start
^
Press m "Delay Start" again or the
A "Back" button to cancel the delay start functi
-
on.
8. Start the program
^
Press the "Start" button to start the program.
When using the "Spin Stop" wash option, "Without
spin" will flash in the display when the spin cycle is
reached.
1 Hot Wash
k
Program stop - W/o spin
Door can be opened.
i ü f
^
To continue the program with spinning, press the
"Start" button.
^
Press the f "End" button to end the program wit
-
hout spinning.
Use
16
9. End of program
At the end of the program, once the drum is
stationary and no water is in the machine the display
shows (for example):
1 Hot Wash
Program end
Door can be opened.
m FC A
At the same time a tone will sound for a short time to
signal the program end.
^
Pull the door handle to open the drum door.
Important: If the door cannot be opened, press
against the door handle then pull again. Do not
use force!
^
Remove the laundry.
^
Leave the drum door open to air dry the interior.
^
Turn the machine off with the 0 "Off" button.
^ Turn the mains off (on-site).
^ Close the steam valve (on-site).
Use
17
Skipping program cycles
Cycles of a program in progress can be skipped or
repeated.
^
Press the f "End" button to stop the program.
1 Hot Wash
Program stop
i ü f
^
Press the ü "Skip/Repeat" button. The display
shows the current area, block or step.
See also "Program structure" in the Programming
Manual.
Skip/Repeat -> 1 Hot Wash
Program stop
Area 2: Main wash e
S A
Area 2: Main wash
Block 1: Main wash
Step Wash time 2 -
S A
^ Turn the jog shuttle to "Area" and press it to confirm
the selection.
Area: Select either 1 Prewash, 2 Main wash or 3
Rinse and confirm by pressing the jog shuttle.
^ Turn the jog shuttle to "Block" and press it to con-
firm the selection.
Block: Select either Prewash 1-10, Main wash 1-10
or Rinse 1-10 and confirm by pressing the jog
shuttle.
^
Turn the jog shuttle to "Block" and press it to con
-
firm the selection. Select the desired program step
and confirm.
^
To start the new program step press S "Save" and
"Start".
To go back without skipping a program cycle
^
Press the A "Back" button to go back to the pro
-
gram stop.
Program stop
^
To stop the program, press f "End".
The program stops.
1 Hot Wash
Program stop
i ü f
^
Press f "End" again to continue the program.
Program end with water in the drum
If the program is interrupted during a cycle, the
display shows either:
1 Hot Wash
Program end - Water in the drum
m FC A
or
1 Hot Wash
Program end - Drum rotates
m FC A
,
The drum door is locked.
Do not use force!
^
Press the q "Drain" button or select the Drain Extra
program and press "Start".
^
At the end of the program open the door.
Use
18
Canceling a program
^
To cancel a program, press the f "End" button twi
-
ce.
If the program was canceled with water in the
machine or during spinning, the display shows:
1 Hot Wash
Program stop - Water in the drum
i ü f
or
1 Hot Wash
Program stop - Rotating drum
i ü f
^
Press the q "Water drain" button or select the pro
-
gram Extra Spin, and press the "Start" button.
Canceling a locked program
Locked programs cannot be stopped or canceled.
1 Hot Wash
194 °F Main wash
Locked! End at 12:35
) A
The display shows that the program is locked if the f
"End" button is pressed.
^
To unlock the program press the ) "Unlock" but
-
ton.
^
Enter the password, by turning the jog shuttle to the
desired character in the alpha numeric list and then
pressing the shuttle to confirm each selection.
After entering the password the display shows:
Unlock program?
S A
^ Press the S "Save" button to confirm. The normal
display shows and the program can be canceled.
1 Hot Wash
194 °F Main wash 140 °F
Rinse 1 End at 12:35
mK f
Use
19
Program sequence
The program sequence is shown in the display after
the start of the program.
1 Hot Wash
104 °F Pre-wash 68 °F
Main wash End at 12:35
+im k mK f
The second display line, here Pre-wash, shows the
wash water temperature.
1 Hot Wash
194 °F Main wash 140 °F
Rinse 1 Cold End at 12:35
+im k mK f
If the program block Pre-wash has ended, the 2nd
line in the display shows the program block Main
wash with the current wash water temperature. The
3rd line shows the following program block, here
Rinse 1.
The program end display, above 12:35, shows the
time of day when the program will be finished.
K Information
1 Hot Wash
194 °F Main wash 140 °F
Rinse 1 Cold End at 12:35
+im k m
K
f
Press the K "Information" button during the program to
show information in the display.
1 Hot Wash
Delay start: 10.7.2003
Start time: 9:47 e
A
For more information press e.
Time after start:0h23min
Time left: 0 h 11min
Time after start:0h23min e
Time left:0h11min
Repetition: no
Area 3: Rinse e
Block 2: Rinse 2
Block step Wash time 1
Actual water level: 22 mm e
Programmed value: 60 mm
Actual temperature: 95°F
Programmed temperature: 140 °F e
1 Hot Wash
Revolution: 40 rpm
Rhythm: 12 / 3 -
A
^
Press the A "Back" button to return to the pro
-
gram sequence.
Use
20
  • Page 1 1
  • Page 2 2
  • Page 3 3
  • Page 4 4
  • Page 5 5
  • Page 6 6
  • Page 7 7
  • Page 8 8
  • Page 9 9
  • Page 10 10
  • Page 11 11
  • Page 12 12
  • Page 13 13
  • Page 14 14
  • Page 15 15
  • Page 16 16
  • Page 17 17
  • Page 18 18
  • Page 19 19
  • Page 20 20
  • Page 21 21
  • Page 22 22
  • Page 23 23
  • Page 24 24
  • Page 25 25
  • Page 26 26
  • Page 27 27
  • Page 28 28
  • Page 29 29
  • Page 30 30
  • Page 31 31
  • Page 32 32
  • Page 33 33
  • Page 34 34
  • Page 35 35
  • Page 36 36
  • Page 37 37
  • Page 38 38
  • Page 39 39
  • Page 40 40
  • Page 41 41
  • Page 42 42
  • Page 43 43
  • Page 44 44

Miele 51632105USA Operating instructions

Category
Washing machines
Type
Operating instructions
This manual is also suitable for

Ask a question and I''ll find the answer in the document

Finding information in a document is now easier with AI