Robert Bosch Hausgeräte GmbH 21
Operation
Warning!
Do not operate the appliance without an
accessory/tool in the operating position.
Do not operate the appliance empty.
Do not expose appliance or accessories to
heat sources. Parts are not microwave-safe.
Before operating the appliance and
accessories for the first time, clean
thoroughly; see “Cleaning and servicing”.
Preparation
Place the base unit on a smooth, clean
surface.
Prepare cable (Fig. ).
a) Appliances with cord store:
Pull out cable to the required length.
b) Appliances with automatic cord winder:
Pull out the cord in one go to the required
length (max. 100 cm) and slowly release;
the cord is locked.
Reducing the cord length:
Pull gently on the cord and allow
it to roll up to the required length.
Then gently pull the cord again and
slowly release; the cable is locked.
Warning!
Do not twist the cord when inserting it.
If the appliance features an automatic cord
winder, do not insert the cord manually.
If the cord jams, pull out the cord all the way
and then allow it to wind up.
Bowl and tools
Warning!
Use bowl with this appliance only.
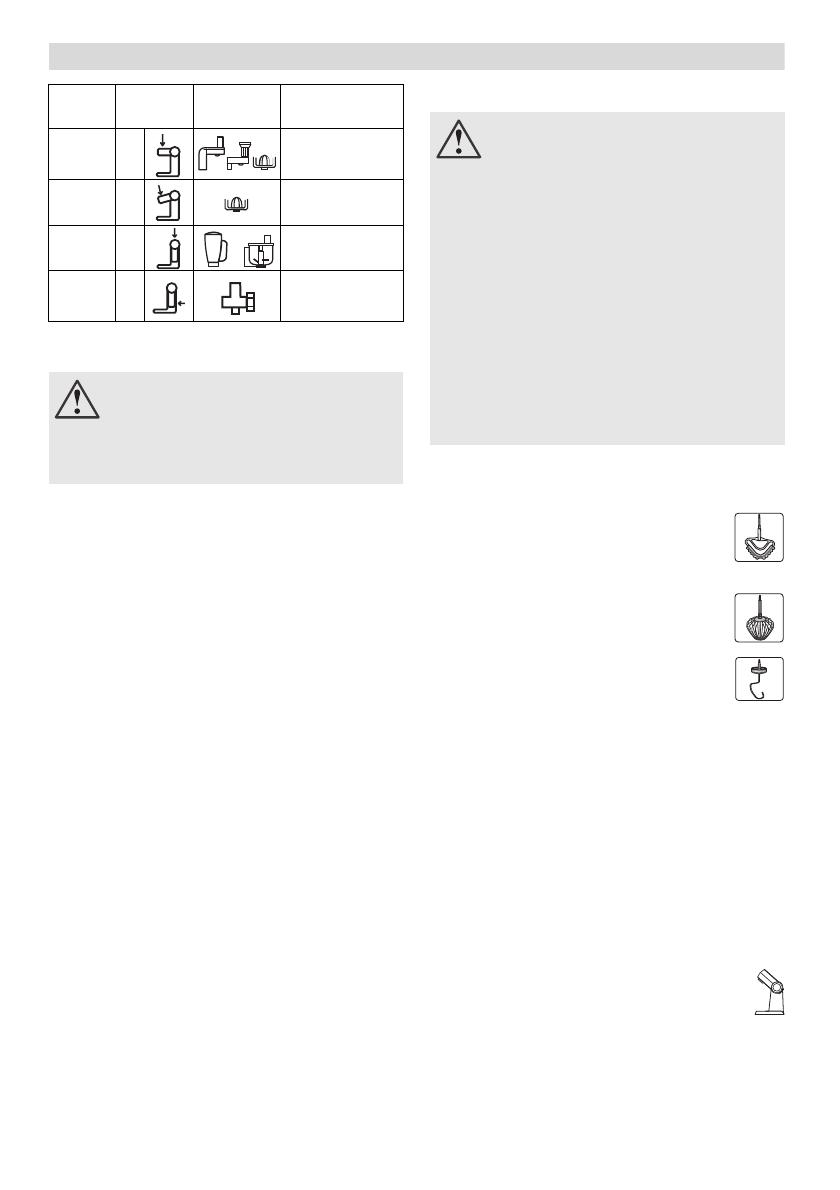
“Absolute”
stirrer (13)
for stirring dough, e.g. sponge mixture
or mousse, and for folding in beaten
egg whites or cream.
Solid metal whisk (14)
for whisking egg whites, cream and
light dough, e.g. sponge mixture.
Kneading hook „High performance“
with dough deflector (15)
for kneading heavy dough and for
folding in ingredients which are not
to be cut (e.g. raisins, chocolate chips).
Important information con-
cerning the use of the whisk Fig.
The whisk should almost touch the bottom
of the bowl to ensure that the ingredients
are optimally mixed. If processing very
small amounts, the whisk should just touch
the bottom of the bowl. For large amounts
the whisk can be positioned higher.
Adjust the height of the whisk as follows:
Remove mains plug.
Press release button and move multi-
function arm to position 1.
Insert the whisk into the drive until the
whisk locks into position.
Hold whisk in place and loosen nut clock-
wise using enclosed key (on the base
of the appliance).
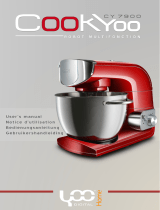
Position Drive
Tool/
Accessory
Operating
speed
35 3–7
45 3
–5
58 5
–7
66 5
–7
Risk of injury!
Do not insert mains plug until all prepara-
tions for working with the appliance are
complete.
Risk of injury from rotating tools
While the appliance is operating, never
place fingers in the mixing bowl.
Attach the cover (12) before operating
the appliance!
Keep hands clear of rotating parts.
Do not change tools until the drive has
come to a standstill – when the appliance
is switched off, the drive continues running
briefly and stops in the tool change
position. Do not move multi-function
arm until the tool is at a standstill.
For safety reasons the appliance cannot
be operated in Pos. 2–4 until the bowl has
been inserted and turned all the way or the
tool drive cover (7) has been attached.