Kodak EasyShare C623 User manual

Type
User manual

This manual is also suitable for

www.kodak.com/go/c653support or c623support 1
ENGLISH
Installing the software
IMPORTANT:
Before connecting any cables, install the software that was included with
your camera. Follow the on-screen instructions.
After installing the software, return
to this Getting Started Guide.
2 www.kodak.com/go/easysharecenter
ENGLISH
Loading the batteries
Turning on the camera
CRV3 lithium
(non-rechargeable)
2 AA lithium or Ni-MH
(may be rechargeable
or non-rechargeable)
Ni-MH
(rechargeable)
www.kodak.com/go/c653support or c623support 3
ENGLISH
Setting the language, date/time
2
1
to change.
for previous/next field.
OK
to accept.
OK
At the prompt, press OK.
2
1
to change.
OK
to accept.
Language:
Date/Time:
4 www.kodak.com/go/easysharecenter
ENGLISH
Taking a picture/video
1
Press the Shutter button halfway to
focus and set exposure.
Press to turn on/off:
Press it completely down when the
Ready light turns green.
Pictures Videos
Press the Shutter button
completely down and release.
To stop recording, press the
Shutter button again.
Ready
light
1
2
LCD (off to use viewfinder)
Framing grid
Help (in Menu mode)
2
Status icons
www.kodak.com/go/c653support or c623support 5
ENGLISH
Reviewing pictures/videos
1
2
for previous/next
picture/video.
Press Review.
Videos:
OK
Play/pause.
During playback to adjust the audio volume.
During playback to play at 2X speed;
press again for 4X.
During playback to reverse at 2X speed;
press again for 4X.
(Press again to exit.)
6 www.kodak.com/go/easysharecenter
ENGLISH
Transferring pictures/videos
1
2
USB cable Kodak EasyShare printer dock
or camera dock
(May be sold separately.)
For dock compatibility, visit
www.kodak.com/go/dockcompatibility.
To purchase accessories, visit
www.kodak.com/go/c653accessories or
www.kodak.com/go/c623accessories.
To use an EasyShare dock, see its
Getting Started Guide.
www.kodak.com/go/c653support or c623support 7
ENGLISH
Keep learning about your camera!
Visit www.kodak.com/go/c653support or
www.kodak.com/go/c623support and
www.kodak.com/go/easysharecenter for:
• the extended user’s guide
• interactive troubleshooting and repairs
• interactive tutorials
• FAQs
• downloads
• accessories
• printing information
• product registration
Congratulations!
You have:
• set up your camera
• taken pictures
• transferred pictures to your computer
Keep learning!
Finish reading this book, so you can take and
share your best pictures!
8 www.kodak.com/go/easysharecenter
ENGLISH
Front view
1 Shutter button 7 Flash
2Mode dial 8Viewfinder
3 Self-timer/Video light 9 Lens
4 Microphone
10 DC-In (3V) ,for optional AC
adapter
5
Flash button 11 Speaker
6 Self-timer/Burst button 12 Grip
5
4
1
9
6
8
2
10
3
11
7
12
www.kodak.com/go/c653support or c623support 9
ENGLISH
Back view
1LCD 11 4-way arrows
2 Viewfinder 12 Strap post
3 Ready light 13 USB, A/V Out
4 Review button
14 Menu button
5 LCD/Info/Help button 15 Battery compartment
6 Share button 16 Slot for optional SD or MMC card
7 Delete button 17 SD or MMC card (sold separately)
8 Wide angle button 18 Dock connector
9 Telephoto button 19 Tripod socket
10 OK button
4
8
3
2
1
11
12
13
14
15
16
17
18
9
10
19
5
6
7
10 www.kodak.com/go/easysharecenter
1 Doing more with your camera
Using optical zoom
Use optical zoom to get up to 3X closer to your subject. Optical zoom is effective when
the lens is no closer than 24 in. (60 cm) to the subject or 5.1 in. (12.9 cm) in Close-up
mode. You can change optical zoom before (but not during) video recording.
1 Use the viewfinder or LCD to frame your subject.
2 Press Telephoto (T) to zoom in. Press Wide Angle (W) to zoom out.
The zoom indicator shows zoom status. When you are video recording, only the digital
zoom range appears.
3 Take the picture or video.
NOTE: In Video mode, the zoom indicator changes and only the digital zoom range appears.
Zoom indicator
Optical
zoom
range
Digital
zoom
range
WTD
Doing more with your camera
www.kodak.com/go/c653support or c623support 11
Using the self-timer
Use the self-timer when you want to be included in a picture, or to ensure a steady
Shutter button press.
To cancel the Self-timer before the picture is taken, press the Self-timer/Burst button
, or press the Shutter button completely down.
Use the same procedure to use the self-timer in Video mode, but:
Turn the Mode dial to Video .
Press the Shutter button completely down.
NOTE: The video stops when no storage space remains. Only the 2- and 10-second options are available in
video mode.
1
2
Place camera on a tripod or flat surface.
Compose the scene.
Press the Shutter button halfway, then
completely down.
• Once for a 10-second delay (so you have time to get into the scene)
• Again for a 2-second delay (for a steady, auto-shutter release on a tripod)
• Again for 2-shot (one picture taken after 10 seconds and another picture
In most Still modes, press the Self-timer/Burst button
taken 8 seconds later)
4
3
:
Doing more with your camera
12 www.kodak.com/go/easysharecenter
Using burst
1 In most Still modes, press the Self-timer/Burst button .
NOTE: Burst is unavailable in Anti-Blur, Hi-ISO, Sport, and Panorama modes.
2 Press the Shutter button halfway to focus and set exposure.
3 Press the Shutter button completely down and hold it to take pictures.
The camera stops taking pictures when you release the Shutter button, when the pictures
are taken, or when there is no more storage space.
NOTE: During quickview, you can delete all pictures in the burst series. To delete selectively, do so in Review
(see page 21).
Option Description Purpose
Burst
Camera takes up to 3 pictures while the Shutter button is
pressed.
Capture an expected
event.
Example:
A person swinging a
golf club.
All the pictures are
saved.
Doing more with your camera
www.kodak.com/go/c653support or c623support 13
Using the flash
Use the flash when you take pictures at night, indoors, or outdoors in heavy shadows.
Flash modes Flash fires
Auto
Flash
When the lighting conditions require it.
Fill Every time you take a picture, regardless of the lighting conditions. Use when
the subject is in shadow or is “backlit” (when the light is behind the subject).
In low light, hold the camera steady or use a tripod.
Red-
eye
If Red-eye Pre-flash is turned off:
The flash fires twice (to
evaluate lighting conditions;
and then again when the
picture is taken).
The camera then
automatically corrects
red-eye in the picture.
If Red-eye Pre-flash is turned on:
The flash fires multiple times (for
focusing in low-light conditions; for the
eyes to become accustomed to the
flash; and when the picture is taken).
Off Never.
Press the flash button
The current flash mode appears in the LCD
screen.
through flash modes (see Flash modes below).
repeatedly to scroll
Doing more with your camera
14 www.kodak.com/go/easysharecenter
Picture-taking modes
Use this mode For
Auto General picture-taking—offers an excellent balance of image quality and
ease of use.
Anti-Blur Minimizing the effects of camera shake and subject movement.
Close-up Close range. Use available light instead of flash if possible. The camera
automatically sets the focus distance depending on the zoom position.
Scene Point-and-shoot simplicity when taking pictures under special conditions.
(See page 15.)
Video Capturing video with sound. (See page 4.)
Choose the mode that best suits
your subjects and surroundings.
SCN
Doing more with your camera
www.kodak.com/go/c653support or c623support 15
Scene modes
1 Turn the Mode dial to Scene .
2 Press to display Scene mode descriptions.
NOTE: If the Help text turns off, press the OK button.
3 Press the OK button to choose a Scene mode.
Using camera Help
Use the camera Help screen to better understand menu options when the User’s Guide
is not readily available, and you need to obtain information quickly. The Help screen
operates when you are in the main menu or in most submenu selections.
Press repeatedly to
obtain screen Help.
Doing more with your camera
16 www.kodak.com/go/easysharecenter
Understanding picture-taking icons
In capture mode—no buttons pressed
Picture size
Pictures/time remaining
Storage location
Exposure metering
White balance
Low battery
Camera mode
Exposure compensation
Zoom:
Date stamp
Self-timer
Flash
ISO speed
wide
digital
telephoto
Blur warning
www.kodak.com/go/c653support or c623support 17
2 Working with pictures/videos
Magnifying pictures
1 Press the Review button.
2 Press W/T to magnify 2X–8X.
3 Press to view other parts of the
picture.
4 Press the OK button to return to 1X.
Cropping pictures
You can crop a picture so that only the desired portion of the picture remains.
1 Press the Review button, then to find a
picture.
2 Press the Menu button, choose Crop, then press the
OK button.
3 Press Telephoto (T) to zoom in, or to move the crop box. Press OK.
4 Follow the screen prompts.
The picture is cropped. The original is saved. (Cropped pictures cannot be cropped again.)
Press the Menu button to exit the menu.
Picture
Cropped picture
Working with pictures/videos
18 www.kodak.com/go/easysharecenter
Viewing thumbnails (multi-up)
1 Press the Review button.
2 Press to change from single-picture view to
multi-up thumbnails.
3 Press OK to return to single-picture view.
Using Kodak Perfect Touch technology
Kodak Perfect Touch technology helps ensure better, brighter pictures.
1 Press the Review button, then for previous/next picture.
2 Press the Menu button, choose Perfect Touch tech. , then press the OK
button.
The enhancement is previewed in a split screen. Press to view other parts of the
picture.
3 Press OK. Follow the screen prompts to replace the original picture or to save the
enhanced picture as a new one.
NOTE: You cannot enhance previously enhanced or panorama pictures, or videos.
Press the Menu button to exit the menu.
Working with pictures/videos
www.kodak.com/go/c653support or c623support 19
Editing videos
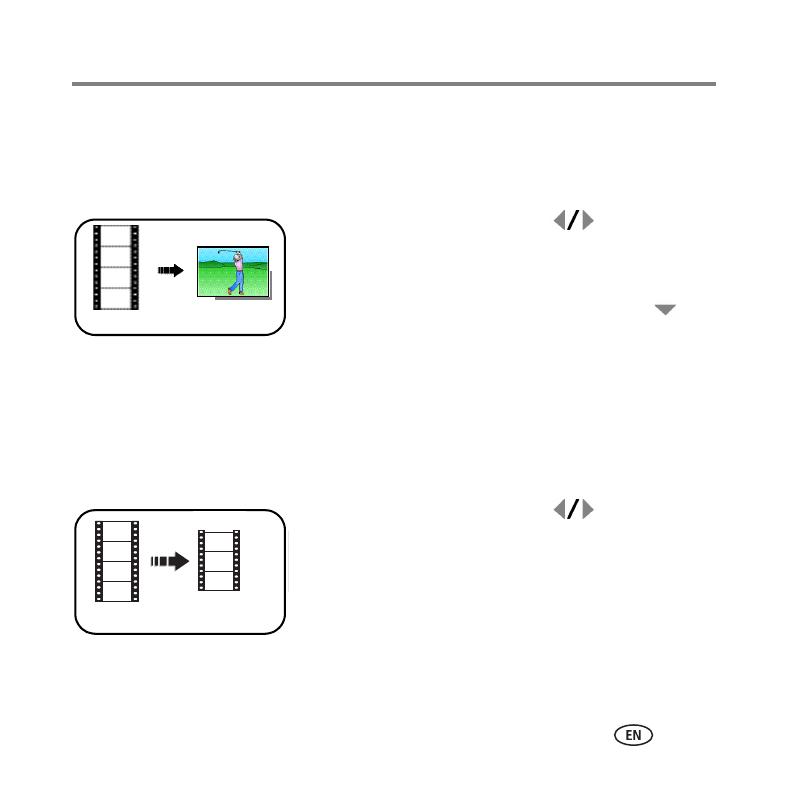
Making a picture from a video
You can choose a single frame from a video, then make a picture suitable for printing.
1 Press the Review button, then to find a video.
2 Press the Menu button, choose Make Picture, then
press the OK button.
3 Press OK to select a video frame, then press .
4 Follow the screen prompts.
A picture is created. (The original video is saved.)
Press the Menu button to exit the menu.
Trimming a video
You can delete an unwanted portion from the beginning or end of a video.
1 Press the Review button, then to find a video.
2 Press the Menu button, choose Edit Video, then press
the OK button. Choose Trim, then press OK.
3 Follow the screen prompts.
The video is trimmed. (You can save it as a new video or
replace the original.)
Press the Menu button to exit the menu.
Video
Picture
Video
Trimmed video
Working with pictures/videos
20 www.kodak.com/go/easysharecenter
Making a video action print
From a video, you can make a 4-, 9-, or 16-up picture, suitable for a 4 x 6-inch
(10 x 15 cm) print.
1 Press the Review button, then to find a video.
2 Press the Menu button, choose Edit Video, then press
the OK button. Choose Action Print, then press the
OK button.
3 Choose an option, then press the OK button.
Auto options: The camera includes the first and last frames, then 2, 7, or 14
equally spaced frames.
Manual options: You choose the first and last frames; the camera chooses 2, 7, or
14 equally spaced frames.
Press the Menu button to exit the menu.
Video
4-, 9-, or
16-up picture
  • Page 1 1
  • Page 2 2
  • Page 3 3
  • Page 4 4
  • Page 5 5
  • Page 6 6
  • Page 7 7
  • Page 8 8
  • Page 9 9
  • Page 10 10
  • Page 11 11
  • Page 12 12
  • Page 13 13
  • Page 14 14
  • Page 15 15
  • Page 16 16
  • Page 17 17
  • Page 18 18
  • Page 19 19
  • Page 20 20
  • Page 21 21
  • Page 22 22
  • Page 23 23
  • Page 24 24
  • Page 25 25
  • Page 26 26
  • Page 27 27

Kodak EasyShare C623 User manual

Type
User manual
This manual is also suitable for

Ask a question and I''ll find the answer in the document

Finding information in a document is now easier with AI