7
Get Ready
• The battery starts charging, and the charge lamp ashes.
• When the battery is fully charged, the charge lamp turns o.
• Disconnect the Charging AC Adapter from the electrical outlet and then
disconnect the cable.
2
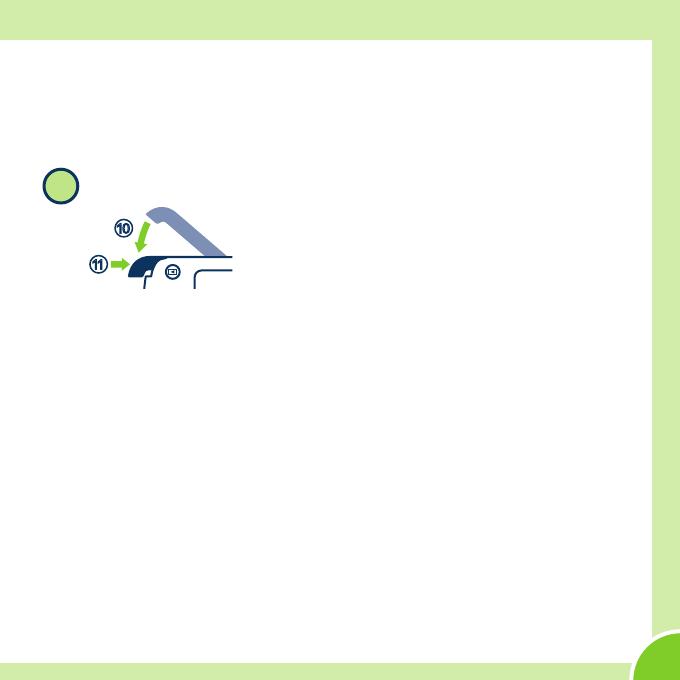
Close the cover.
a
0
• Make sure that there is no debris, etc. inside.
• Lay the cover completely at in the direction indicated by the arrow 0,
and fully slide it in a.
• Read and follow the waterproong-related messages if they are
displayed when you turn on the camera.
B Notes About Charging and Replacing the Battery
• Only an adult should charge and replace the battery.
• Refer to the information in “For Your Safety” on page 23 and in “Caring for the
Product” in the Reference Manual.
• Make sure the camera and your hands are not wet.
• Turn o the camera and then turn the camera upside-down, being careful not
to let the battery and memory card fall out.
• Make sure that there is no debris, etc. inside the battery-chamber/memory card
slot cover.
• Make sure that the battery-chamber/memory card slot cover is rmly closed.


