23
en
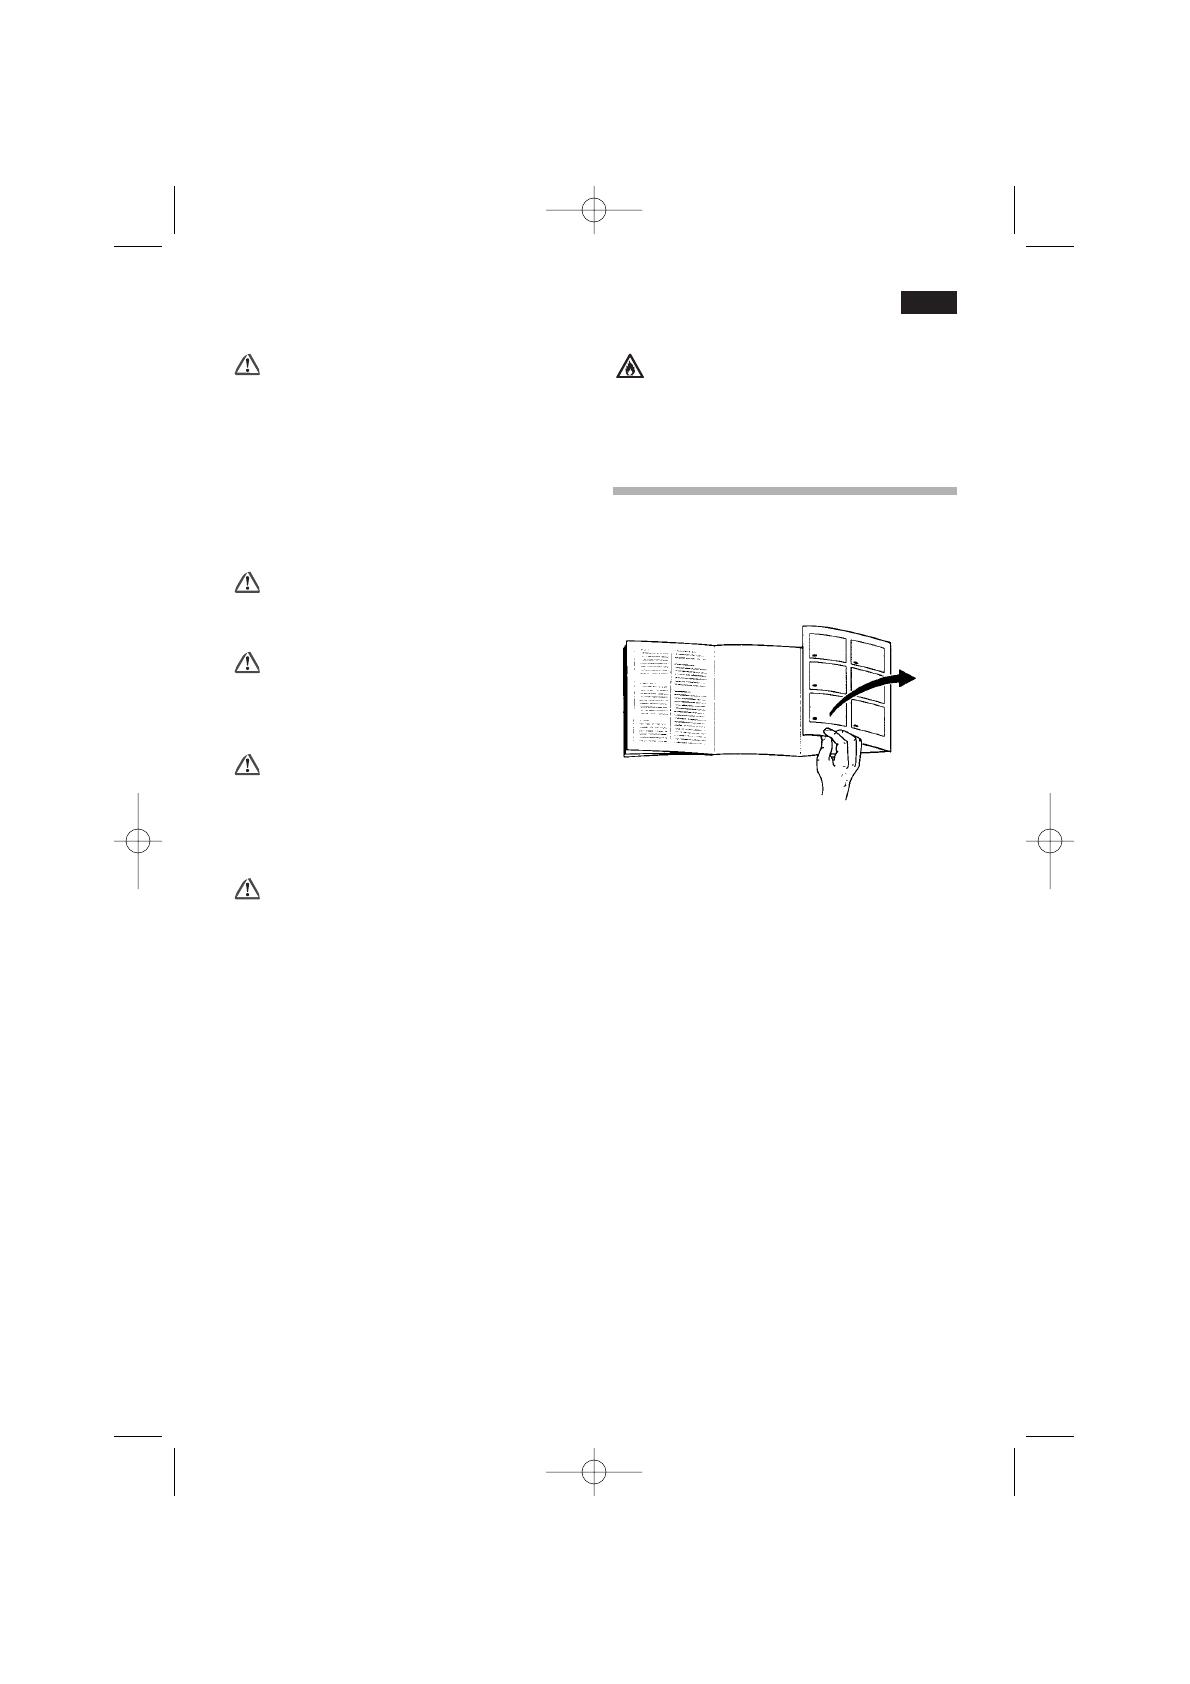
Connecting the appliance
Figure W
• Press button 1 to turn the refrigerator
compartment on. The light comes on
when the door is opened.
• Press button 12 to turn the freezer
compartment on.
• Alarm indicator light 8 lights up after
turning the freezer on (See Control
Panel section. 8 alarm indicator light)
The appliance is factory-set to the
following basic settings
Refrigerator temperature: +6ºC
Freezer temperature: -18ºC
Setting the temperature
The set temperatures can be changed.
See the descriptions in the following
sections:
3 Refrigerator temperature setting
button.
9 Freezer temperature setting button.
Note refrigeration zones
in the refrigerator
compartment!
The air circulation in the refrigerator
compartment means that there are
zones at different temperatures.
Depending on the model, the zone for
sensitive foods is right at the bottom
between the arrow on the side and the
glass surface below (fig. !1/1 and 2) or
between the two arrows (fig. !2/1 and 2).
Ideal for storing meat. fish, sausage and
salad mixtures, etc.
Information and warnings
regarding the appliance
when in use .
• The fan (Fig. Q/18) turns itself on and
off as required by the refrigerator
compartment.
• The front of the freezer housing heats
up slightly. This prevents condensed
water from forming in the area of the
door seal.
• When the refrigeration system is
working, drops of water or frost form
on the back wall of the refrigerator.
This is perfectly normal and occurs for
technical reasons. It is not necessary
to scrape the frost or dry the drops as
they should desappear automatically.
Defrosting water is collected in the
drainage duct (Fig. I/A) and returned
to the refrigerator system, where it
then evaporates.
• When air conditions are extremely
humid, condensed water may form
inside the refrigerator, particularly on
the glass shelves. Should this happen,
then food in the refrigerator should be
wrapped and a lower temperature set.
• Sometimes after closing the door, it
may not be possible to open it straight
away. This is because a depression is
created inside the appliance when the
door is opened. When this happens,
wait two or three minutes before trying
to open the door again to allow the
depression inside the appliance to be
compensated for.
• The refrigeration system your
appliance uses means that frost may
form quite quickly on some points of
the freezer shelves. This does not in
any way affect the working order of
your appliance or bring about any
increase in electricity consumption.