20
HOW TO USE
Operating Instructions
The setting value can be changed by pressing the “ ”
key.
The items are different from each model. Refer to “Setting
item chart”
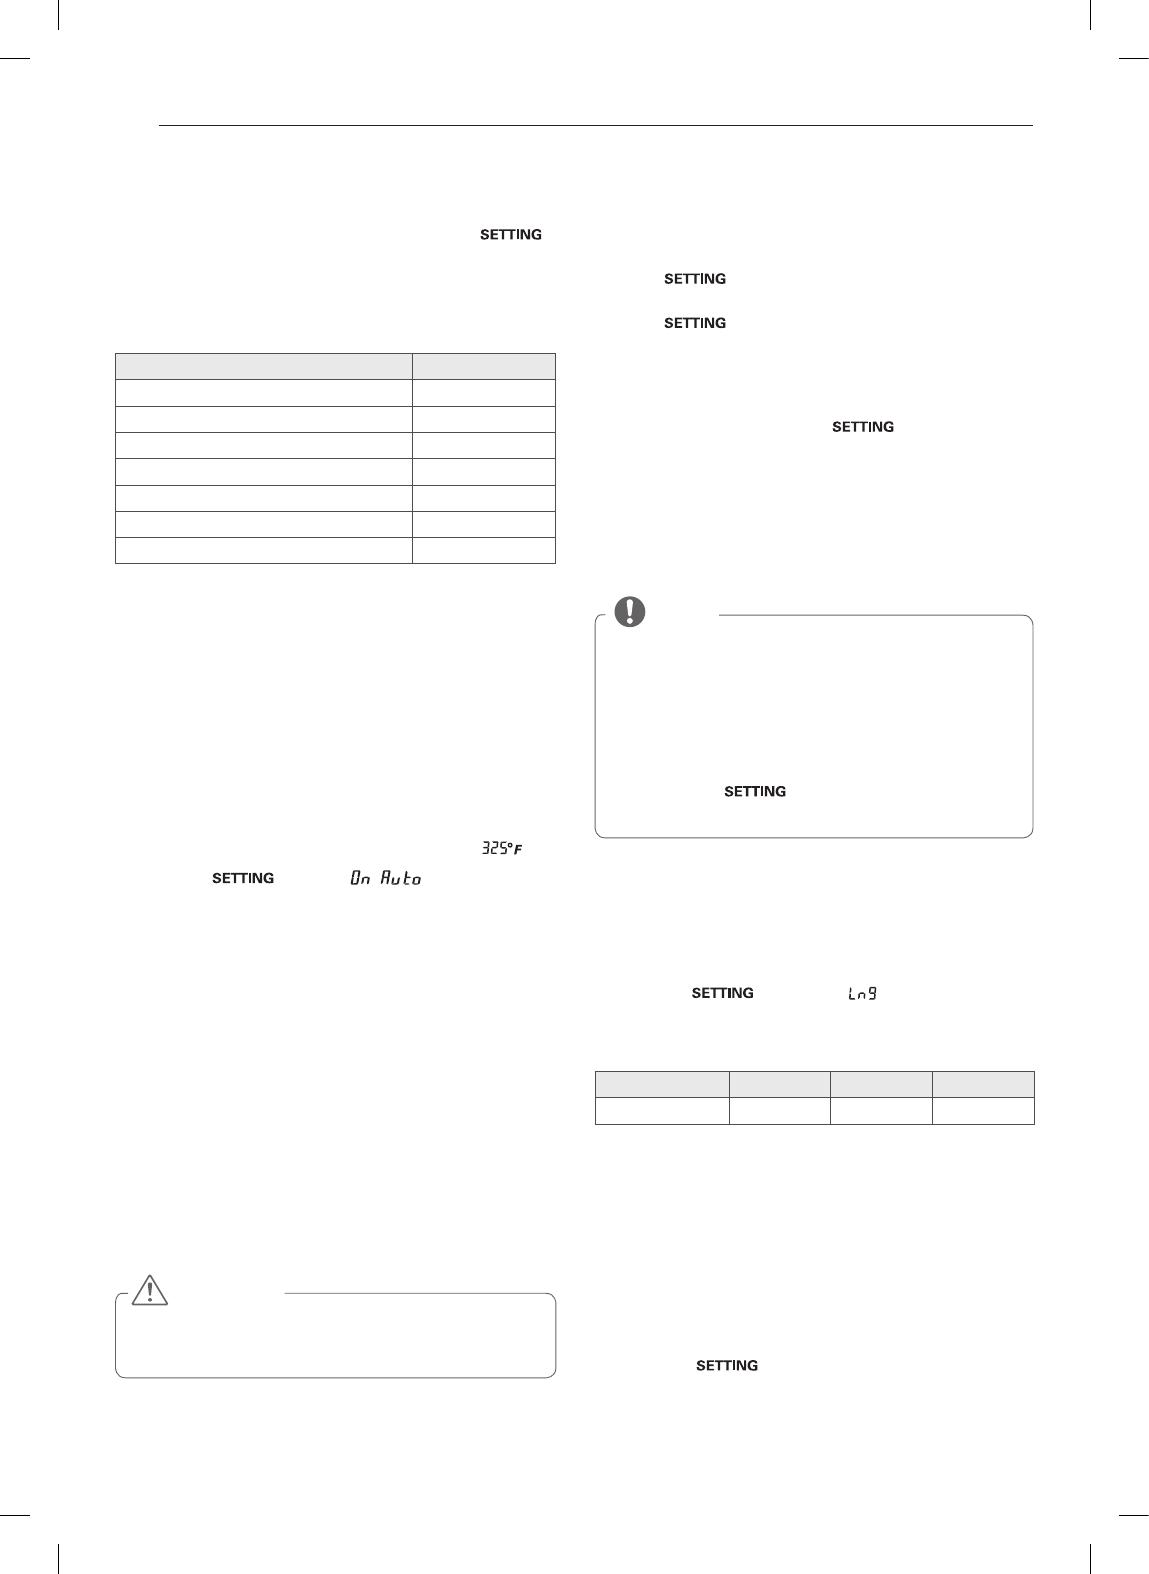
SETTING ITEM CHART
How to set the convection auto
conversion function for the lower
oven
When using convection bake and roast, the convection auto
conversion feature will automatically convert entered regular
baking temperatures to convection baking temperatures.
This feature is activated so that the display will show the
actual converted temperature. For example, if you enter a
regular recipe temperature of 350°F and touch the
q
key,
the display will show the converted temperature of
.
1
Press the key once. will appear in the
display.
2
Press
1
for auto conversion On, or press
2
for auto conver-
sion Off.
3
Press the
q
Key to accept the change.
1
Determine which oven you would like to adjust (upper or
lower).
2
Press key 2 times for the lower oven,
e
will
appear in the display.
Press
key 3 times for the upper oven,
f
will
will appear in the display.
3
Using the number keys, enter the amount of degrees that
you wish to adjust the oven up or down. To adjust the
temperature down, press the
key after keying in
the numbers.
Example:
To adjust the oven temperature
up
15 degrees, press
1
,
5
.
To Adjust the oven temperature
down
15 degrees, press
1
,
5
,
X
4
Press the
q
key to accept the change.
How to select language
The default language of the oven's display is English. It can
be changed to Spanish or French.
1
Press the key 4 times. (Language) will
display.
2
Press the number key to select language.
3
Press the
q
key to accept the change.
How to Set Preheating Alarm Light On/
Off
When the oven reaches its set-temperature, the preheating
alarm ligth will flash until the oven door is opened. You can
activate or deactivate the preheating alarm light.
1
Press the key 5 times.
s
will display.
2
Press the number
1
key to select On, or press
2
to select
Off.
3
Press the
q
key to accept the change.
CAUTION
DO NOT
use thermometers, such as those found in
grocery stores, to check the temperature setting of your
oven. These thermometers may vary 20–40 degrees.
NOTE
y
This adjustment will not affect the broiling or the Self
Clean temperatures. The adjustment will be retained in
memory after a power failure. The oven temperature
can be increased (+) or decreased (-) as much as 35°F or
19°C.
y
To decrease or increase temperature during cooking
1. Using the number keys, enter the new temperature.
2. Press the key once.
3. Press the
q
key to accept the choice.
Operating Instruction LDG3017ST
Convection Auto Conversion Once
Temperature Setting (Lower oven) Twice
Temperature Setting (Upper oven) Three times
Language Four times
Preheating Alarm light On/off Five times
Beeper Volume Six times
Fahrenheit or Celsius Seven times
How to adjust the temperature
settings:
You may find that your new oven cooks differently than the
one it replaced. Use your new oven for a few weeks to be-
come more familiar with it before changing the temperature
settings. After familiarizing yourself with the new oven, and
you still think that it is too hot or too cold, you can adjust the
thermostat yourself.
Languages English Spanish French
Number key 1 2 3


