14
4. Press the quickset pad below Ok to enter the cooking menu
or press START to run the selected cooking function with the
set temperature, without any timer set.
Once entering the cooking menu, it is possible to change the
temperature and set the Cook Timer and Delay Start. If the
Cook Timer is set, the When Done option can be set. The
Power Preheat option is also available with Convect Bake.
See the “Convect Bake (Power Preheat)” section.
5. (Optional) If a cook time is desired, enter a cooking length
using the number keypad to set a timer to alert you when
cooking ends. The time length cannot exceed 12 hours. See
“Cook Timer” section for additional information.
When the cook time expires, the oven will behave as chosen
in the When Done option.
6. (Optional) To set a delayed start, press the left and right arrow
keys until Delay is highlighted, then press the quickset pad
below Delay. Scroll to the desired time for delay and press the
quickset pad below Delay. See the “Delay Start” section for
additional information.
7. (Optional) Press the quickset pad below WHEN DONE. The
When Done option allows you to select one of the following
options:
Turn Off: Play a sound and turn off the oven at the end of the
countdown.
Hold Temp: Play a sound every minute and continue to run
the cooking function at the end of the countdown. (This is the
default option.)
Keep Warm: Play a sound and start the Keep Warm cycle at
the end of the countdown.
Press the quickset pad below the desired option.
8. (Optional) To change the Power Preheat option, press the
quickset pad below Power Preheat. The Power Preheat
default setting is On. For more information, see the “Convect
Bake (Power Preheat)” section.
Use the arrow keys to select the desired option (On or Off),
then press the quickset pad below Ok.
9. Press START to begin preheating the oven. The display will
indicate that the oven is preheating to the programmed
temperature.
10. Place food in oven when preheat signal sounds. The screen
will also prompt you when to insert food. If a Delay is
programmed, place food in oven when setting the mode.
NOTE: Do not use Delay for items that require a preheated
oven, such as cakes, cookies and breads. If food is in the
oven during preheat, it may become overcooked.
11. Press LOWER CANCEL to turn off the oven.
Convect Bake (Power Preheat)
IMPORTANT: Convect Bake (Power Preheat) is only for 1-rack
baking.
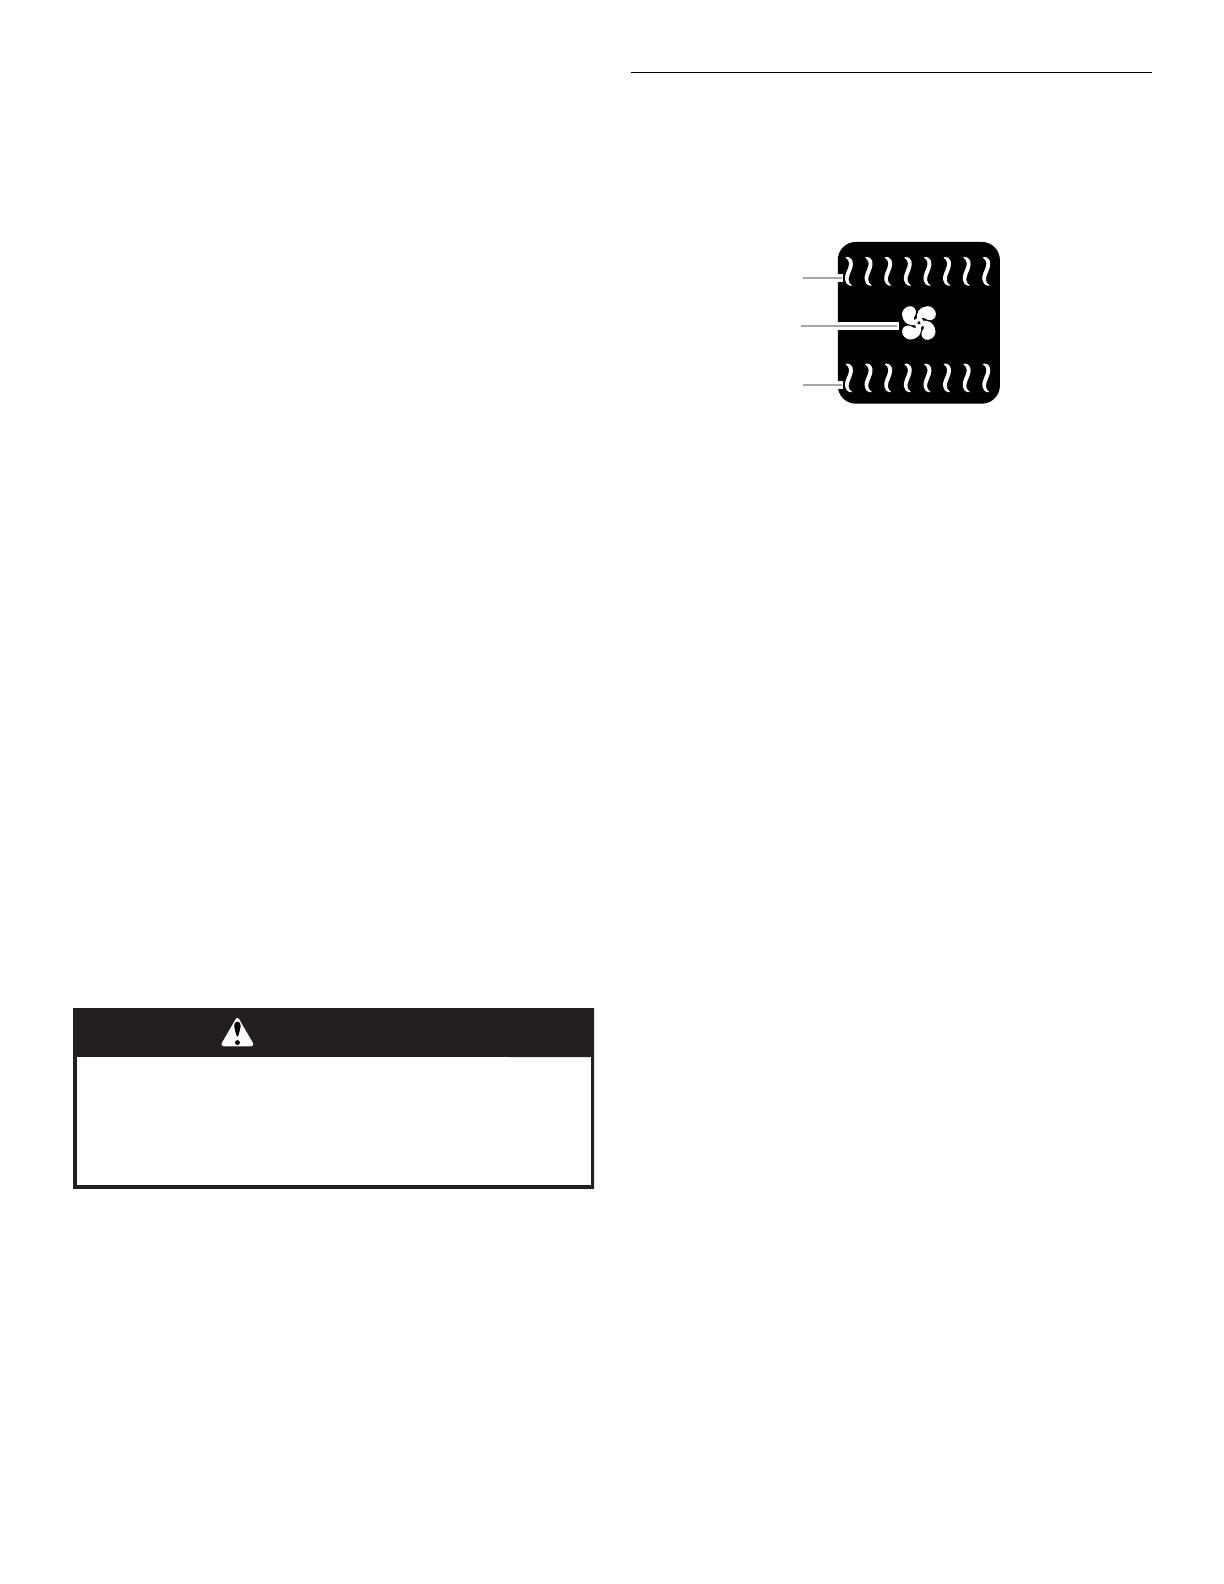
The convection element is hidden in the rear panel of the oven
cavity, and, assisted by the convection fan, provides balanced,
efficient heating.
NOTE: The Power Preheat option is set to On. Power Preheat
can be enabled or disabled from the Cooking Menu or from the
Settings Menu.
The Convect Bake (Power Preheat) mode will preheat the oven
faster than other modes. During Convect Bake (Power Preheat),
the broil, convect and bake elements cycle on and off to reach
and then to maintain oven temperature.
The convection fan will cycle on and off during preheat.
Depending on your model, it will cycle on and off in intervals or
run continuously after preheat. This mode can be used for one-
and two-rack baking of items such as cakes, cookies, biscuits,
meat and poultry.
If the oven door is opened during convection baking, the fan
turns off immediately and then turns on immediately when the
door is closed. The Convection, Bake and Broil elements will turn
off approximately 30 seconds after the door is opened. They will
turn on again approximately 30 seconds after the door is closed.
NOTE: Reduce recipe temperature by 25°F (14°C) for this cycle.
To Use Convect Bake (Power Preheat):
Before using Convect Bake (Power Preheat), see the “Positioning
Racks and Bakeware” section and the following tips for rack
positions.
NOTE: An “f” after the rack position number indicates that the flat
rack should be used, and an “ro” indicates that the roll-out rack
should be used.
Rack positions for 27" (68.6 cm) and 30" (76.2 cm) ovens
1-rack baking: 3f
For roasting small cuts of meat and poultry: 2ro
For roasting large cuts of meat and poultry: 1ro
1. Press CONVECT then press the quickset pad below Convect
Bake.
2. A prompt for recipe conversion will appear in the display.
Press the quickset pad below Yes or No.
3. From the Temperature screen, use the number keypad to
enter a desired cooking temperature. The temperature must
be between 170°F (77°C) and 550°F (288°C) or an invalid key
alert occurs and the default temperature appears on the
screen.
4. Press the quickset pad below Ok to enter the cooking menu
or press START to run the selected cooking function with the
set temperature, without any timer set.
Once entering the cooking menu, it is possible to change the
temperature and set the Cook Timer and Delay Start. If the
Cook Timer is set, the When Done option can be set. The
Power Preheat option is also available with Convect Bake.
WARNING
Food Poisoning Hazard
Do not let food sit in oven more than one hour before
or after cooking.
Doing so can result in food poisoning or sickness.
A. Broil element
B. Convection fan
C. Bake element
C
B
A


