1
Getting started
Installation tips ...........................................2
Pre-installation checklist ...........................3
Old thermostat removal
Remove old thermostat .............................5
Identify and label wires ..............................7
New thermostat installation
Wallplate mounting ..................................10
Wire connections ..................................... 12
Battery installation ...................................14
Set fan operation switch .........................15
Thermostat mounting ..............................16
System setup
How to change settings...........................17
Set system type .......................................18
Set heating cycle rate ..............................19
Set temperature display ..........................20
Appendices
In case of difficulty...................................21
Customer assistance ...............................23
Accessories ..............................................23
1-year limited warranty ............................24
Table of contents
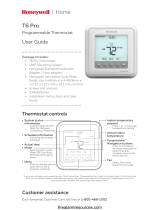
RTH4300B Programmable Thermostat