Schneider Electric Easy UPS On-Line User manual
- Type
- User manual
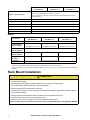
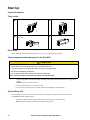
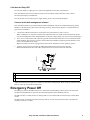
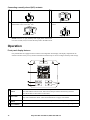
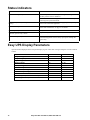
Schneider Electric Easy UPS On-Line is a high-performance UPS that provides reliable power protection and pure sine wave output for sensitive electronics. It features advanced voltage regulation, automatic voltage transfer, and energy-saving ECO mode. The intuitive LCD interface offers clear status information and easy configuration. With its compact design, it fits effortlessly into any environment. Protect your critical equipment from power outages, surges, and spikes with Schneider Electric Easy UPS On-Line.
Schneider Electric Easy UPS On-Line is a high-performance UPS that provides reliable power protection and pure sine wave output for sensitive electronics. It features advanced voltage regulation, automatic voltage transfer, and energy-saving ECO mode. The intuitive LCD interface offers clear status information and easy configuration. With its compact design, it fits effortlessly into any environment. Protect your critical equipment from power outages, surges, and spikes with Schneider Electric Easy UPS On-Line.


-
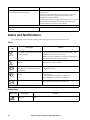
 1
1
-
 2
2
-
 3
3
-
 4
4
-
 5
5
-
 6
6
-
 7
7
-
 8
8
-
 9
9
-
 10
10
-
 11
11
-
 12
12
-
 13
13
-
 14
14
-
 15
15
-
 16
16
-
 17
17
-
 18
18
-
 19
19
-
 20
20


Schneider Electric Easy UPS On-Line User manual
- Type
- User manual
Schneider Electric Easy UPS On-Line is a high-performance UPS that provides reliable power protection and pure sine wave output for sensitive electronics. It features advanced voltage regulation, automatic voltage transfer, and energy-saving ECO mode. The intuitive LCD interface offers clear status information and easy configuration. With its compact design, it fits effortlessly into any environment. Protect your critical equipment from power outages, surges, and spikes with Schneider Electric Easy UPS On-Line.
Ask a question and I''ll find the answer in the document
Finding information in a document is now easier with AI