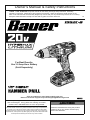
Bauer 56723 Owner's manual
- Category
- Power tools
- Type
- Owner's manual
This manual is also suitable for
Bauer 56723 is a versatile tool designed for various DIY and home improvement tasks. It features a powerful motor that delivers excellent performance and can handle a wide range of materials. With its compact size and lightweight design, it offers great maneuverability and control, making it ideal for intricate projects and tight spaces. Whether you're a seasoned pro or just starting out, Bauer 56723 is a reliable companion for your projects.
Bauer 56723 is a versatile tool designed for various DIY and home improvement tasks. It features a powerful motor that delivers excellent performance and can handle a wide range of materials. With its compact size and lightweight design, it offers great maneuverability and control, making it ideal for intricate projects and tight spaces. Whether you're a seasoned pro or just starting out, Bauer 56723 is a reliable companion for your projects.


-
 1
1
-
 2
2
-
 3
3
-
 4
4
-
 5
5
-
 6
6
-
 7
7
-
 8
8
-
 9
9
-
 10
10
-
 11
11
-
 12
12
-
 13
13
-
 14
14
-
 15
15
-
 16
16


Bauer 56723 Owner's manual
- Category
- Power tools
- Type
- Owner's manual
- This manual is also suitable for
Bauer 56723 is a versatile tool designed for various DIY and home improvement tasks. It features a powerful motor that delivers excellent performance and can handle a wide range of materials. With its compact size and lightweight design, it offers great maneuverability and control, making it ideal for intricate projects and tight spaces. Whether you're a seasoned pro or just starting out, Bauer 56723 is a reliable companion for your projects.
Ask a question and I''ll find the answer in the document
Finding information in a document is now easier with AI
Related papers
-
Bauer 58847-UPC Owner's manual
-
-
-
Bauer 64756 Owner's manual
-
-
-
-
-
Bauer 64121 Owner's manual
-
Other documents
-
Ryobi PCL220 Hammer Drill User manual
-
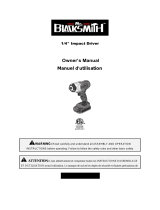
 Mr. Blacksmith 9009424 Owner's manual
-
Ryobi P214 Owner's manual
-
-
-
Hercules 56407 Owner's manual
-
 Mr. Blacksmith 9009432 Owner's manual
-
Chief Item 64636 Owner's manual
-
Chicago Electric 95877 User manual
-
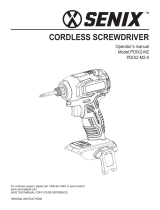 Senix PDIX2-M2 User manual


