19
OPERATION
Oven functions and operation.
Oven with automatic air
circulation
(including fan)
The oven can be warmed up using the bottom
and top heaters, as well as the grill. Operation
of the oven is controlled by the oven function
knob – to set a required function you should
turn the knob to the selected position, as well
as the temperature regulator knob – to set a
required function you should turn the knob to
the selected position.
The oven can be switched off by setting both
of these knobs to the position “”/“0”.
Caution!
When selecting any heating func-
tion (switching a heater on etc.) the
oven will only be switched on after
the temperature has ben set by the
temperature regulator knob.
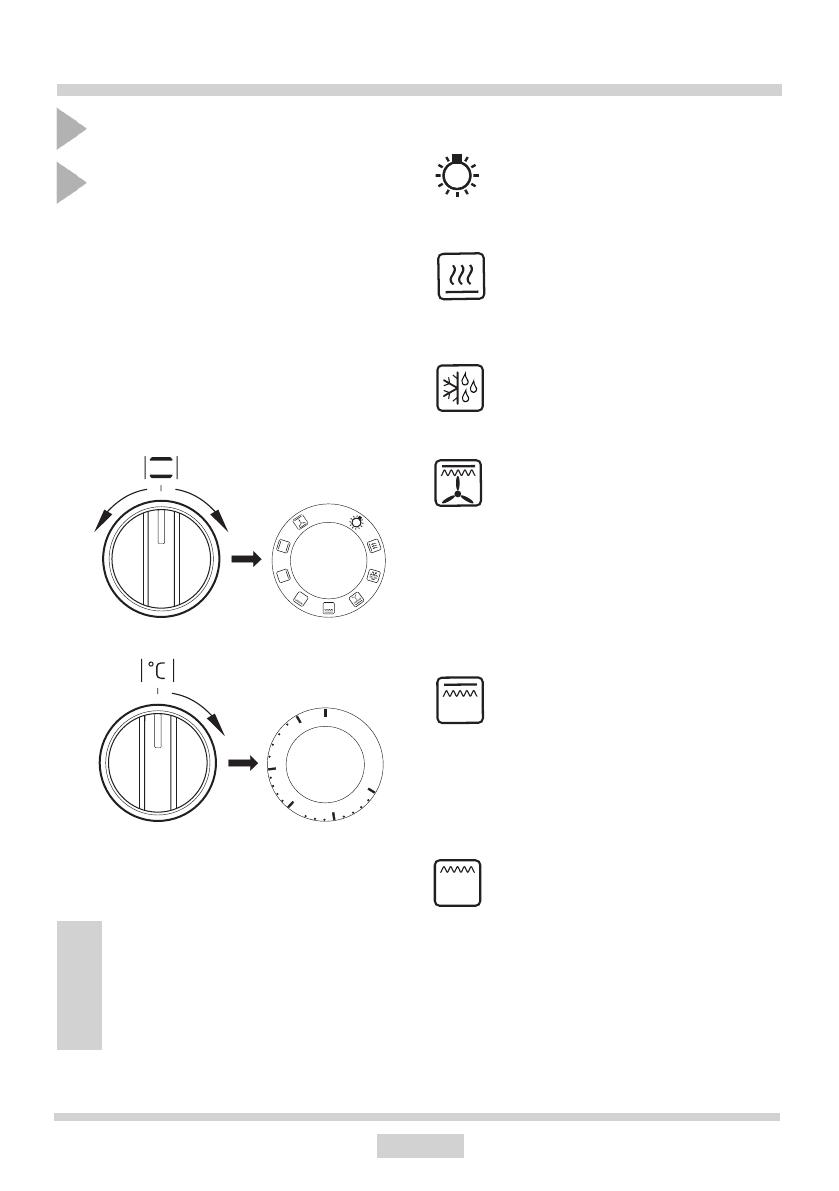
0 Oven is off
Independent oven lighting
Set the knob in this position to light up
the oven interior.
Roaster on.
Roasting is used for cooking of small
portions of meat: steaks, schnitzel,
fish, toasts, Frankfurter sausages,
(thickness of roasted dish should not
exceed 2-3 cm and should be turned
over during roasting).
Defrosting
Only fan is on and all heaters are off.
Rapid Preheating
Top heater, roaster and fan on. Use to
preheat the oven.
Fan and combined grill on
When the knob is turned to this posi-
tion, the oven activates the combined
grill and fan function. In practice, this
function allows the grilling process to
be speeded up and an improvement
in the taste of the dish. You should
only use the grill with the oven door
shut.
Enhanced roaster (super roaster)
In this setting both roaster and top
heater are on. This increases tem-
perature in the top part of the oven’s
interior, which makes it suitable for
browning and roasting of larger por-
tions of food.


