Troubleshooting
18
Rechargeable battery use
Specification
The unit utilizes long-life Li polymer battery for portable power supply.The battery
has no Memory Effect and thus can be recharged safely regardless of whether
the battery is fully or partially discharged.It is enough to recharge no longer than
6H each time.fully recharged battery can last about 2 hours.
The battery can be only recharged when turning power to OFF state,and keep
continuous power supply,the red light will be on,and thelight will turn yellow when
it is fully charged.
Precautions related to Battery Recharge
Using and Maintaining Rechargeable Battery
19
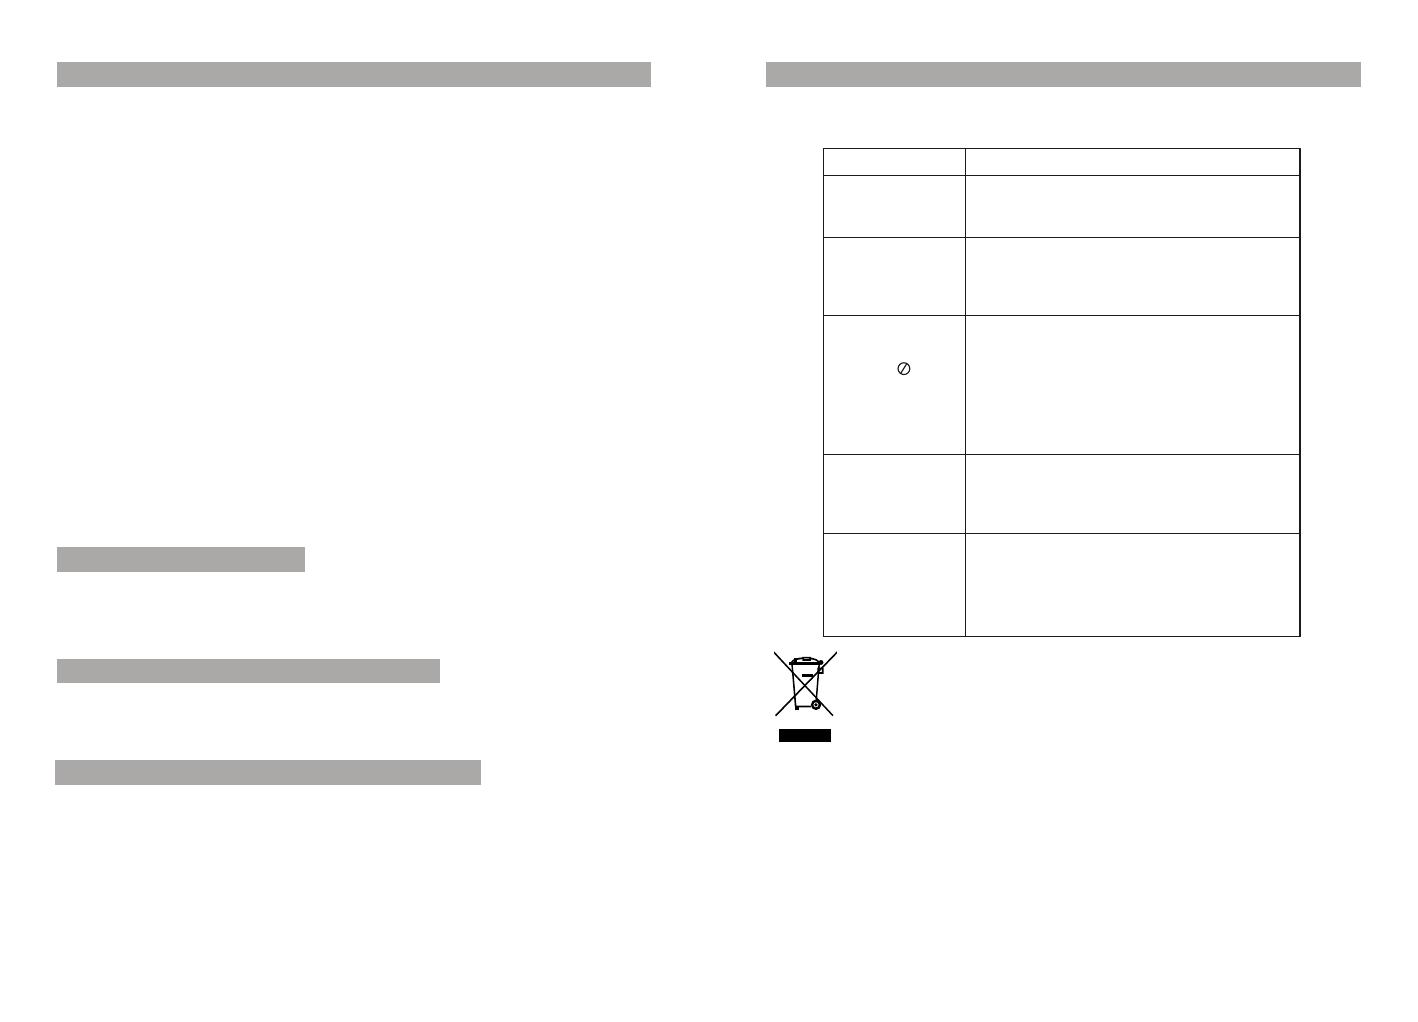
PROBLEM SOLUTION
No sound or
distorted sound
Make sure the machine is connected properly.
Make sure all cables are securely inserted into
the appropriate jacks.
The icon
appears on
screen
Can't advance
through a movie
Picture is distorted
No forward or
reverse scan
You can't advance through the opening credits
and warning information that appears at the
beginning of movies because the disc is
programmed to prohibit that action.
The feature or action cannot be completed at
this time because:
1. The disc's software restricts it.
2. The disc's software doesn't support the
feature (e.g., angles)
3. The feature is not available at the moment.
4. You've requested a title or chapter number
that is out of range.
Some discs have sections that prohibit rapid
scanning or chapter skip;
If you try to skip through the warning information
and credits at the beginning of a movie, you
won't be able to. This part of the movie is often
programmed to prohibit skipping through it.
The disc might be damaged. Try another disc;
It is normal for some distortion to appear during
forward or reverse scan.
Compatible disc: DVD+R/RW, DVD-R/RW,Xvid, CD-DA,
CD-R/RW, MP3,JPEG, VCD2.0
Signal system: PAL/NTSC
Panel size: 9inch
Picture resolution: 640x234 (RGB)
Frequency response: 20 Hz to 20 kHz
Video output: 1 Vp-p/75 Ohm, unbalanced
Audio output: 1.4Vrms/10kOhm
Audio S/N: Better than 80 dB
Dynamic range: Better than 85 dB
USB: support USB 1.1
Laser: Semiconductor Laser, Wave Length: 650 nm/795 nm
Power source: DC 9-12V
Power consumption: 10 W
Operating temperature: 0~40°C
Weight: 0.79kg
Dimensions (W x D x H): 233x 170 x 36mm
Battery Type: Li Polymer
1. The normal working temperature is: 0 ~40 ;
2. Always unplug AC/DC power supply for the unit when not in use;
3. Heat will create during playing, it's normal, while avoid long time playing and
unattended;
4. Avoid having the unit collide with any objects, and place away from all possible heat
sources or damp areas.
°C °C
Note:
1.The quality and speed for reading JPEG photos depend on the resolution and
compression ratio of the photos. Some JPEG photo may not be played due to
the disc quality and the formats.
2.Some DVD+R/RW,DVD-R/RW,CD-R/RW disc may not be played due to the quality
on burning conditions.
Owing to continuous improvement, no prior notice will be given regarding changes on above
feature and spec.
If at any time in the future you should need to dispose of this
product please note that waste electrical products should not
be disposed of with household waste. Please recycle where
facilities exist. Check with your Local Authority or retailer for
recycling advice.(Waste Electrical and Electronic equipment
Directive)


