10 Navigation and Editing Keys English
BMP
®
41 Quick Start Guide 6/7/13
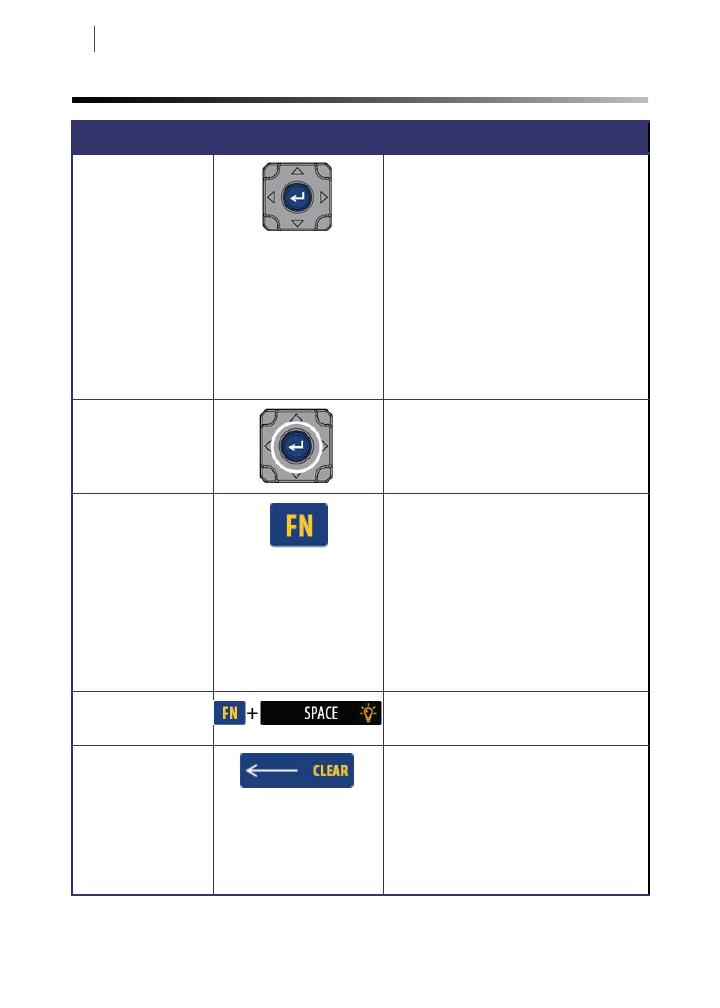
Navigation and Editing Keys
Function Key Description
Navigation Keys Navigation keys:
• In a line of text, move the cursor left
or right a character at a time, or up
and down a line at a time.
• In menus, move the selection left or
right in a primary menu; up or down
through a secondary, or sub-menu.
• In a dialog box, move up/down or
left/right through the fields. In a field
with a drop down list, after pressing
ENTER, move the cursor up or down
through the list.
• In Print Preview, scroll left or right
through multiple areas on a label.
ENTER Key • Adds a new blank line to a label.
• Accepts menu items and attributes.
Alternate Function
Key
• Used in conjunction with the
alternate function (displayed in
yellow) on some of the keys. Press
FN key, then press the alternate
function key.
OR
Hold the FN key while
simultaneously pressing the
alternate function.
• Used to access special characters
on the alphabetical keys.
Backlight Key Increases readability of screen in low
light conditions.
Backspace Key • Removes characters one at a time,
moving to the left.
• Backs out of menu options and
functions, one screen at a time.
Note: Depending on how deep you are
into menus and functions, you may
have to press Backspace multiple
times.


