6
EUROGRAND EG540/1040
1. INTRODUCTION
Congratulations! With the EG540/1040 you have purchased a
master-class digital piano which is on a par with its acoustic
counterpart in terms of sound and feel. The keyboard features
88 weighted keys with hammer action, in combination with the
RSM stereo sound generator this gives you an unparalleled playing
experience. High-quality modulation and room effects as well as
a 2 x 20-Watt loudspeaker system produce a very natural and
spacious sound. The 2-track sequencer for recording and
practicing also includes a metronome and adds the finishing
touch to the overall concept.
1.1 Before you get started
1.1.1 Shipment
Your EG540/1040 was carefully packed at the factory, and the
packaging was designed to protect the unit from rough handling.
Nevertheless, we recommend that you carefully examine the
packaging and its contents for any signs of physical damage
that may have occurred during transit.
If the unit is damaged, please do NOT return it to
BEHRINGER. Instead, notify your dealer and the
shipping company immediately. Otherwise, claims
for damage or replacement may not be honored.
Always use the original packing carton to prevent
damage during storage or transport.
Make sure that no children are left unsupervised
with the EG540/1040 or its packaging.
Please ensure proper disposal of all packing materials.
1.1.2 Initial operation
Be sure that there is enough space around the unit for cooling
and please do not place the EG540/1040 on high temperature
devices such as radiators etc. to avoid overheating.
Blown fuses must be replaced by fuses of the same
type and rating! Please refer to the
“SPECIFICATIONS” for details.
The mains connection of the EG540/1040 is made by using the
enclosed mains cable and a standard IEC receptacle. It meets all
of the international safety certification requirements.
Please make sure that all units have a proper
ground connection. For your own safety, never
remove or disable the ground conductor from the
unit or of the AC power cord.
1.1.3 Online registration
Please do remember to register your new BEHRINGER equipment
right after your purchase by visiting www.behringer.com
(alternatively www.behringer.de) and kindly read the terms and
conditions of our warranty carefully.
Should your BEHRINGER product malfunction, our goal is to have
it repaired as quickly as possible. To arrange for warranty service,
please contact the retailer from whom the equipment was
purchased. Should your BEHRINGER dealer not be located in
your vicinity, you may directly contact one of our subsidiaries.
Corresponding contact information is included in the original
equipment packaging (Global Contact Information/European
Contact Information). Should your country not be listed, please
contact the distributor nearest you. A list of distributors can be
found in the support area of our website (www.behringer.com).
Registering your purchase and equipment with us helps us
process your repair claims quicker and more efficiently.
Thank you for your cooperation!
2. MAINTENANCE
The EG540/1040 is an electronic piano. Unlike an
acoustic piano, this instrument does not need to
be tuned.
3. QUICK START
3.1 Power on/off
The EG540/1040 is a digital, i.e. electronic, piano. Therefore,
mains power is required to operate the instrument and it has to
be switched on or off. The following section describes how to
connect the unit to the mains.
The POWER switch to the left of the keyboard must
be in the “off” position when you connect the unit
to the mains.
FUSE HOLDER / IEC RECEPTACLE
The EG540/1040 is connected to the mains using a standard IEC
receptacle. All required safety regulations have been adhered
to. A matching power cable is included with the unit. Blown
fuses must be replaced with a fuse of the same type and rating.
1) Connect the power cable supplied with the unit to the
connector provided on the underside of the instrument and
to a wall socket
2) Press the POWER switch to the left of the keyboard to switch
the instrument on or off. The LED on the front panel lights up
when the EG540/1040 is ready for operation.
After playing, switch off the unit with the POWER
switch. The POWER LED on the front panel will go
out. Please note: Merely switching the unit off does
not mean that it is fully disconnected from the
mains. If you do not plan to use your piano for a
prolonged period of time, please disconnect it
from the mains by unplugging the power cable
from the wall outlet.
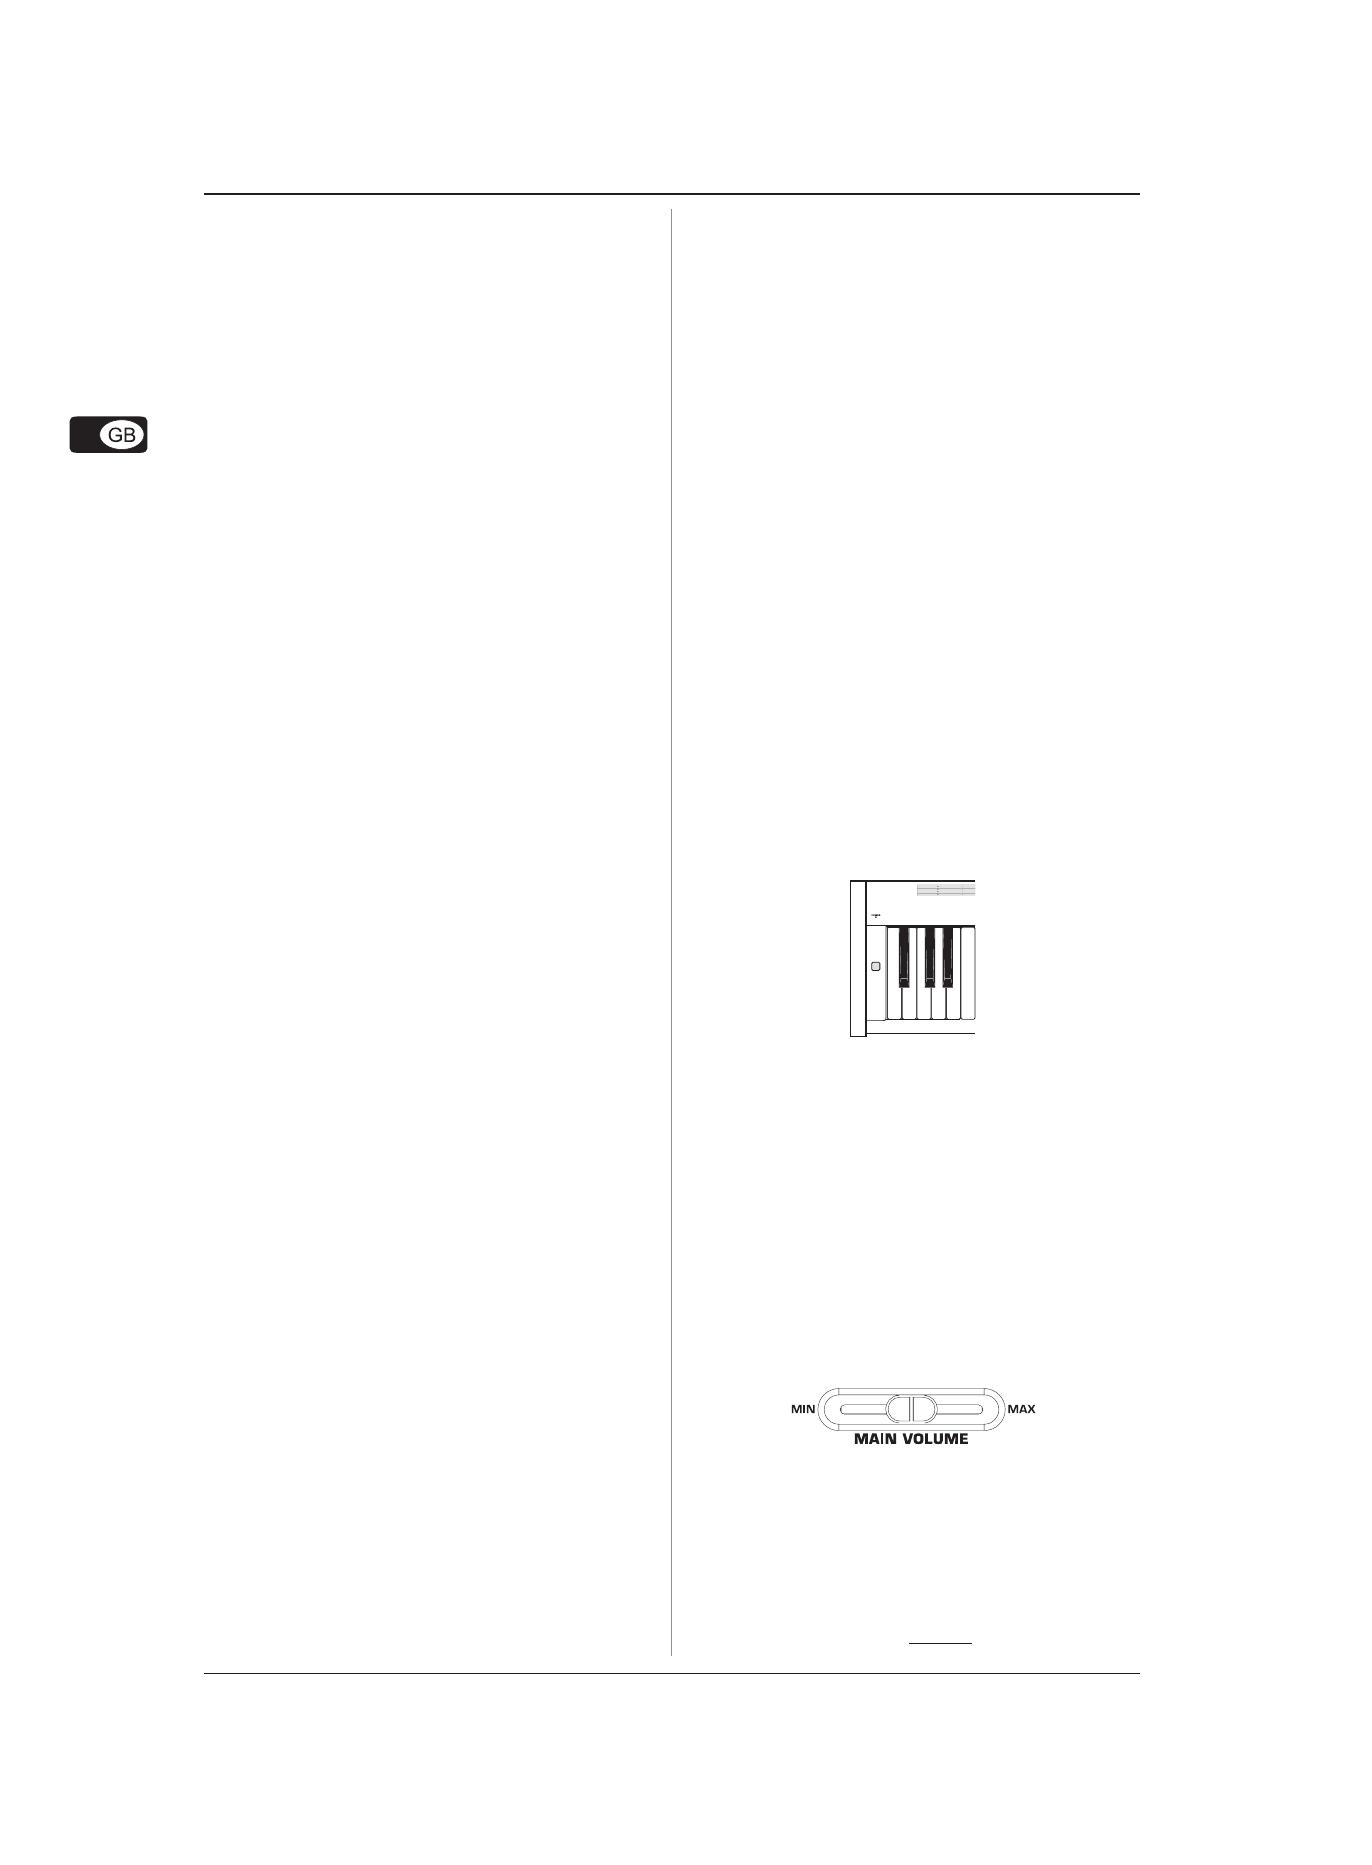
3.2 Adjusting the volume
The volume of the built-in loudspeakers and headphones can be
adjusted as follows:
1) Set the MAIN VOLUME control to mid-travel position, between
MIN and MAX.
2) Adjust the volume as desired by moving the control to the
right (up) or left (down).
ATTENTION!
The EG540/1040 is capable of producing extreme
volumes. Please bear in mind that high sound
pressures not only temporarily affect your sense
of hearing, but can also cause permanent damage.
Be careful to select a suitable volume at all times,
particularly when you are playing with headphones.
3. QUICK START


