Fracarro CIR700-922 User manual

Category
Security cameras
Type
User manual

Fracarro CIR700-922 is a high-resolution waterproof varifocal camera with IR LEDs for night vision, allowing you to capture clear images even in low-light conditions. It features a 1/3" Color CCD Sony Super HAD II image sensor and Sony Effio-E DSP, delivering 700 TVL resolution and a minimum illumination of 0.0003Lux with DSS activated. With its external varifocal adjustment, you can easily adjust the focal length to achieve the desired field of view.

Fracarro CIR700-922 is a high-resolution waterproof varifocal camera with IR LEDs for night vision, allowing you to capture clear images even in low-light conditions. It features a 1/3" Color CCD Sony Super HAD II image sensor and Sony Effio-E DSP, delivering 700 TVL resolution and a minimum illumination of 0.0003Lux with DSS activated. With its external varifocal adjustment, you can easily adjust the focal length to achieve the desired field of view.

Series CIR700
Guida rapida – ITALIANO
Quick guide – ENGLISH
Guide rapid - FRANCAIS
Guìa ràpida – ESPAÑOL
OSD User Manual
CIR700-3.6
Fixed 3,6 mm
24 Led – 15 m
CIR700-49
Varifocal 4-9 mm
36 Led – 30m
CIR700-922
Varifocal 9-22 mm
36 Maxi Led – 40m
5
CIR700-3.6 CIR700-49 CIR700-922 English
Waterproof varifocal camera series with IR leds high resolution
Main features
Day & Night (electronic IR filter)
IR led for night vision
External varifocal adjustment
700 TVL
Automatic Gain Control
IP66 protection
DSP Sony Effio with OSD
ATR 128x, HLC, 2DNR
Privacy, Motion, Mirror, Flip
Bracket with internal cable passage
Package content:
- Camera with bracket
- Tool for bracket adjustment
- Fixing screws
- Mini screw driver for zoom/focus adjustment (only varifocal version)
Technical specs:
CIR700-3.6 CIR700-49 CIR700-922
Code 918163 918164 918165
Video specs
Standard video PAL
Image sensor 1/3" Color CCD Sony Super HAD II
DSP Sony Effio-E
Pixel 976 (H) x 582 (V)
Resolution 700 TVL
Minimum illumination @ F1.2 0.01 Lux (Day), 0.003 Lux (Night), 0.0003Lux (DSS), 0 (IR led on)
Signal to Noise ratio (S/N) > 50 dB (AGC Off)
Synchronization Internal
Video output Composite video signal, 1 Vpp 75 su BNC
Functions
Wide Dynamic Range On / Off (Level adjustable), Auto detection
Digital Noise Reduction 2D-DNR
Electronic Shutter 1/50 ~ 1/100,000 include Flickerless (1/120)
Digital Slow Shutter (DSS) Off, 2~20, 40, 80, 160, 256 FLD
White Balance Auto / Indoor / Outdoor / Manual / Push Auto
Gain Control Auto / Manual
Back Light Comp. On / Off (7 Areas & Smart Area, Level:0~255)
Special features
On-Screen-Display (OSD) 8 Languages
Motion Detection 4 Detection Blocks
Camera Title Up to 16 characters
Mirror Horizontal
Lens
Focal Fixed 3.6 mm Adjustable 4 ~ 9 mm Adjustable 9 ~ 22 mm
Lens adjustment Fixed
External manual
adjustment
External manual
adjustment
6
IR filter Electronic
Infrared
Number and type of led 24 (Ø 5mm) 36 (Ø 5mm) 36 (Ø 8mm)
Projection distance
10 – 15 m indoor
5 – 10 m outdoor
20 – 30 m indoor
15 – 20 m outdoor
30 – 40 m indoor
25 – 30 m outdoor
Checking ignition Light sensor CDS, con
hysteresis
3,5 ~ 10 lux
General data
Level of protection
IP66
Power
12 Vdc +/- 10%
Absorption maximum
100 / 350 mA
100 / 400 mA
100 / 450 mA
Temperature and humidity of operation
-10 ~ +50 °C (Ur 85% max)
Size (WxHxD)
175 x 69 x 55 mm 228 x 97 x 82 mm 295 x 120 x 103 mm
Weight net/gross
300 / 830 g 550 / 880 g 950 / 1500 g
Warnings
Not orient the camera toward the sun
Direct exposure to the sun or other light sources could damage the device CCD. Handle with care - Shock improper could
damage the camera
Water protection and moisture.
The camera can not be open for not reduce the seal. The plastic caps (used on the varifocal versions) should be removed only
during adjustments to be immediately replaced and sealed. The cable with all its parts (Joystick OSD and connectors Video and
Power) is not waterproof and must be protected from the elements in a waterproof junction box.
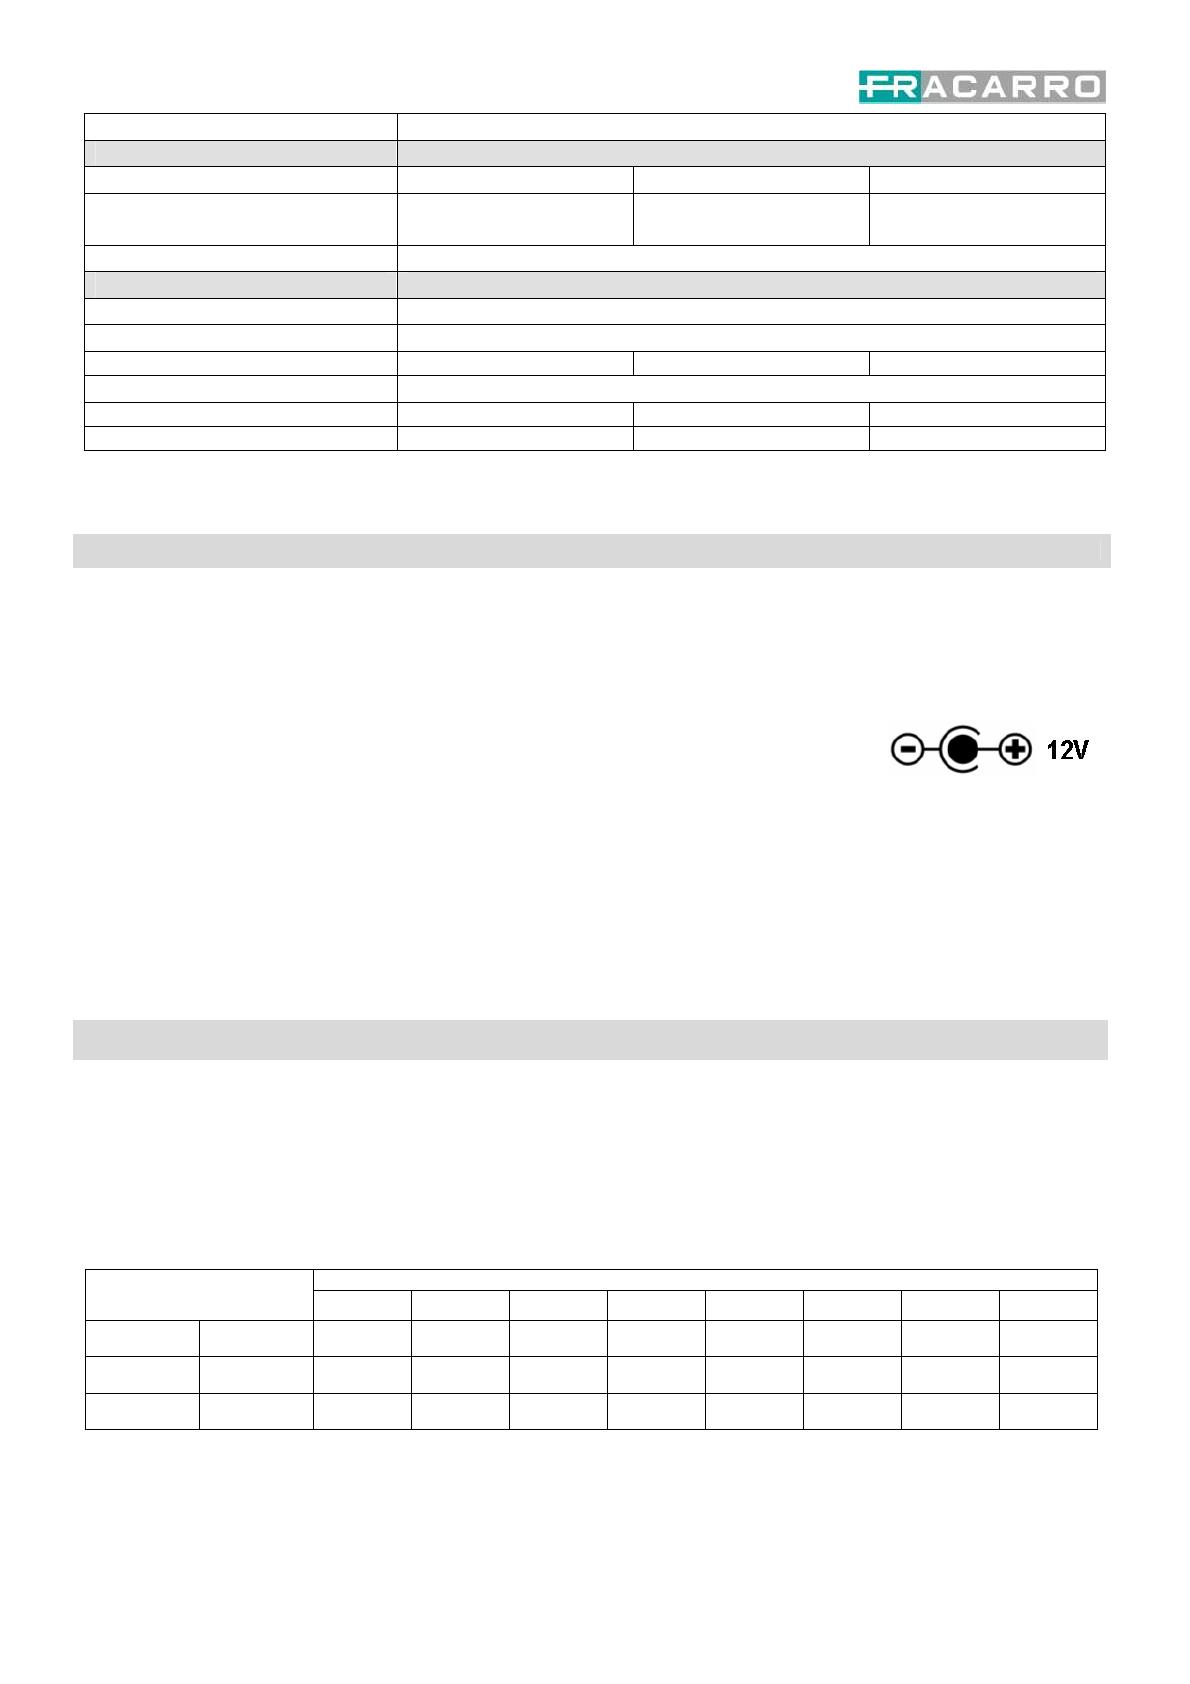
Power - Be sure to respect the positive and negative polarity, as 12V from symbol, in the wiring of
taking power
Normative - In conformity with standard EN 50130-4(European directives 2004/108/EC - EMC).
In accordance with the European Directive 2004/108/EC (EMC), the product shall be installed using devices, cables and
accessories that allow to comply with this directive requirements for fixed installations
Qualified persons
The product must be installed only by qualified persons, according to the local safety standards and regulations.
Only instructed and authorized persons can open the product. In case of failure, do not try to repair it otherwise the guarantee
will no longer be valid.
Installation instructions
Camera mounting
Fix the bracket by screws and adjust the camera direction using the dedicated tool for bracket screws.
Protect the cable, the OSD joystick and the connectors (Video and Power) from the water. A waterproof box is highly
reccomanded to protect from sun, rain and humidity all the parts aotside the bracket.
Lens adjustment (only Varifocal version)
Remove the rubber protections and adjust the zoom/focus by the relative screws
See the table of different field of view (widht) for different target distance (D).
D = Target distance
Field of view (width)
[m]
D=5 m D=10 m D=15 m D=20 m D=25 m D=30 m D=35 m D=40 m
CIR700-3.6 3,6 mm
6,7m 13,3m 20m 26,7m 33m 40m 46,7m 53,3m
CIR700-49 4 - 9 mm
6–2,7m 12–5,3m 18–8m 24–10,7m 30–13,3m 36–16m 42–18,7m 48–21,3m
CIR700-922
9 - 22 mm
2,7–1,1m 5,3–2,2m 8–3,3m 10,7–4,4m 13,3–5,5m 16–6,5m 18,7–7,6m 21,3–8,7m
Select the field of view by ZOOM screw by mini screw driver
Adjust the FOCUS
Apply the rubber protection to guarantee the water and humidity protection.
7
OSD MANAGEMENT
Advanced settings are available by joystick on the cable
Up
Move up / increase values
Down
Move down / decrease values
Left
Open sub-menu
Right
Close sub-menu
Enter
Enter menu and confirm selection
Setup item Description
LENS
Manual Lens & Auto Iris Lens Setting
MANUAL
This function is for normal lens or vari-focal lens like this camera serie.
AUTO
System automatically adjusts the iris level to control the brightness. This function is valid only for Auto Iris lens and
not available with this camera series.
SHUTTER / AGC
Shutter speed & AGC setting, it determines the image brightness under low lux or bright condition
AUTO
Mode and brightness setting of the HIGH / LOW LUMINANCE
MANUAL
Parameter of the mode, shutter and AGC
WHITE BAL
White balance mode setting, it determines the way the color is produced
ANTI CR
Color Rolling suppress
MANUAL
Manually adjust the white balance
PUSH LOCK
Press OSD ENTER button to lock the current white balance, once it is locked, the white balance will not operate even
when light temperature is changed.
ATW
Auto Trace White
PUSH
Similar to ATW, but system will force to track white balance continuously
USER1
User define white balance #1
USER2
User define white balance #2
BACKLIGHT
Backlight setting
OFF
Default Setting
BLC
Back light compensation
HLC
High light compensation
PICT ADJUST
Basic image adjustment such as hue, saturation, contrast, sharpness
MIRROR
ON/OFF, Flip image horizontally
BRIGHTNESS
0-255, Brightness (Default: 0)
CONTRAST
0-255, Contrast (Default: 128)
SHARPNESS
0-255, Sharpness (Default: 128)
HUE
0-255, Color Hue (Default: 102 for NTSC, 108 for PAL)
GAIN
0-255, Color Saturation (Default: 128)
ATR
Adaptive tone reproduction, software WD setting
MOTION DET
Motion detect function, sense area, sensitivity setting
PRIVACY
Privacy mask, color, transparency setting
DAY / NIGHT
Color / Mono / Auto Mode setting
AUTO
Auto Mode
COLOR
Color mode
B/W
Black and White mode
NR
Noise Reduction setting
NR MODE
Noise reduction mode adjustment
Y LEVEL
Luminance noise reduction (Default: 4)
C LEVEL
Color noise reduction (Default: 4)
CAMERA ID
Camera ID Setting
CHR1/CHR2
Default characters and User define characters (maximum of 40)
←→↑↓
Move the location of the cursors
CLR
Clear the highlight character & move to next character
POS
Use OSD UP/DOWN/LEFT/RIGHT button to adjust the ID locations
LANGUAGE
OSD Language Setting, total of 8 languages available
CAMERA RESET
Reset OSD setting
EXIT
Leave OSD Menu
14
OSD Menu - English User manual
Press Enter to open the OSD menu:
LENS
Select ”LENS” and confirm with Enter to open the sub-menu Autoiris. Select mode in MANUAL or AUTO.
AUTOIRIS
When AUTO is selected the following parts can be selected:
Function Options Meanings
TYPE DC The camera uses a DC Lens
MODE OPEN / CLOSE / AUTO
OPEN: The mechanical iris is fixed to open.
CLOSE: The mechanical iris is fixed to close.
AUTO: The mechanical iris is controlled automatically.
SPEED 000 – 255 Select to set the convergence speed of the mechanical iris.
SHUTTER/AGC
From main OSD menu, select SHUTTER/ AGC e press Enter:
Function Options Meanings
SHUTTER/ AGC
AUTO<
MANUAL<
Press ENTER to open the sub-menu
Main Menu
AUTO IRIS
TYPE
DC
MODE
AUTO
SPEED 0 - 80
RETURN <
Sub-Menu
SETUP MENU
LENS
AUTO<
SHUTTER/AGC
AUTO<
WHITE BAL ATW<
BACKLIGHT OFF
PICT ADJUST <
ATR OFF
MOTION DET
NEXT <
EXIT< SAVE ALL<
SETUP MENU
LENS
AUTO<
SHUTTER/AGC
AUTO<
WHITE BAL ATW<
BACKLIGHT OFF
PICT ADJUST <
ATR OFF
MOTION DET
NEXT <
EXIT< SAVE ALL<
SETUP MENU
PRIVACY
OFF
DAY/ NIGHT
AUTO<
NR <
CAMERA ID OFF
SYNC INT
LANGUAGE ENGLISH
CAMERA RESET
BACK <
EXIT< SAVE ALL<
15
AUTO
HIGH LUMINANCE
Function Options Meanings
SHUT+AUTO IRIS
Combined action of automatic Shutter and Autoiris
Fixed Shutter and Autoiris enabled
MODE
AUTO IRIS *
Fixed Shutter Autoiris active
BRIGHTNESS 000 – 255
Select the references of high brightness
ATTENTION: brightness can change according to the ATR (ON/
OFF) and AWB settings.
LOW LUMINANCE
Function Options Meanings
OFF
Disabled controls (both Shutter and AGC)
MODE
AGC
Shutter disabled and AGC enabled
BRIGHTNESS x0.25; x0.50; x0.75; 1.00 Select the references of low brightness
MANUAL SETUP
Function Options Meanings
MODE SHUT+ AGC
"SHUT+AGC" is the only option available for the
ME operation mode
SHUTTER
1/60*; 1/100*; 1/250; 1/500; 1/1000;
1/2000; 1/4000; 1/10000
Select to set the ME shutter speed (in fractions
of a second).
AGC
6.00; 12.00; 18.00; 24.00; 30.00; 36.00;
42.00; 44.80
Select to set the AGC value for ME.
WHITE BALANCE
The screen color can be adjusted by using the WHITE BAL function.
Please use the and buttons to WHITE BAL on the SETUP MENU and press the ENTER button to do further settings.
Function Options Meanings
WHITE
BAL
ATW
This mode can be used within the color range from 1,800°K to 10,500°K (e.g.: fluorescent
light, inside and outside the tunnel). Press ENTER to open the submenu
SETUP MENU
LENS
AUTO<
SHUTTER/AGC
AUTO<
WHITE BAL ATW<
BACKLIGHT OFF
PICT ADJUST <
ATR OFF
MOTION DET
NEXT <
EXIT< SAVE ALL<
16
PUSH The camera will find the best settings in any condition.
USER1
Adjust the color temperature to 3,200°K for indoor spaces lit with neon lights.
Press ENTER to open the submenu and select the R and B settings manually
USER2
Adjust the color temperature to 6,300°K for shooting outdoors.
Press ENTER to open the submenu and select the R and B settings manually
ANTI CR Enable Color Rolling blanking mode
MANUAL
Press ENTER to open the submenu and select the R and B level.
When regulating R, the B component will also be automatically updated (color range from
1,800°K to 10,500°K).
PUSH
LOCK
For a proper setting, point the camera to a white piece of paper and press ENTER.
Select PUSH LOCK when it is dark or the color temperature is high around the object or
when there is a fluorescent light around the object or when the light is constantly
changing.
ATW
Function Options Meanings
SPEED 000-255 Select to adjust the pull-in speed of ATW.
DELAY CNT 000-255 Select to set the time-based hysteresis of ATW.
ATW FRAME x0.50; x1.00; x1.50; x2.00 Select to set the pull-in frame magnification.
ENVIROMENT INDOOR/OUTDOOR
Select to set the pull-in frame (indoor/outdoor) of ATW.
BACKLIGHT (Back light Compensation)
Select to set BACKLIGHT to OFF, BLC or HLC.
By selecting the BLC, normal BLC is enabled; the light level in areas too luminous is compensated while the
HLC is used to cover those overly luminous image parts with black.
PICT ADJUST
SETUP MENU
LENS
AUTO<
SHUTTER/AGC
AUTO<
WHITE BAL ATW<
BACKLIGHT OFF
PICT ADJUST <
ATR OFF
MOTION DET
NEXT <
EXIT< SAVE ALL<
SETUP MENU
LENS
AUTO<
SHUTTER/AGC
AUTO<
WHITE BAL ATW<
BACKLIGHT OFF
PICT ADJUST <
ATR OFF
MOTION DET
NEXT <
EXIT< SAVE ALL<
17
Function Options Meanings
MIRROR OFF / ON OFF: Normal output ON: Horizontally flipped output
BRIGHTNESS 000-255 Select to set the screen brightness
CONTRAST 000-255 Select to set the screen contrast
SHARPNESS 000-255 Select to set the screen sharpness
HUE 000-255 Select to adjust the hue
GAIN 000-255 Select to adjust the gain
ATR (Adaptive Tone Reproduction)
Function Options Meanings
LUMINANCE LOW - MID - HIGH Select to set the extent of the luminance compression
CONTRAST LOW – MIDLOW – MID – MIDHIGH - HIGH Select to set the extent of the contrast enhancement.
MOTION DET (Motion Detection)
This item is used to set the Motion Detection function on 4 areas
Function Options Meanings
DETECT SENSE 000-127 Select to set the motion detection sensitivity
BLOCK DISP OFF / ON
Disable the area exclusion / Set the areas to be excluded
in the movement detection / Enable the signalization
of movement on the image (the areas will be
highlighted by luminous squares)
MONITOR AREA OFF / ON
OFF: The monitoring frames are not used.
ON: The monitoring frames are used
AREA SEL 1/4 ; 2/4 ; 3/4 ; 4/4 Select to deinfe the monitoring frame to be set
SETUP MENU
LENS
AUTO<
SHUTTER/AGC
AUTO<
WHITE BAL ATW<
BACKLIGHT OFF
PICT ADJUST <
ATR OFF
MOTION DET
NEXT <
EXIT< SAVE ALL<
SETUP MENU
LENS
AUTO<
SHUTTER/AGC
AUTO<
WHITE BAL ATW<
BACKLIGHT OFF
PICT ADJUST <
ATR OFF
MOTION DET
NEXT <
EXIT< SAVE ALL<
18
TOP 000-244 Upper limit of the selected area in AREA SEL
BOTTOM 000-244 Lower limit of the selected area in AREA SEL
LEFT 000-474 Left limit of the selected area in AREA SEL
RIGHT 000-474 Right limit of the selected area in AREA SEL
PRIVACY
This item is used to set up to 8 privacy masks. When monitoring frames are used for motion detection, the maximum number of
masks which can be used is four.
Function Options Meanings
AREA SEL
1/8 ; 2/8 ; 3/8 ; 4/8 ;
5/8 ; 6/8 ; 7/8 ; 8/8
If the first 4 masks are used for MOTION, they will have to be
used again in the same form/position. The other 4 areas can be
programmed freely.
TOP 000-288 (PAL) Upper limit of the selected area in AREA SEL
BOTTOM 000-288 (PAL) Lower limit of the selected area in AREA SEL
LEFT 000-468 Left limit of the selected area in AREA SEL
RIGHT 000-468 Right limit of the selected area in AREA SEL
COLOR 1-8 Select to set the colors of the mask frames
TRANSP 0.00 ; 0.50 ; 0.75 ; 1.00 Select to set the transparency ratio of the mask frames
MOSAIC OFF / ON OFF: Mosaic function OFF ON: Mosaic function ON
DAY/NIGHT
Select to set DAY/NIGHT choosing from:
COLOR: The Day/Night function is set to OFF.
B&W: The NIGHT mode is established forcibly, and chroma is set to OFF.
SETUP MENU
PRIVACY
OFF
DAY/ NIGHT
AUTO<
NR <
CAMERA ID OFF
SYNC INT
LANGUAGE ENGLISH
CAMERA RESET
BACK <
EXIT< SAVE ALL<
SETUP MENU
PRIVACY
OFF
DAY/ NIGHT
AUTO<
NR <
CAMERA ID OFF
SYNC INT
LANGUAGE ENGLISH
CAMERA RESET
BACK <
EXIT< SAVE ALL<
19
When B/W is selected, click ENTER to bring up the B/W sub-menu for further settings.
AUTO: Day or Night is automatically identified and controlled accordingly. When AUTO is selected, click
ENTER to bring up the DAY/NIGHT sub-menu for further settings.
Function Options Meanings
BURST ON / OFF ON: Burst signal ON OFF: Burst signal OFF
DELAY CNT 000-255 Select to set the Night/Day identification transfer time
DAY->NIGHT 000-255 Select to set the threshold for identifying the Night status from the Day status
NIGHT->DAY 000-255 Select to set the threshold for identifying the Day status from the Night status
Digital Noise Reduction
Select to bring up the NR sub-menu for further settings.
Function Options Meanings
NR MODE
OFF
Y
C
Y/C
Select to set the 2D NR filter mode.
OFF: Y and C filters OFF
Y: Y filter ON
C: C filter ON
Y/C: Y and C filters ON
Y LEVEL 000-015 Select to set the Y filter strength
C LEVEL 000-015 Select to set the C filter strength
CAMERA ID
Select ON and press ENTER to activate the submenu:
SYNC - Select the synchronization internal/external.
LANGUAGE - Select the language choosing from: ENGLISH, 日本語, DEUTSCH, FRANCAIS, РУССКИЙ, PORTUGUÊS,
ESPAÑOL:
SETUP MENU
PRIVACY
OFF
DAY/ NIGHT
AUTO<
NR <
CAMERA ID OFF
SYNC INT
LANGUAGE ENGLISH
CAMERA RESET
BACK <
EXIT< SAVE ALL<
SETUP MENU
PRIVACY
OFF
DAY/ NIGHT
AUTO<
NR <
CAMERA ID OFF
SYNC INT
LANGUAGE ENGLISH
CAMERA RESET
BACK <
EXIT< SAVE ALL<
CAMERA
ID
CAMERA
ABCDEFGHIJKLMNOPQRSTUV
WXYZ0123456789 - ! ” # $ % & ’
( ) _ ` ,
: ; <=>?@\ ^ * . x+/
CHR1 CHR2
→↑↓ CLR POS
RETURN<
20
CAMERA RESET - Click to restore all the settings to the default values.
SAVE ALL - Click to save all the settings made. NOTICE: There will be no prompt windows while the settings are being
saved.
EXIT - Click to exit the OSD menu.
NOTICE: Before exit the OSD menu, please click SAVE ALL to save all the settings made.
Fail to do that, all the settings will not take effect once the power is reconnected
Serie CIR700 Rev.1
-
1
5
/04
/2013
1 / 1

Fracarro CIR700-922 User manual

Category
Security cameras
Type
User manual

Fracarro CIR700-922 is a high-resolution waterproof varifocal camera with IR LEDs for night vision, allowing you to capture clear images even in low-light conditions. It features a 1/3" Color CCD Sony Super HAD II image sensor and Sony Effio-E DSP, delivering 700 TVL resolution and a minimum illumination of 0.0003Lux with DSS activated. With its external varifocal adjustment, you can easily adjust the focal length to achieve the desired field of view.

Ask a question and I''ll find the answer in the document

Finding information in a document is now easier with AI

Ask the document