7
GENERAL
T
HERE ARE a number of accessories available on
the market. Before you buy, ensure they are
suitable for cooking with steam and hot air in
combination.
P
LACE A CONTAINER on the Wire Shelf. It can hold
greater weights than the baking tray or steam tray
can.
E
NSURE THAT THERE IS a space of at least 30 mm
between the upper rim of the container and the
cavity ceiling to allow sufficient steam entrance to
the container.
CHOOSING COOKING CONTAINER
U
SE PERFORATED COOKING containers whenever
possible, e.g. for cooking vegetables. The steam
has free access to the food from all sides and the
food is cooked evenly.
S
TEAM EASILY REACHES into the space between big
pieces of food such as large potatoes. This ensures
even and effective cooking. It enables a large
quantity to finish in the same amount of time as a
smaller quantity. Placing (spacing) food to allow the
steam even and easy access to individual pieces of
food enables it to be cooked in the same amount
of time as smaller quantities.
M
ORE COMPACT DISHES such as casseroles or
bakes, or food such as peas or asparagus spears,
which have very small / no space between them
will take longer to cook because the steam has less
space to work in.
SPONGE
T
HE SUPPLIED SPONGE is used for wiping off
residual condensation that may be present in the
cooled oven after cooking. It is important that you
allow the oven to cool off to avoid scalding.
WIRE SHELF
T
HE WIRE SHELF allows hot air circulation around
the food. Put food directly
on it or use it as support
for pots, cake tins and
other cooking receptacles.
When you put food directly on the Wire shelf,
place the Baking & Drip tray under it.
BAKING & DRIP TRAY
U
SE THE BAKING & DRIP TRAY beneath the Wire
Shelf and Steam tray. It may also be used as a
cooking utensil or as a baking tray.
T
HE BAKING & DRIP TRAY
is used to collect the
dripping juices and food
particles that otherwise
would stain and soil the
interior of the
oven. Avoid placing vessels directly on the oven
bottom.
STEAM TRAY
U
SE THE STEAM TRAY for foods such as fish,
vegetables and potatoes.
U
SE THE OVEN WITHOUT
THE STEAM TRAY
for foods
such as rice, and grains.
WATER CONTAINER
T
HE WATER CONTAINER IS LOCATED behind the
door and is accessible as soon as the door is
opened.
A
LL COOKING FUNCTIONS
except Forced Air require the
water container to be full.
F
ILL WATER CONTAINER to the
"MAX" mark with tap water.
U
SE ONLY fresh tap water or
still bottled water. Never use
distilled or filtered water nor any other liquids in
the water container.
I
T IS IMPORTANT TO EMPTY THE WATER CONTAINER
AFTER EACH USE
. This is for hygienic reasons. It also
prevents condensate from building up inside the
appliance.
C
AREFULLY (slowly not to spill) pull the water
container out of it's compartment. Keep it
horizontal to allow remaining water to drain out of
the valve seat.
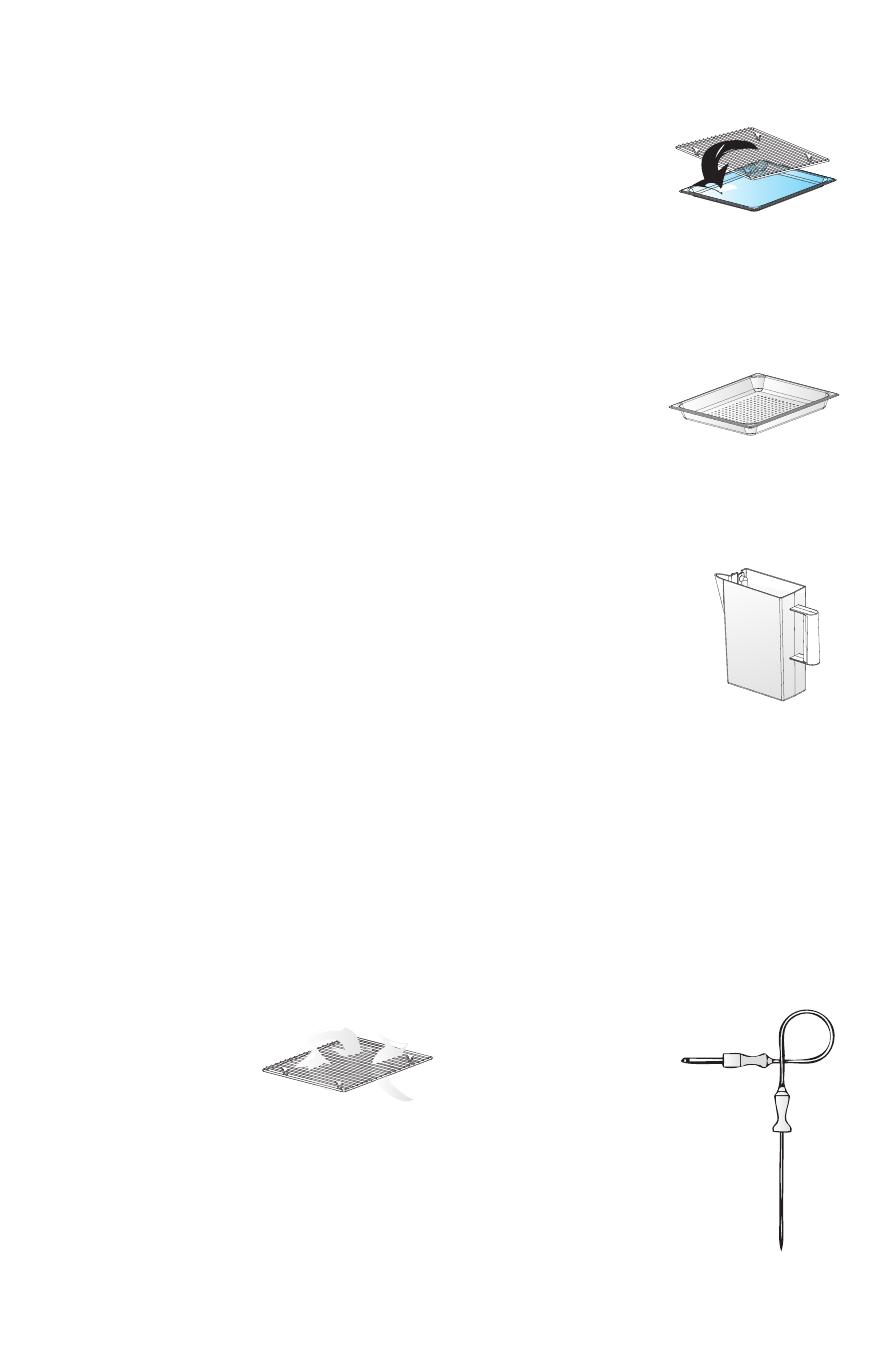
PROBE
Use only the temperature
probe recommended for
this oven.
T
HE PROBE IS DESIGNED to
measure the internal temperature of
your food between the range of 30°C -
100°C. As soon as the set temperature
is reached, the appliance switches off
and displays "Temperature is reached"
in the display.
N
EVER IMMERSE the probe in water
when cleaning. Simply wipe clean with
a damp cloth or kitchen roll after use.
Accessories


