Evo 270 Owner's manual

Category
Water heaters & boilers
Type
Owner's manual

This manual is also suitable for

Evo 270 is a hot water heat pump that provides clean, safe, and economical hot water all year round. It utilizes advanced energy-efficient technologies and built-in smart features to deliver 4kW of heat using only 1kW of energy, saving up to 75% on hot water costs. The Evo 270 is suitable for households of up to 6 people and can be used in both heat pump only and dual heating modes. It also features a hydro boost heater for periods of high demand and an electric element for emergency water heating.

Evo 270 is a hot water heat pump that provides clean, safe, and economical hot water all year round. It utilizes advanced energy-efficient technologies and built-in smart features to deliver 4kW of heat using only 1kW of energy, saving up to 75% on hot water costs. The Evo 270 is suitable for households of up to 6 people and can be used in both heat pump only and dual heating modes. It also features a hydro boost heater for periods of high demand and an electric element for emergency water heating.

1
Evo270 Hot Water Heat Pump Manual
Contents
1.
I
ntroduction _____________________________________________________________________________________ 2
2. Q
uick Start Guide _________________________________________________________________________________ 3
3. U
nit Specifications ________________________________________________________________________________ 4
3
.1 Dimensions & Technical Data ____________________________________________________________________ 4
4. S
afety Instructions ________________________________________________________________________________ 5
5. Ins
tallation ______________________________________________________________________________________ 5
5
.1 Pipeline Connection ___________________________________________________________________________ 5
5.2 Handling & Transportation ______________________________________________________________________ 6
5
.2 Location of Install & Minimum Clearances __________________________________________________________ 6
5
.3 Cable Connection _____________________________________________________________________________ 7
5
.4 Filling the Tank _______________________________________________________________________________ 7
5
.5 Initial Start-up of the Unit _______________________________________________________________________ 8
6. O
peration_______________________________________________________________________________________ 8
6
.1 Main Controller Interface _______________________________________________________________________ 9
6
.2 Functions of the Controller _____________________________________________________________________ 10
6
.2.1 Turning the Unit ON & OFF _________________________________________________________________ 10
6.2.2 Mode Selection __________________________________________________________________________ 10
6.2.3 Target Temperature Checking & Setting _______________________________________________________ 11
6.2.4 Setting the Date & Time ____________________________________________________________________ 11
6.2.5 Using the Timer __________________________________________________________________________ 12
6.2.6 Vacation Mode ___________________________________________________________________________ 13
6.2.7 Hydropower Setting _______________________________________________________________________ 13
6.2.8 Using Fan Mode __________________________________________________________________________ 13
6.2.8 Adjusting the Hydro Power Booster___________________________________________________________ 14
6.2.9 Adjusting the Sanitech System _______________________________________________________________ 14
6.2.10 Locking the Keyboard _____________________________________________________________________ 14
7. Troubleshooting ________________________________________________________________________________ 15
8
.
A
ppendix ______________________________________________________________________________________ 16
8
.1 Parameter List _______________________________________________________________________________ 16
8.2
PCB Description ______________________________________________________________________________ 16
8
.3 Detailed Parts Overview _______________________________________________________________________ 18
8.
4 Caution ____________________________________________________________________________________ 20
8
.5 Earthing Methodology _________________________________________________________________________ 20
8
.6 Use of the P&T Valve __________________________________________________________________________ 20
8.
7 Using the Overheating Protector ________________________________________________________________ 21
8
.8 Draining the Water Tank _______________________________________________________________________ 21
9. M
aintenance ___________________________________________________________________________________ 22
10. Warranty _____________________________________________________________________________________ 23
2
Evo270 Hot Water Heat Pump Manual
1. Introduction
This manual contains all the necessary information in regard to the installation, troubleshooting, operation and
maintenance of this unit. Ensure instructions in this manual are adhered to at all times. Failing to comply with these
recommendations will invalidate the warranty. This manual and all others are available for download on our website.
T
he EVO 270 is the next evolution in water heating, with advanced energy efficiency technologies and built in smart
features to ensure you’re provided with clean, safe, and economical hot water all year round. Unlike traditional hot
water systems that use 1kW of energy to produce 1kW of heat, the EVO 270 utilises that very same 1kW of energy
and heat pump technology to generate 4kW of heat saving you up to 75% of your hot water costs!
- W
hen installing the Evo 270, follow all instructions as documented in this manual.
- Once the installation is complete, check that all connections are secure before the power is turned on.
- The installer is to explain to the end user how to operate and maintain the unit in accordance with this
instruction manual.
- Evo Industries Australia Pty Ltd will not be held responsible for any damages or injuries caused by the
incorrect installation of this hot water system.
- A maintenance programme must be carried out as recommended in this manual to ensure ongoing
reliability.
- Failure to comply with these recommendations could void the warranty and cause injury or death.
- Due to continuous product improvement, this manual may be subject to change without prior notice.
Recommended Household Size
The below recommendations are based on heat pump only mode.
Higher occupancy levels are able to be achieved with the Hydroboost heater activated.
Household Size
Model
Up to 6 People
Evo 270
Notice: High usage of hot water and other factors could affect this recommendation. Please consult your supplier if you have
special requirements.
3
Evo270 Hot Water Heat Pump Manual
2. Quick Start Guide
INITIAL SET UP
1. Press and hold for one second to power on the unit.
2. To set the time:
a. Press once so the clock starts flashing,
b. Press again until the hour starts flashing,
c. Use to adjust the hour and press to confirm,
d. Repeat for the minute, day, month and year,
e. Press at any stage to cancel.
3. Press until is displayed. This will activate “Eco Heating” (Heat Pump only) mode and will provide the
most efficient heating.
4. During periods of unusually high hot water demand (such as additional occupants staying with you), you can
activate “Dual Heating” mode by pressing until is displayed.
5. In any event where there is a failure within the system, the Electric Element can be engaged with “one push
activation” of the button until is displayed. This will provide emergency water heating until service
can be attended.
6. For adjustment of timers or activating vacation mode, please refer to our online tutorials at:
www.evoheat.com.au
Do not drill any fixings or attachments into the outer casing of the tank. Drilling into the outer casing of the tank
may damage the heating coil and WILL VOID WARRANTY.
4
Evo270 Hot Water Heat Pump Manual
3. Unit Specifications
How it Works
- Refrigerant is compressed into vapor with high temperature and
high pressure when it goes through the compressor.
- On the discharge side of the compressor, the now hot and highly
pressurized vapor is cooled down through the heat exchange with
the water in the tank until it condenses into a high pressure,
moderate temperature liquid.
- The pressure of the liquid refrigerant drops as it passes the
throttling device.
- Finally, the refrigerant absorbs the heat from the surrounding air and evaporates into vapor with low
temperature and low pressure, where it then it goes into the compressor again.
3.1 Dimensions & Technical Data
Model
Evo 270
Heating capacity
kW
3.4 Heat Pump
Water tank capacity
270
Power input
kW
0.94 Heat Pump
Running current
A
3.92 Heat Pump + 6.5 Hydroboost
Power Supply
240V~/50Hz
Compressor Number
1
Compressor
Rotary
Rated outlet water temp.
Deg C
55
Air Volume
m
3
/h
450
Noise
dB(A)
49
Water inlet/outlet size
inch
¾
*Hydroboost power heat
kW
1.5
Net dimensions
mm
See the drawing
Shipping Dimensions
mm
720x760x2040
Net Weight
kg
135
Shipping weight
kg
175
Measurement conditions:
Instant heating: Ambient temperature 15DB/13WB, Water inlet 15 Water outlet 45
Working Temp Range
1) Ambient temperature is -7deg to 43deg (Heat Pump)
2) The max temperature of water tank is 70
Operating parameters: The range of the operating water pressures: 0.15~0.7MPa
5
Evo270 Hot Water Heat Pump Manual
4. Safety Instructions
A qualified technician is required to install, relocate the unit if required and for all repairs.
Good earthing is required for both the unit and power connections to prevent electrical shock.
Ensure that there are no leaks on both the plumbing and drainage fittings.
The unit must not be installed near flammable gas or have flammable aerosols sprayed in the vicinity.
The base that the unit is installed on must be level and stable.
A circuit breaker is required to be installed with this unit.
Fingers and objects must not be placed into the fan of the unit. Children should be kept clear of the
appliance.
In the event of the unit malfunctioning, shut off the power supply and contact your supplier or EvoHeat.
Power the unit off during cleaning.
The unit produces hot water and will also have hot fittings, therefore should not be touched to avoid injury.
5. Installation
5.1 Pipeline Connection
Installation of the water inlet or outlet pipes: The specification of the water inlet and outlet threat is BSP3/4(internal
thread). Pipes must be heat-resistant and durable.
Installation of the pipe for P&T valve: The spec of the valve connecting thread is BSP3/4(internal thread). After
installation, it must be confirmed that the drainpipe outlet is exposed in the air. When the flexible drainpipe is joined
to the pressure relief orifice of this valve, you must ensure that the flexible drainpipe is pointing downwards and
exposed in the air.
ATTENTION
Do not drill any fixings or attachments into the outer casing of the tank. Drilling into the outer casing of the tank
may damage the heating coil and WILL VOID WARRANTY.
The P&T valve attached with the unit must be installed. Failure to do so will cause damage to the unit and
possible personal injury.
Do not use stainless steel fittings to connect directly with other metals to prevent galvanic corrosion.
Drain the water tank through the drain valve at the bottom part of the unit.
6
Evo270 Hot Water Heat Pump Manual
5.2 Handling & Transportation
As a rule, the unit should be stored and/or transported in its shipping container in an upright position and without
water charge. For transport over short distances, and provided due care is exercised, an inclination angle of up to 30
degrees is permitted. During transport and storage, ambient temperatures of -10 to +60 degrees Celsius are
permissible.
Forklift Transportation
When transported by a forklift, the unit must remain mounted on the pallet. The lifting speed should be kept to a
minimum. Due to its top heaviness the unit must be secured against tipping over. To prevent any damage or injury,
the unit must be placed on a level surface.
Manual Transportation
For manual transport, a wooden pallet can be used to place the unit on. Using
ropes or carrying straps, a second or third handling configuration is possible.
With this type of handling, care must be taken that the maximum permissible
inclination angle of 60 degrees is not exceeded. If transport in an inclined
position cannot be avoided, the unit should be left to rest at least one hour after
it has been moved into final position before operation.
CAUTION: High centre of gravity, place on a level surface!
5.2 Location of Install & Minimum Clearances
7
Evo270 Hot Water Heat Pump Manual
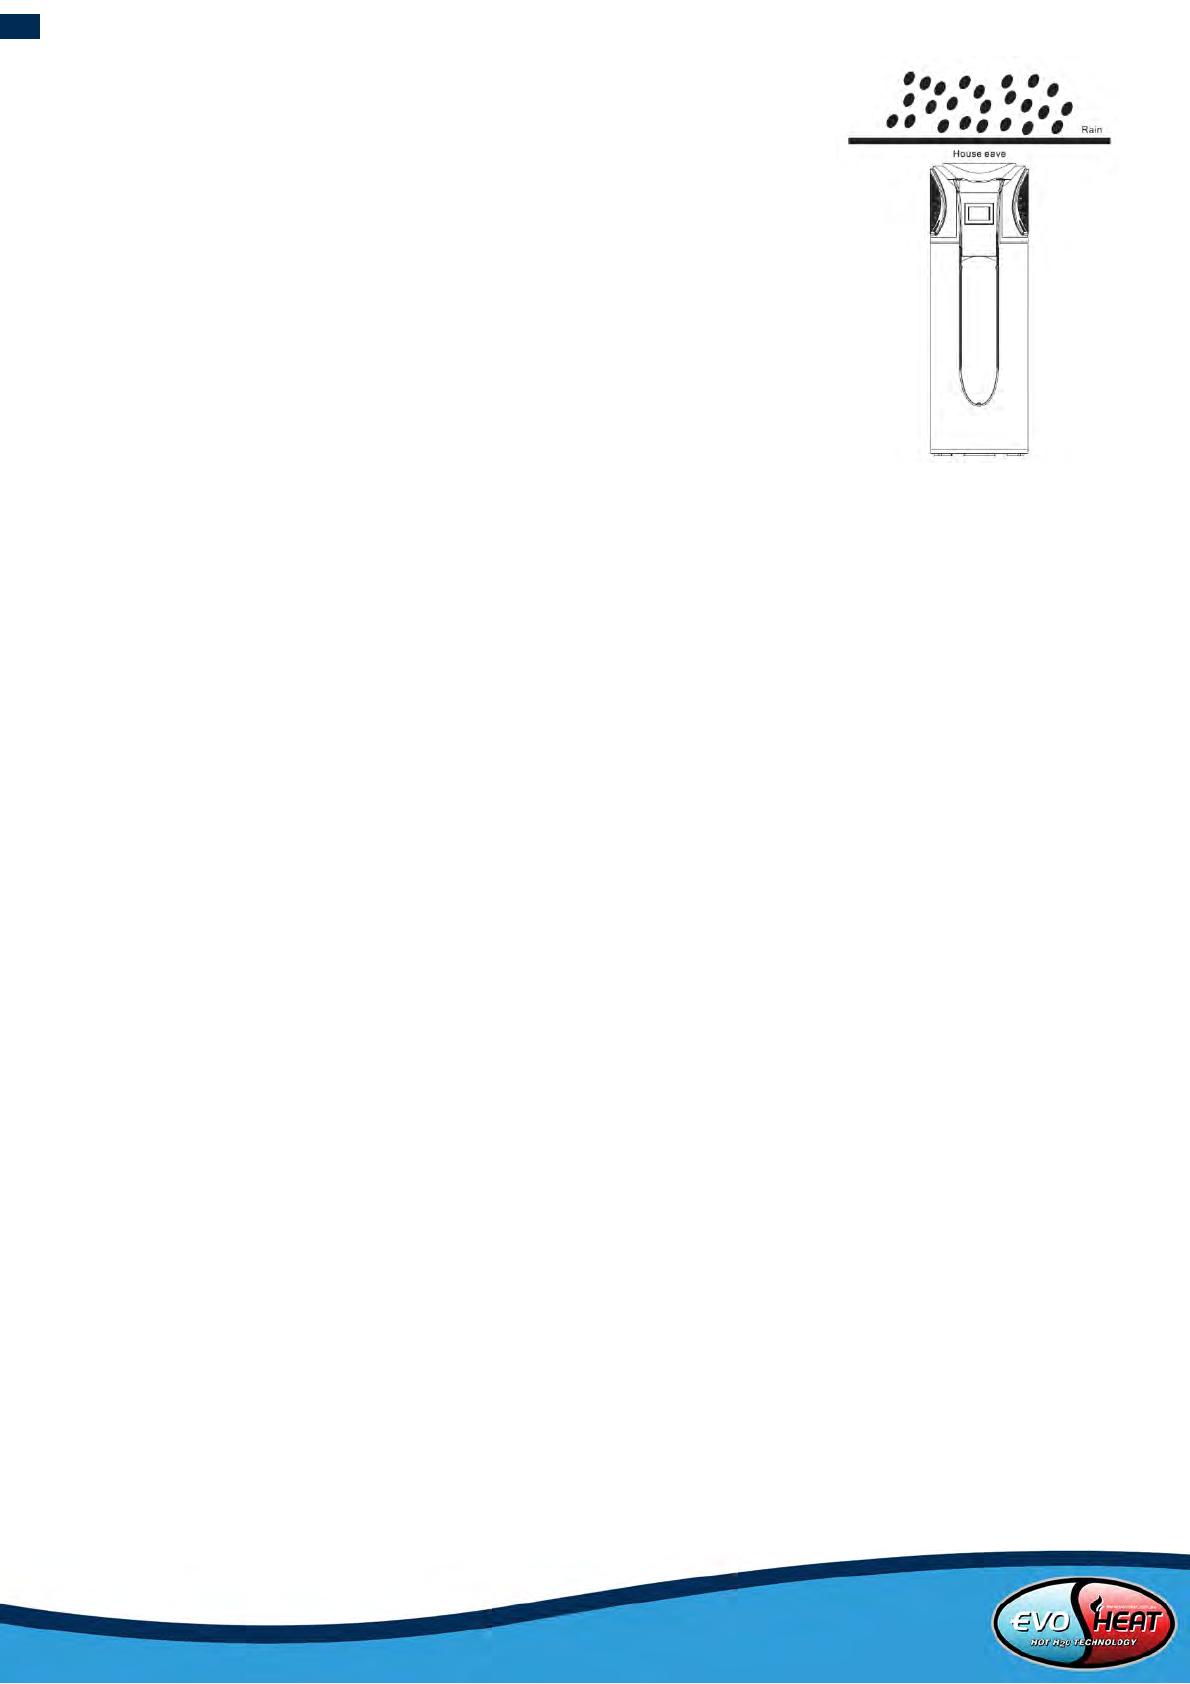
The Evo 270 is designed for external installation; however, if possible, installing the
system under the house eaves or in a sheltered environment may help prolong the
life of the system.
1. The unit must be installed, operated and maintained in good order and
accordance with these instructions.
2. If the water supply exceeds rated pressure a pressure reducing valve is to be
fitted.
3. Water may discharge from the drainpipe and this must be left open to the
atmosphere.
4. The pressure relief valve must be operated at least every 6 months to ensur
e
correct operation. The drainpipe from this valve should not allow water to
collect in pipework.
5. Facilities for draining and filling the unit must be provided to maintenance.
Drain points must be at the lowest point of the system.
6. Check before installation that your water pressure is within required limits. Use a filter and pressure relief valve
on the inlet as required. A water softening device will also be required in hard water areas.
7. This heat pump must be installed by a licensed contractor. Do not attempt to install yourself if you are not
q
ualified. The Evo 270 must be installed to conform to all relevant Australian Standards and Industry Codes
including but not limited to:
a. Electrical and Electrical Safety
b. Plumbing and Hot Water Storage
c. Heat Pump Installation and Operation
Installation must also comply with any local, state or federal codes at the installation site. Failure to comply can void
your warranty, damage your unit and cause possible injury or death. Plumbing must comply with AS/NZS3500.4
Indoor Installation Recommendations
Heat pumps operate most efficiently with warmer air temperatures, and the outlet air from the unit will
always be colder than the inlet air. Therefore, it is advisable to install the unit so it receives the warmest ai
r
temperatures possible and that the cold air is not able to recirculate back into the unit.
The unit may be able to be installed in an unventilated room exceeding 25m
3
in volume.
Venting of cold air is always advisable to prevent the air temperature dropping and lowering the efficiency of
th
e unit.
Think of the unit as a 3kW air conditioner for the effect it will have on a closed room.
TO COOL THE ROOM USING THE EVO 270
Install the unit so the outlet from the heat pump is blowing INTO the room. The room MUST have some form of air
outlet otherwise the performance of the unit will suffer significantly.
TO MAINTAIN THE ROOM AT NORMAL TEMPS USING THE EVO 270
Install the unit so the outlet from the heat pump is blowing OUTSIDE the room. The room MUST have some form of
air inlet otherwise the performance of the unit will suffer significantly.
5.3 Cable Connection
The power cable is stored in the back of the unit, it’s for power supply of the unit. The spec of the cable is AWG12.
The unit requires an isolating switch as required by local laws. If the power cord is damaged, it must be replaced by a
qualified electrician.
5.4 Filling the Tank
Open a hot water tap inside the house. Open the cold-water inlet valve into the Evo 270 to fill the tank. When water
begins flowing out of the hot water tap inside the premises, turn off the hot water tap.
8
Evo270 Hot Water Heat Pump Manual
5.5 Initial Start-up of the Unit
Pre-Inspection
Check the water supply to the tank and pipe connections for possible leaks.
Check that the following devices are installed and operating correctly:
- Drainpipes
- P&T Valve
- Filter on inlet
- Water softening and pressure reducing devices if required.
Check that all power connections are secure before switching on.
Check that the installation space is adequate.
Trial Operation
Switch on the unit by using the controller.
In the case of any unusual noises, switch the power off and consult your provider.
The parameters have been pre-set to a temperature of 55 degrees. Check that the unit is operating by looking for an
increase in water temperature over time.
6. Operation
HEATING CAPACITY
In low ambient conditions the heating
output decreases.
3 MIN SAFETY PROTECT
If the unit stops and you restart the unit
or turn it on manually, the unit will not
start to run again for approximately 3
minutes. This is a protection feature to
safe guard the compressor.
DEFROSTING
In heating mode the unit will defrost
automatically, maximising the heating
efficiency (lasting 2-10 minutes). The
fan motor will stop running whilst the
unit is defrosting.
WORKING CONDITIONS
In order to use the unit correctly, please
run the unit at environment
temperature -7 -43
The unit includes sophisticated
electronic devices, do nut use water
from a lake, untreated river water,
groundwater and other unsafe water
sources!
WATER TEMPERATURE OR PRESSURE
PROTECTION
A P&T valve MUST be installed in the
tank. When the tank pressure reaches
0.85MPa or when the tank temperature
reaches 93°C, the P&T valve will open
automatically so as to reduce the
pressure or temperature decrease.
SANITECH HIGH TEMP SANITIZATION
The Evo 270 is fitted with Sanitech. The
Sanitech system will heat the tank
water to 70°C for one 30 minute period
every week at midnight. Please be
aware of very high temperature water
outlet at this time.
OVERHEATING PROTECTION
When the water temperature reaches
75°C, the power of the unit will be cut
and must be manually reset.
9
Evo270 Hot Water Heat Pump Manual
6.1 Main Controller Interface
NO.
NAME
FUNCTION
1 ON/OFF Turn the unit on or off.
2 MODE Switch running modes or save setting parameters.
3 CLOCK Set the clock or the timer.
4 ELECTRIC HEATER Turn on/off the electric heater or switch fan modes.
5 UP Move up or increase parameter values.
7 DOWN Move down or decrease parameter values.
ICON
NAME
MEANING
NAME
MEANING
HEATING
The unit is in heating mode
TEMPERATURE
Shows the temperature is non-
adjustable (measured value.
HEATING ECO
The unit is in eco. Heating
mode
TIMER ON
The unit will be turned on by the
timer automatically
VACATION
The unit is in vacation mode
TIMER OFF
The unit will be turned off by the
timer automatically
COOLING
The unit is in cooling mode
MINUTE
The main display area shows the
minute
FAN
Shows the fan is on and the
speed of the fan
SECOND
The main display area shows the
second
HYDROBOOST
HEATER
The Hydroboost electric heater
is on
LOCK
The keyboard is locked
SET
TEMPERATURE
REACHED
The water temperature has
reached target point and will
shut off automatically
P
ARAMETER
SETTING
The parameter is adjustable
10
Evo270 Hot Water Heat Pump Manual
6.2 Functions of the Controller
6.2.1 Turning the Unit ON & OFF
Press and hold for 0.5 seconds in the standby screen of the controller to turn the unit on. The main display will
now show the water outlet temperature.
Press and hold for 0.5 seconds in the running screen of the controller to turn the unit off. The main display will
now show “OFF”.
Note: The ON/OFF button can only be used to turn the unit on/off in standby or on the running screen of the controller.
6.2.2 Mode Selection
From the running screen, press to select one of the modes: Heating, Eco Heating, Intelligent or Vacation
Eco Mode
This mode does not use the
Hydropower element boost and is
the most economical option. It is
recommended to start with this
mode initially unless you encounter
cold or warm water, then switch to
intelligent mode.
Intelligent Mode
This mode will analyse the
ambient temperature at 10am
each day and decides the best
operating mode from Eco or
Heating.
Heating Mode
This mode uses the heat pump and the
main heat source. The Hydroboost starts
after a 40-minute delay to give high
recovery rates. Use this mode if you have
very high hot water usage. The
Hydroboost start times and
temperatures are fully customisable.
You can also manually switch on the Hydroboost element at any time by pressing the Hydroboost button on the
controller.
Setting the timer to allow the unit to run for longer periods will also help ensure you never run out of hot water.
11
Evo270 Hot Water Heat Pump Manual
6.2.3 Target Temperature Checking & Setting
In the standby or running interface, press
or once to check the target temperature of
the outlet water. Press or again to
change the target temperature. After making
changes to the desired temperature, press
to confirm or to cancel, then return to the
previous screen. If the keypad is left idle for 5
seconds, the controller will exit the menu
automatically and apply any changes that
were made.
Example: Changing the target temperature from 50°C to
55.5°C when the actual outlet water temperature is
18°C.
6.2.4 Setting the Date & Time
In the standby or running interface, press once, the time setting will begin flashing. Press the again to make
the hour setting begin flashing which indicates it is selected. Press the up or down arrows to adjust the hour time as
desired and then press to confirm the setting. Once confirming the previous setting, the flashing selection will
then move to the next setting (minutes, then date: mm/dd) where you will need to adjust and confirm your changes.
If the keypad is left idle for 10 seconds, the controller will exit the menu automatically and apply any changes that
were made. Set the date in the same way when in Vacation mode.
Example: Changing the time & date from 18:30 on August 4
th
to 17:40 on September 8
th
.
12
Evo270 Hot Water Heat Pump Manual
6.2.5 Using the Timer
In heating mode, two running periods can be set.
Press and hold for 2 seconds to enter the timer setting menu.
Running Period 1: The symbol “ON 1” on the right side of the screen and the time setting will be flashing. Set the
time and confirm. The ‘OFF 1” and the time setting will flash allowing you to adjust it. Set the time as you would in
previous steps.
Running Period 2: After Running Period 1 is set, the controller will enter the Running Period 2 settings menu. Set the
start-up and shut down times as in the previous steps.
Press to cancel any modifications during the setting changes.
Press and hold for 2 seconds twice to set the “OFF 1” time directly, or press / when the unit is already
running.
Press to cancel the setting when the hour parameter is flashing OR to confirm any changes and move to the
next value.
EXAMPLE: Running period 1: 8:00 10:00 | Running period 2: 16:30 20:00
TO CANCEL A TIMER: Example Cancel Timer ON1
When the hour parameter is flashing, press the ON/OFF button to cancel, then CLOCK to save.
13
Evo270 Hot Water Heat Pump Manual
6.2.6 Vacation Mode
After selecting Vacation mode, press and hold for 2 seconds to enter into the timer setting menu. The symbol
“ON” and the date parameters will be flashing. Set the date the same way as in 6.2.5 Using the Timer.
Example: Set the start-up date on September the 28
th
. (Turn off the unit before setting the vacation mode)
6.2.7 Hydropower Setting
The Hydroboost heater can be turned on when the unit is heating or on standby.
Press once to turn on the Hydroboost heater and press again to shut it off.
6.2.8 Using Fan Mode
Press and hold for 2 seconds for the first time to change the fan mode to low speed running. The fan will run at
low speed when the unit’s target temperature is reached. Press and hold for 2 seconds again to change the fan
mode to high speed running, where it will run at high speed when the target temperature is reached. Press and
hold for 2 seconds for a third time to change the fan mode to shut-down and the fan will stop running when the
unit’s target temperature is reached.
(Running)
The fan is running at high speed
(Running)
The fan is running at low speed
NO FAN ICON The fan has shut off
(Static)
The fan will run at high speed when target setting
temperature is reached
(Static)
The fan will run at low speed when target setting
temperature is reached
14
Evo270 Hot Water Heat Pump Manual
6.2.8 Adjusting the Hydro Power Booster
If there is not enough hot water delivery due to high water usage or continued low ambient temperatures, the Hydro
Power Boost system can be adjusted to ensure a steady supply of hot water.
Press and hold for 10 seconds a single time to access the parameter menus. When the screen displays ‘000’ press
the up/down arrow keys until the number ‘066’ is displayed, then press the key.
Use the up/down arrow keys to navigate to the correct parameter value as shown in the below table, then press the
key to open that parameter value.
Change the value using the up/down arrow keys and press the X key to save changes. Press to exit the menu.
*Changing values in other parameters other than show below could affect the performance and warranty of your
Evo270 and is not advised unless instructed by an EvoHeat technician.
Description
Parameter
Default
Range
Enable adjusting set point of Hydro Power
r04
0
0-No/1-Yes
Hydro Power set point
r05
55 degrees
30-90 degrees
Hydro Power startup delay
r06
200 minutes
0-450 minutes
Hydro Power to replace heat pump
r07
0
0-No/1-Yes
Ambient temperature when Hydro Power replaces heat pump
r08
-5 degrees
-20 to 10 degrees
Ambient temperature for Hydro Power to start without delay
r09
10 degrees
0-30 degrees
Ambient temperature for Hydro Power to start with delay
r10
25 degrees
10-40 degrees
6.2.9 Adjusting the Sanitech System
Follow the same steps as with the Hydro Power Booster above, but adjust the parameters starting with a ‘g’.
To disable the Sanitech feature, simply adjust the Sanitech target temperature (g01) to a figure below the normal
water storage temperature (generally 50 degrees or lower).
*Changing these settings may lower or disable the Evo270’s ability to ensure your water is free from bacteria.
Description
Parameter
Default
Range
Sanitech Target Temperature
g01
70 degrees
30-70 degrees
Sanitech Temperature Hold Time
g02
30 minutes
0-90 minutes
Sanitech Start Time (24hour clock)
g03
0 hours
0-23 hours
Sanitech Operation Cycle
g04
7 days
7-99 days
6.2.10 Locking the Keyboard
Press and hold for 5 seconds once to lock the keyboard. Press and hold for 5 seconds again to unlock the
keyboard.
15
Evo270 Hot Water Heat Pump Manual
7. Troubleshooting
EvoHeat have developed a YouTube Channel where you will find useful videos regarding using the
controller and potential errors. Be sure to have a look to see if the answer to your question is there:
https://www.youtube.com/channel/UCfYiOxHuybBuC1NZcqUnrcA
Malfunction Display Cause Solution
Bottom water temp. failure
P01
The water bottom temp. sensor is
open or short circuit.
Check or change the water bottom
temp. sensor
Top tank water temp. failure
P02
The water top tank temp. sensor is
open or short circuit
Check or change the water top tank
temp. sensor
Ambient temp. failure
P04
The ambient temp. sensor is open or
short circuit
Check or change the ambient temp.
sensor
Coil temp. failure
P05
The pipe temp. sensor is open or
short circuit
Check or change the pipe temp. sensor
Refrigerant absorb temp. failure
P07
The evaporator temp. sensor is open
or short circuit
Check or change the evaporator temp.
sensor
Anti-freeze temp. failure
P09
The anti-freeze temp. sensor is open
or short circuit
Check or change the anti-freeze temp.
sensor
High pressure protection
E01
The exhaust pressure is high, high
pressure switch action
Check high pressure switch and
cooling return circuit
Low pressure protection
E02
The suction pressure is low, low
pressure switch action
Check low pressure switch and cooling
return circuit
Water flow failure
E03
No water or litter water in water
system
Water, check for flow volume pump
failure
Electric-heater overheat
protection
E04
Water flow volume not enough,
water system pressure difference is
small
Water, check if the flow volume
system is jammed
Anti-freeze protection
E07
Water flow volume not enough,
water system pressure difference is
small
Water, check if the flow volume
system is jammed
Anti-freeze protect level 1
E19
Ambient temperature is too low
Anti-freeze protect level 2
E29
Ambient temperature is too low
16
Evo270 Hot Water Heat Pump Manual
8. Appendix
8.1 Parameter List
Definition
Default
Note
Target Temperature
55
Adjustable
8.2 PCB Description
17
Evo270 Hot Water Heat Pump Manual
NO.
Symbol
The Definition of the Ports
1
OUT1
Output for compressor (220~240VAC)
2
OUT2
Output for electric heater (220~240VAC)
3
OUT3
Output for 4-way valve (220~240VAC)
4
OUT4
Output for the high speed of fan motor (220~240VAC)
5
OUT5
Output for the low speed of fan motor (220~240VAC)
6
OUT6
Not used
7
OUT7
Not used
8
OUT8
Not used
9
CN1
Communication port for the display
10
CN2
Electronic expansion valve
11
CN3
Not used
12
CN6
Not used
13
DI03
Not used
14
DI04
High pressure protection
15
DI05
Not used
16
T1
Ambient temperature detector
17
T2
Bottom temperature detector
18
T3
Top temperature detector
19
T4
Coil temperature detector
20
T5
Suction temperature detector
21
T6
Not used
22
T7
Not used
23
T8
Not used
24
T9
Not used
25
FC1/FC2
Fan capacitor
26
N1~N5
Neutral
18
Evo270 Hot Water Heat Pump Manual
8.3 Detailed Parts Overview
19
Evo270 Hot Water Heat Pump Manual
Number
Material Code
Material Name
Specification
Remark
1
68016-040052
Water tank 270LD
2
20000-370006
Transformer for the power
supply
41X26.5F red VH-3
3
20000-000032
Electric heater
1.5KW
4
2000-2118
Retainer for capacitor (180 J)
Galvanized sheet 0.8/CY 30-35uF
5
2000-3504
Compressor capacitor
Diameter
55*85
6
2000-3506
Fan capacitor
7
2001-1418
4-way valve
SHF-7H-34U/C02C00S/STF-0218G
R410A
8
2001-2265
Transparent cover for the
controller
For DZ controller
9
20000-360040
Mechanical temperature
controller
66TM 85 degree
10
38004-210013
Pull rod
11
38016-220006
Strainer
12
2000-2706
Axial flow fan
13
38016-210019
Air outlet vent component
Assembled component
14
2001-2262
Plastic waterproof box
15
38016-120029
Evaporator
Q design
16
20000-220093
Cover
ABS white Material
17
38016-21 0030
Support for the electrical box
Galvanized sheet 1.0
L design
18
20000-140216
Thermostatic expansion valve
TDEN1 0.9TR 3.8kW
19
38017-210024
Retainer
Galvanized sheet 2.0, black
20
2001-2264
Decorative cover for the
controller
For DZ controller
21
38016-210018
Chassis design
Galvanized sheet 1.2
22
38017-210010
Fixed plate for the electrical box
Galvanized sheet 1.2
23
20000-880032
Magnet
Magnet in opposition
24
20000-220130
Cover plate for the wires
ABS grey colour code RAL7016
25
2000-1404
Needle point valve
High or low pressure
26
20000-880050
Retainer for the magnet
27
20000-330087
Axial flow motor
GAL6P28A-KWDB
Galanz
28
38017-220047
M design decorative plate
ABS blister plastic component
29
2000-3607
Press switch
2.1 MPa/1.7MPa
30
38016-21 0024
Pull rod for the compressor
Galvanized sheet 3.0
31
2000-2654
Rubber feet
32
20000-110108
Compressor(H74)
WHP03970BSV
33
38016-220008
Top cover
34
38016-21 0020
Support for motor
Galvanized sheet 1.2
35
38016-220005
Air outlet vent net
ABS injection moulding
36
38017-220023
Cover plate for the wire
controller
ABS injection mould parts
37
20000-130143
P&T valve
6' female thread
6' male thread brass
38
20000-220091
Back cover for the controller
For mounted to the unit
39
38017-210009
Fixed plate
Galvanized sheet 1.0
40
38017-210055
Retainer for the temperature
sensor
Galvanized sheet 0.8
  • Page 1 1
  • Page 2 2
  • Page 3 3
  • Page 4 4
  • Page 5 5
  • Page 6 6
  • Page 7 7
  • Page 8 8
  • Page 9 9
  • Page 10 10
  • Page 11 11
  • Page 12 12
  • Page 13 13
  • Page 14 14
  • Page 15 15
  • Page 16 16
  • Page 17 17
  • Page 18 18
  • Page 19 19
  • Page 20 20
  • Page 21 21
  • Page 22 22
  • Page 23 23
  • Page 24 24

Evo 270 Owner's manual

Category
Water heaters & boilers
Type
Owner's manual
This manual is also suitable for

Evo 270 is a hot water heat pump that provides clean, safe, and economical hot water all year round. It utilizes advanced energy-efficient technologies and built-in smart features to deliver 4kW of heat using only 1kW of energy, saving up to 75% on hot water costs. The Evo 270 is suitable for households of up to 6 people and can be used in both heat pump only and dual heating modes. It also features a hydro boost heater for periods of high demand and an electric element for emergency water heating.

Ask a question and I''ll find the answer in the document

Finding information in a document is now easier with AI