GBGB
Additional Information
17
Glossary
AMS
Automatic Music Sensor. A function that locates the beginning
of a track by detecting a blank space of over 4 seconds between
tracks.
ATS
Automatic Tape Selection. The tape deck automatically sets the
appropriate equalization characteristics and bias current
according to the tape type inserted in the deck.
Bias calibration
Adjustment for optimum recording. You can get better
recording results with minimum distortion and flat frequency
response by adjusting the bias current to the appropriate level.
Lowering the bias current can boost high-frequency response,
but also cause higher distortion. On the other hand, raising the
bias current can minimize distortion, but also reduce high-
frequency response. To balance both the bias current and high-
frequency response, it is necessary to adjust the bias current
appropriately.
However, to suit your taste, you can also adjust the bias current
as you want.
Memory Backup
Function for storing tape deck operating parameters after the
power is turned off. The memorized parameters are:
— linear counter and counter memory parameters
— MPX FILTER, Dolby HX PRO and MONITOR settings.
To reset parameters to their original factory settings, turn on
the tape deck while holding down both RESET and R REC
MUTE.
MPX filter
Multiplex filter. A filter for eliminating the 19-kHz stereo
carrier and the 38-kHz sub-carrier signals that may impair the
Dolby NR system. Usually the tuner has an MPX filter. If you
cannot get a satisfying result when recording FM broadcasts
with Dolby NR system, your tuner does not have a filter or the
filter is not working. In this case, set the MPX FILTER switch
on the tape deck to ON.
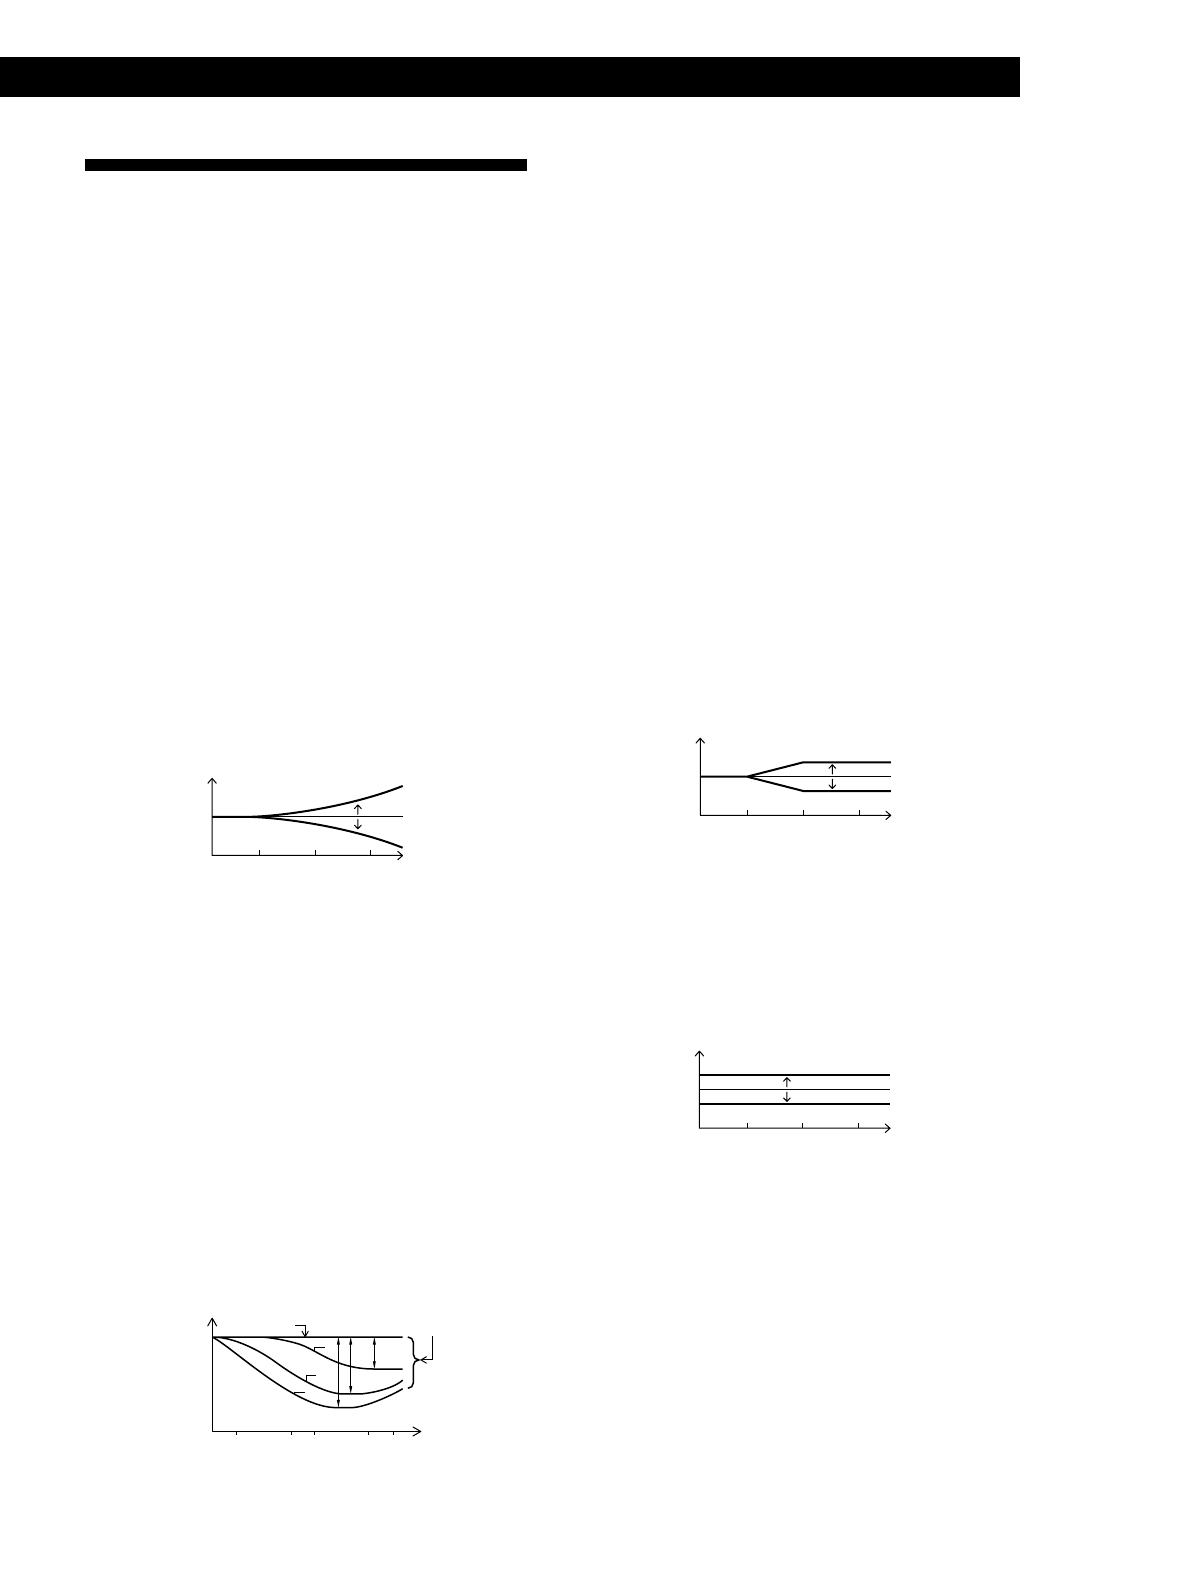
Recording equalizer calibration
Adjustment for optimum recording. Use the REC EQ control
to adjust the equalizer to suit your taste. Turning the control
clockwise emphasizes the high and middle frequencies;
turning the control counterclockwise reduces the high and
middle frequencies.
Dolby HX PRO system
Distortion and noise reduction system. The Dolby HX PRO
system reduces distortion and noise in high-frequency
response while recording. A tape recorded with this system
brings the same high-quality sound even when you play the
tape on the other tape decks.
Dolby NR (noise reduction) system
Noise reduction system for eliminating hissing noise. The
Dolby NR system boosts the low-level signals in high
frequency during recording and restores them during
playback.
There are 4 types in the Dolby NR system: A, B, C and S.
A-type is for professional use (not available on this tape deck),
and B, C and S-types are for consumer use. S-type has the
maximum noise reduction capability, followed by C and B.
dB
Hz
+
0
–
400 3k
15k
Output
level
B
C
S
Hz
dB
1k
5k
100 500 10k
Dolby NR
off
Output
level
noise reduction
dB
Hz
+
0
–
400 3k
15k
Output
level
Recording level calibration
Adjustment for optimum recording. Even when you have
adjusted the recording level correctly, the playing level might
turn out to be low depending on the tape used. By adjusting
the recording level calibration, you can compensate for the low
recording level. When you record on a tape with the Dolby NR
system, this function works more effectively.
Tape counter
A display element that shows the elapsed recording or playing
time as a digital readout. Since the counter is not a digital clock,
the displayed value will differ slightly from the actual elapsed
recording or playing time. The counter value also includes the
length of the leader tape.
Test tones
15-kHz, 3-kHz and 400-Hz signals produced by the tape deck
when you do the bias, recording equalizer and recording level
calibration.
dB
Hz
+
0
–
400 3k
15k
Output
level


