English
Español
Français
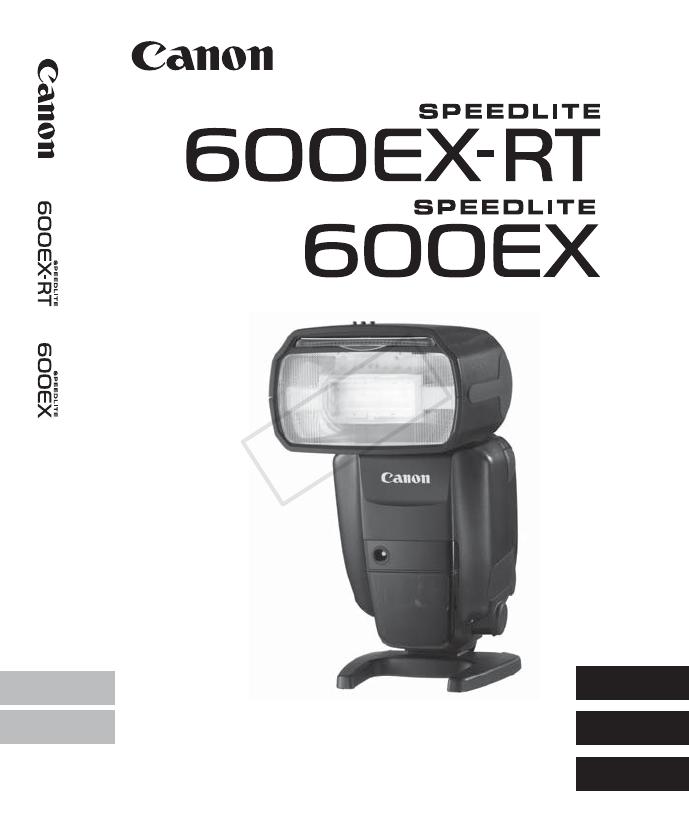
INSTRUCTION MANUAL
MODE D’EMPLOI
MANUAL DE INSTRUCCIONES
CANON INC. 30-2, Shimomaruko 3-chome, Ohta-ku, Tokyo 146-8501, Japan
U.S.A. CANON U.S.A. INC.
One Canon Plaza, Lake Success, NY 11042-1198, U.S.A.
For all inquires concerning this product, call toll free in the U.S.
1-800-OK-CANON
CANADA CANON CANADA INC. HEADQUARTERS
6390 Dixie Road, Mississauga, Ontario L5T 1P7, Canada
CANON CANADA INC. MONTREAL BRANCH
5990, Côte-de-Liesse, Montréal Québec H4T 1V7, Canada
CANON CANADA INC. CALGARY OFFICE
2828, 16th Street, N.E. Calgary, Alberta T2E 7K7, Canada
For all inquiries concerning this product, call toll free in Canada
1-800-OK-CANON
EUROPE, CANON EUROPA N.V.
AFRICA & Bovenkerkerweg 59-61, 1185 XB Amstelveen, The Netherlands
MIDDLE EAST CANON FRANCE S.A.S.
17, Quai du Président Paul Doumer, 92414 Courbevoie Cedex, France
CANON UK LTD.
Woodhatch Reigate,Surrey RH2 8BF, United Kingdom
CANON DEUTSCHLAND GmbH
Europark Fichtenhain A10, 47807 Krefeld, Germany
CANON ITALIA S.p.A.
Via Milano 8, 20097 San Donato Milanese, (MI), Italy
CANON Schweiz A.G.
Industriestrasse 12, 8305 Dietlikon, Switzerland
Canon GmbH
Zetschegasse 11, A-1230 Vienna, Austria
CANON España,S.A.
Av. De Europa,6 Alcobendas 28108 Madrid, Spain
CANON Portugal S.A.
Rua Alfredo da Silva,14 Alfragide 2610-016 Amadora, Portugal
CENTRAL & CANON LATIN AMERICA, INC.
SOUTH AMERICA 703 Waterford Way, Suite 400 Miami, FL 33126,U.S.A.
ASIA CANON (China) Co., LTD.
15F Jinbao Building No.89 Jinbao Street, Dongcheng District, Beijing 100005, China
CANON HONGKONG CO., LTD.
19/F., The Metropolis Tower, 10 Metropolis Drive, Hunghom, Kowloon, Hong Kong
CANON SINGAPORE PTE. LTD.
1 HarbourFront Avenue, #04-01 Keppel Bay Tower, Singapore 098632
CANON KOREA CONSUMER IMAGING INC.
Canon BS Tower 5F, #168-12 Samseong-dong, Gangnam-gu, Seoul, Korea
OCEANIA CANON AUSTRALIA PTY. LTD.
1 Thomas Holt Drive, North Ryde, Sydney N.S.W. 2113, Australia
CANON NEW ZEALAND LTD.
Akoranga Business Park, Akoranga Drive, Northcote, Auckland, New Zealand
JAPAN CANON MARKETING JAPAN INC.
16-6, Kohnan 2-chome, Minato-ku, Tokyo 108-8011, Japan
CPA-L004-003 © CANON INC. 2012


