21
ENGLISH
Tra c information | Radio mode
Tra c information
In the tuner region "EUROPE", an FM station can
identify tra c reports by means of an RDS signal. If
priority for tra c announcements is switched on,
a tra c announcement is automatically switched
through, even if the car sound system is currently
not in radio mode.
If priority is switched on, the display shows the
tra c jam symbol (
). "TRAFFIC" is displayed
during a switched-through tra c announcement.
To switch the priority on and o , please read the
section "Performing settings in the user menu",
"TRAF" menu item in the chapter "User settings".
Notes:
The volume is increased for the duration
of the switched-through tra c announce-
ment. You can adjust the minimum vol-
ume for tra c announcements (see the
ch. "User settings", section "Performing
settings in the user menu", "TA VOLUME"
menu item).
To cancel a switched-though tra c an-
nouncement, press the DISP/ESC button
<
.
Radio mode
RDS
Many FM stations broadcast an RDS (Radio Data
System) signal in addition to their programme in
the tuner region "EUROPE" that allows the follow-
ing additional functions:
The station name is shown on the display.
The car sound system recognises tra c an-
nouncements and news broadcasts and can
automatically switch them through in any op-
erating mode (e.g. in CD mode).
Alternate frequency: If RDS is activated, the car
sound system automatically selects the best
receivable frequency for the station that is cur-
rently set.
•
•
•
•
•
Regional (REG): At certain times, some radio
stations divide their programme into regional
programmes providing di erent content. If the
REG function is activated, the car sound system
changes only to those alternate frequencies on
which the same regional programme is being
broadcast.
To switch the RDS or REG function on or o , please
read the section "Performing settings in the user
menu" in the chapter "User settings" (menu items
"RDS", "REG").
Changing to radio mode
Press the SRC button
;
repeatedly until
"TUNER" is displayed:
The current memory bank appears once as
scrolling text on the display.
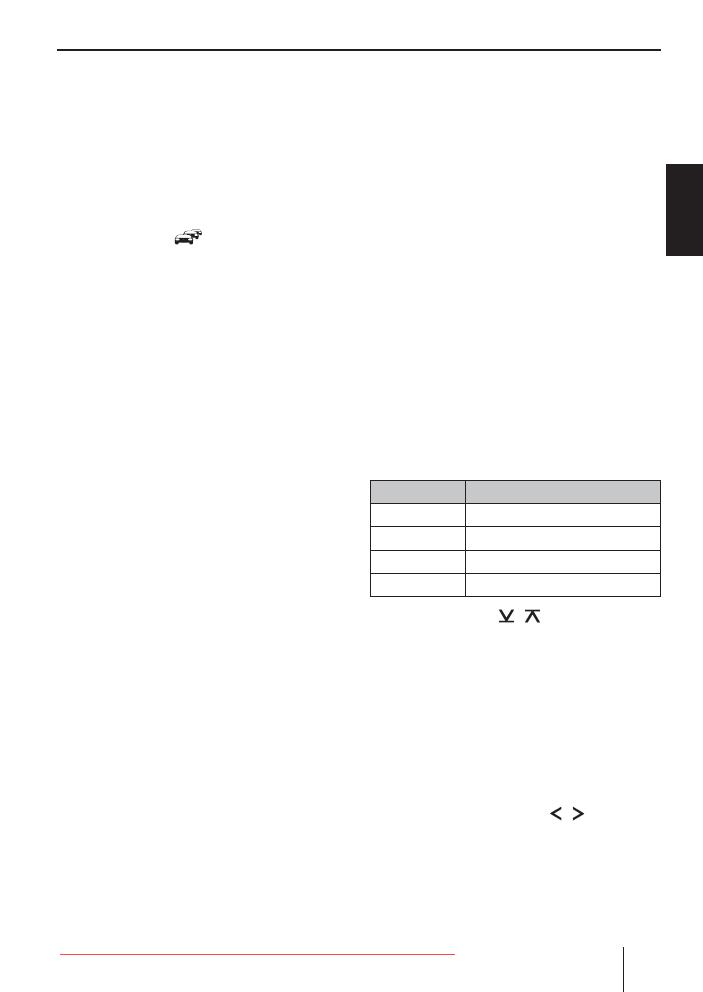
Selecting the memory bank
The following memory banks are available in the
di erent tuner regions:
Region Memory banks
EUROPE FM1, FM2, FMT, MW, LW
USA FM1, FM2, FMT, AM, AMT
THAI FM1, FM2, FMT, AM
S AMERICA FM1, FM2, FMT, AM, AMT
Press the button
/
7
repeatedly until
the desired memory bank is displayed.
Note:
Up to 5 stations can be stored in each mem-
ory bank.
Tuning into a station
There are various ways of tuning into a station:
Tuning into stations manually
Brie y press the button
/
7
once or
several times to change the frequency in
increments, or long to quickly change the
frequency.
•
쏅
쏅
쏅
02_Atlanta110_gb.indd 2102_Atlanta110_gb.indd 21 15.11.2010 16:19:33 Uhr15.11.2010 16:19:33 Uhr
Downloaded from Caradio-Manual.com Manuals


