Page 2For technical questions, please call 1-800-444-3353.SKU 95318
MOUNTING INSTRUCTIONS
Read the ENTIRE IMPORTANT SAFETY
INFORMATION section at the beginning
of this document including all text under
subheadings therein before set up or use
of this product.
Set the Key Box up on the location where you 1.
wish to mount the Key Box. Use a pencil to mark
the location of four mounting holes. Set the Key
Box aside.
NOTE: 2. It is best to mount on a wood surface. If
not available use the included dry wall anchors
when mounting.
Drill four holes of the appropriate size (where 3.
previously marked with a pencil) into the wall.
CAUTION! 4. Before drilling holes, verify that there
are no hidden electrical wires or cords under
mounting area.
Line up the four mounting holes on the back of 5.
the Key Box with the holes drilled into the wall.
Use the included mounting screws to fasten Key
Box to wall.
Continue to tighten the screws until the Key Box 6.
is fastened securely in place.
INSTRUCTIONS
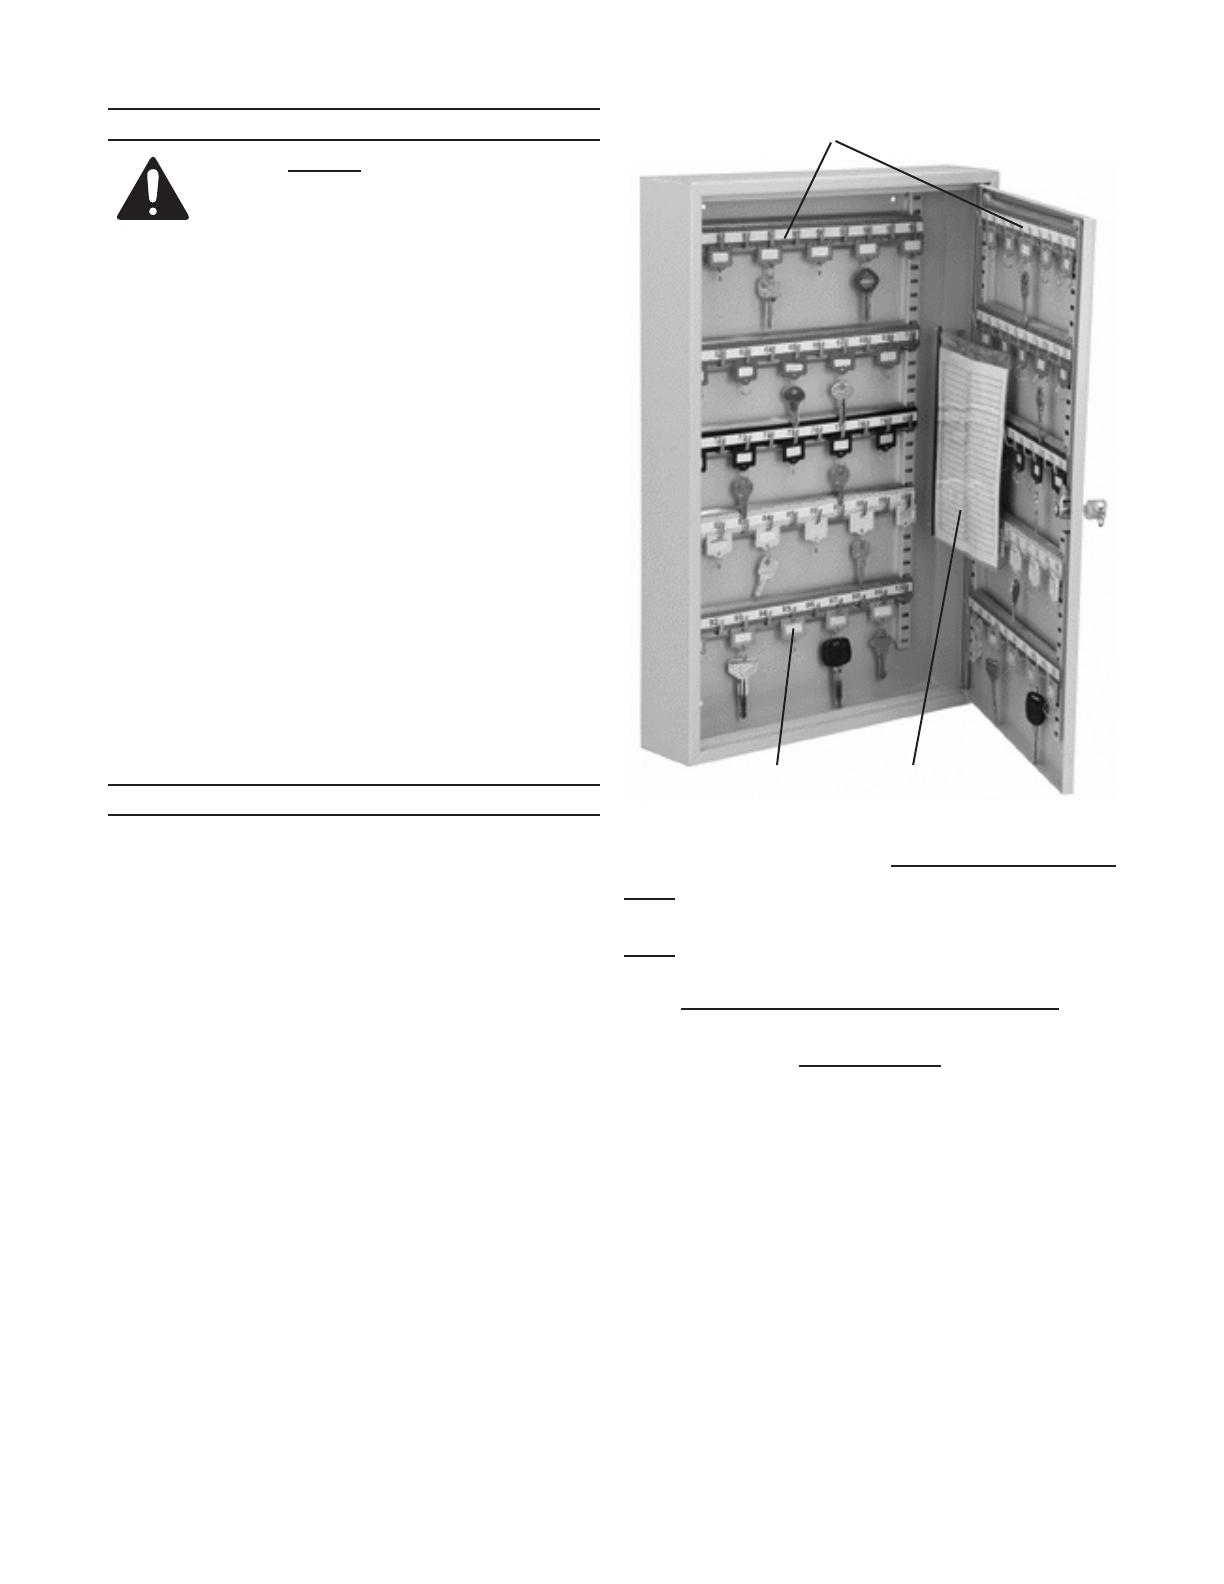
Hook the multi-colored strips with key hooks in 1.
the spacers along the inside of the cabinet and
along the door. Be sure they are attached level
and evenly spaced.
Come up with an organizing system that 2.
best suits your purpose for the Key Box. For
example, the multi-colored strips could indicate
which oor an auto is located on or which area
the car is parked.
The corresponding Key Tags in the poly bag can
also work as a location or identication device.
A numbered identication sheet is installed inside
the Key Box to also help with organization. See
photo, above.
For security or for keys left unattended, use the 3.
provided keys to lock the Key Box.
To label the key tags, remove the key ring from 4.
the hole in the tag. Slide the plastic cover out
through the slot in the tag. Mark the label and
replace the plastic slip cover and key ring.
Keep Key Box clean and organized. Wipe off 5.
dust using a damp cloth. Then dry.
Record Serial Number Here:
Note: If product has no serial number, record month
and year of purchase instead.
Note: There are no replacement parts available for this
Key Box
PLEASE READ THE FOLLOWING
CAREFULLY
THE MANUFACTURER AND/OR DISTRIBUTOR HAS PROVIDED
THE PARTS LIST AND ASSEMBLY DIAGRAM IN THIS DOCUMENT
AS A REFERENCE TOOL ONLY. NEITHER THE MANUFACTURER
OR DISTRIBUTOR MAKES ANY REPRESENTATION OR
WARRANTY OF ANY KIND TO THE BUYER THAT HE OR SHE
IS QUALIFIED TO MAKE ANY REPAIRS TO THE PRODUCT, OR
THAT HE OR SHE IS QUALIFIED TO REPLACE ANY PARTS
OF THE PRODUCT. IN FACT, THE MANUFACTURER AND/
OR DISTRIBUTOR EXPRESSLY STATES THAT ALL REPAIRS
AND PARTS REPLACEMENTS SHOULD BE UNDERTAKEN
BY CERTIFIED AND LICENSED TECHNICIANS, AND NOT BY
THE BUYER. THE BUYER ASSUMES ALL RISK AND LIABILITY
ARISING OUT OF HIS OR HER REPAIRS TO THE ORIGINAL
PRODUCT OR REPLACEMENT PARTS THERETO, OR ARISING
OUT OF HIS OR HER INSTALLATION OF REPLACEMENT PARTS
THERETO.
Identication
Sheet
Key Hook Strips
Key Tags

