105 DA
Ⴠ Den anvendte emballage er miljøvenlig og
genanvendelig. Bortskaf emballagen med
tanke for miljøet. Hent vejledning til
bortskaffelse af emballagen hos din lokale
kommune.
Ⴠ For at sikre sikker bortskaffelse af en gammel
tørretumbler, skal du tage stikket ud af væggen,
skære ledningen og stik af og smide dem ud.
Bræk hængslerne af lågen eller ødelæg låsen,
så det undgås at børn kommer til at lukke sig
selv inde i maskinen.
Miljøhensyn
Elektriske Krav
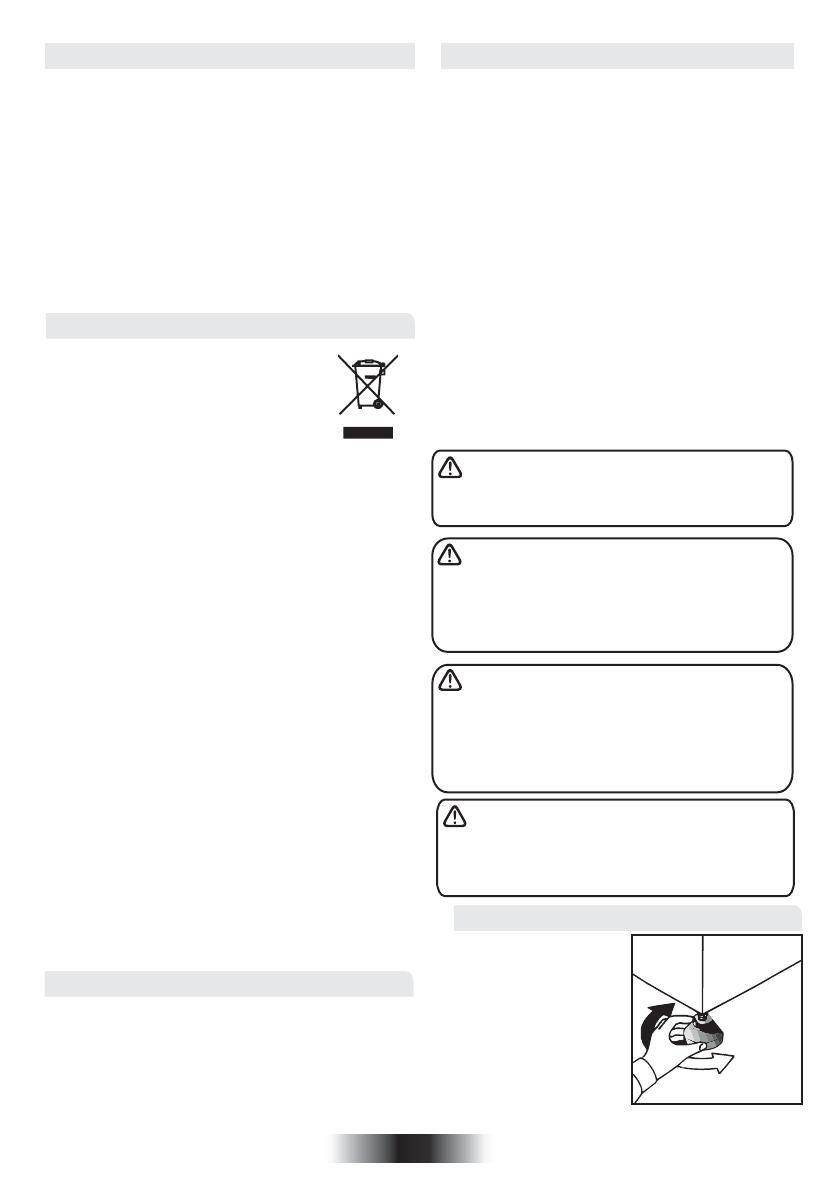
Når maskinen er på
plads, skal fødderne
justeres, så maskinen
står vandret.
Justering af Fødder
Ⴠ To ensure the continued safe and efficient
operation of this appliance we recommend that
any servicing or repairs are only carried out by
an authorised GIAS service engineer.
GIAS Service
5
European Directive 2012/19/EU
This appliance is marked according
to the European directive 2012/19/EU
on Waste Electrical and Electronic
Equipment (WEEE).
WEEE contains both polluting substances (which
can cause negative consequences for the
environment) and basic components (which can
be re-used). It is important to have WEEE
subjected to specific treatments, in order to
remove and dispose properly all pollutants, and
recover and recycle all materials.
Individuals can play an important role in ensuring
that WEEE does not become an environmental
issue; it is essential to follow some basic rules:
- WEEE should not be treated as household
waste.
- WEEE should be handed over to the relevant
collection points managed by the municipality or
by registered companies. In many countries, for
large WEEE, home collection could be present.
In many countries, when you buy a new appliance,
the old one may be returned to the retailer who has
to collect it free of charge on a one-to-one basis,
as long as the equipment is of equivalent type and
has the same functions as the supplied
equipment.
Hvis maskinen ikke kører ordentligt eller
går istykker, så sluk for den og tag stikket ud af
stikkontakten. Kontakt GIAS Service mht.
eventuel reparation.
Tørretumblere kan køre på 220-240V, 50 Hz
enfaset. Kontrollér at strømkredsen er
klassificeret til mindst 6A.
Elektricitet kan være meget farligt.
Dette apparat skal være jordforbundet.
Stikkontakten og maskinens stik skal
passe sammen.
Der må ikke anvendes flere adaptere
og/eller forlængerledninger.
Stikket skal være tilgængeligt til afbrydelse
efter,at apparatet er blevet installeret.
Hvis hovedledningen til denne maskine
erbeskadiget, skal den udskiftes med en
særligledning, som KUN fås hos
reservedelsforha ndleren. Den skal installeres
af en kvalificeret person.
Du kan komme til at betale for reparation,
hvis der opstår problemer med din maskine, der
skyldes ukorrekt installation.
Du må ikke sætte stikket i og tænde for
maskinen, før installationen er fuldført. Af
hensyn til din egen sikkerhed skal denne
tørretumbler være installeret korrekt. Hvis der er
nogen tvivl om installation, skal du ringe til GIAS
Service for rådgivning.


