OM-227 398 Page 1
SECTION 1 −SAFETY PRECAUTIONS FOR GMAW
WELDING GUNS − READ BEFORE USING
SR7_8/03
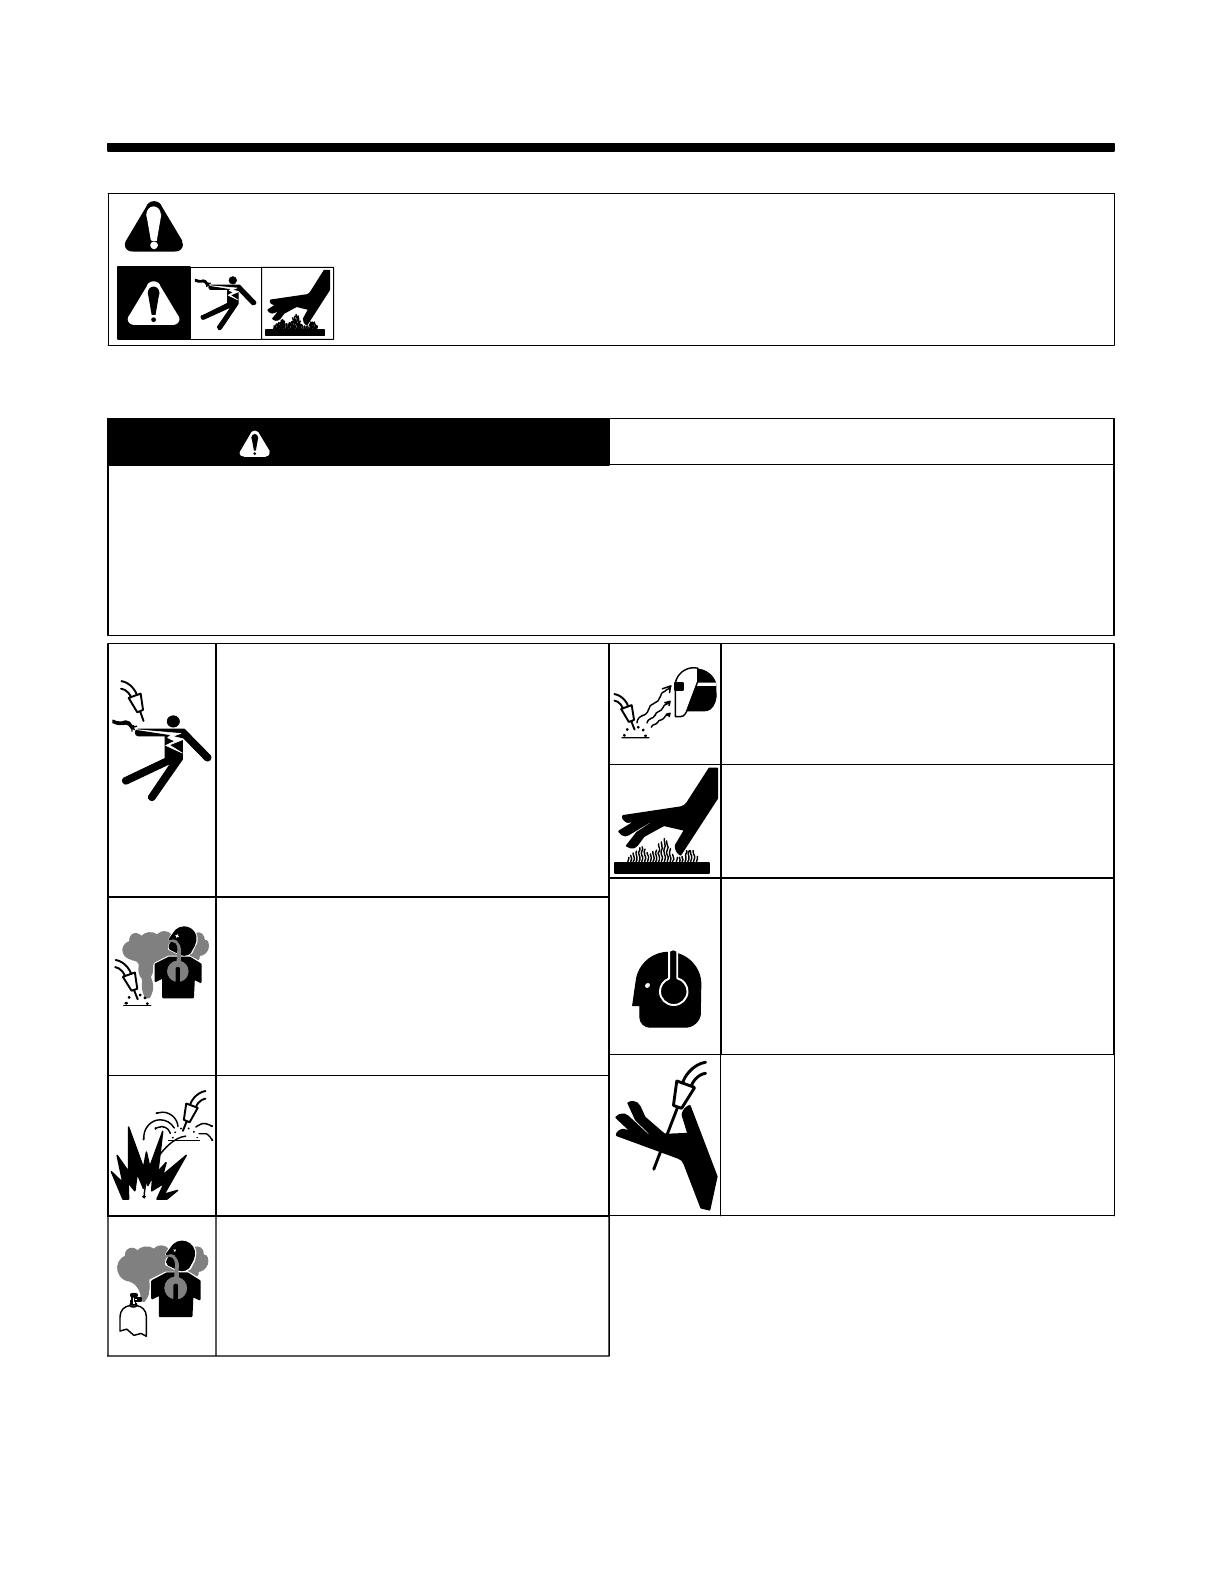
1-1. Symbol Usage
Means Warning! Watch Out! There are possible hazards with this
procedure! The possible hazards are shown in the adjoining symbols.
This group of symbols means Warning! Watch Out! Possible ELECTRIC SHOCK and HOT PARTS hazards.
Consult symbols and related instructions below for necessary actions to avoid the hazards.
Y Marks a special safety message.
. Means NOTE; not safety related.
1-2. GMAW Gun Hazards
WARNING
PROTECT YOURSELF AND OTHERS FROM POSSIBLE SERIOUS INJURY OR DEATH. KEEP CHILDREN
AWAY. PACEMAKER WEARERS KEEP AWAY UNTIL CONSULTING YOUR DOCTOR.
In welding, as in most jobs, exposure to certain hazards occurs. Welding is safe when precautions are taken. The
safety information given below is only a summary of the more complete safety information found in the wire feeder
and welding power source Owner’s Manuals. Read and follow all safety precautions.
HAVE ALL INSTALLATION, OPERATION, MAINTENANCE, AND REPAIR WORK PERFORMED ONLY BY
QUALIFIED PEOPLE.
GMAW WELDING can be hazardous.
ARC RAYS can burn eyes and skin.
1. Wear welding helmet with correct shade of filter.
2. Wear correct eye and body protection.
3. Cover exposed skin with spatter-resistant
clothing.
ELECTRIC SHOCK can kill.
1. Always wear dry insulating gloves.
2. Insulate yourself from work and ground.
3. Do not touch live electrode or electrical parts.
4. Repair or replace worn, damaged, or cracked
gun or cable insulation.
5. Turn off welding power source before changing
contact tip or gun parts.
6. Keep all covers and handle securely in place.
WELDING can cause fire or explosion.
1. Do not weld near flammable material.
2. Do not weld on closed containers.
3. Watch for fire; keep extinguisher nearby.
NOISE can damage hearing; SOME
APPLICATIONS, SUCH AS PULSING,
are noisy.
1. Check for noise level limits exceeding those
specified by OSHA.
2. Use approved ear plugs or ear muffs if noise level
is high.
3. Warn others nearby about noise hazard.
HOT SURFACES can burn skin.
1. Allow gun to cool before touching.
2. Do not touch hot metal.
3. Protect hot metal from contact by others.
FUMES AND GASES can be hazardous
to your health.
1. Keep your head out of the fumes.
2. Ventilate area, or use breathing device.
3. Read Material Safety Data Sheets (MSDSs) and
manufacturer’s instructions for material used.
WELDING WIRE can cause puncture
wounds.
1. Keep hands and body away from gun tip when
trigger is pressed.
BUILD UP OF GAS can injure or
kill
1. Shut off shielding gas supply when not in
use.
2. Always ventilate confined spaces or use
approved air-supplied respirator.


