Smeg PU64ES Owner's manual

Category
Cookers
Type
Owner's manual

This manual is also suitable for

Smeg PU64ES is a four-burner gas cooktop with electronic ignition and safety device that automatically cuts off the gas supply if the flame goes out. It features a stainless steel surface for easy cleaning and durability. The front left and right burners are best for simmering or cooking smaller quantities of food, while the rear burners are ideal for larger pots and pans. With its various burner sizes and precise flame control, the Smeg PU64ES offers versatility for a wide range of cooking needs.

Smeg PU64ES is a four-burner gas cooktop with electronic ignition and safety device that automatically cuts off the gas supply if the flame goes out. It features a stainless steel surface for easy cleaning and durability. The front left and right burners are best for simmering or cooking smaller quantities of food, while the rear burners are ideal for larger pots and pans. With its various burner sizes and precise flame control, the Smeg PU64ES offers versatility for a wide range of cooking needs.

Table of Contents
1. IMPORTANT SAFETY INSTRUCTIONS ................................................................................. 4
2. DESCRIPTION OF CONTROLS ............................................................................................. 6
2.1 PU64 ............................................................................................................................................................... 6
2.2 PU75 ............................................................................................................................................................... 7
2.3 PU106 ............................................................................................................................................................. 8
3. USING THE COOKTOP .......................................................................................................... 9
3.1 Ignition with safety device ............................................................................................................................... 9
3.2 Practical advices to use the burners ............................................................................................................. 10
3.3 Diameter of cookware ................................................................................................................................... 10
3.4 Cookware ...................................................................................................................................................... 11
4. CLEANING AND MAINTENANCE ......................................................................................... 12
4.1 How to clean the Stainless Steel ................................................................................................................... 12
4.2 Cleaning the components ............................................................................................................................. 12
NOTE: THIS APPLIANCE MUST BE INSTALLED SOLELY AND EXCLUSIVELY BY A QUALIFIED
TECHNICIAN. ANY TECHNICAL PROCEDURES MUST BE CARRIED OUT BY AN AUTHORIZED
TECHNICIAN.
INSTRUCTIONS FOR THE USER: these instructions contain user advices, a description of the controls
and the correct procedures for cleaning and maintenance of the appliance.
3
Important Safety Instruction
4
1. IMPORTANT SAFETY INSTRUCTIONS
READ AND SAVE THESE INSTRUCTIONS – Your Safety And the Safety of Others Are Very Important.
We have provided many important safety messages throughout this manual and on your appliance.
Read all instructions before using your appliance and always obey all safety messages.
RECOGNIZE SAFETY INFORMATION
This is a safety alert symbol. This symbol alerts you to potential hazards that can kill or hurt you and
others.
UNDERSTAND SIGNAL WORDS
A signal word – DANGER, WARNING, or CAUTION – is used with the safety-alert symbol. DANGER
identifies the most serious hazards. It means you can be killed or seriously injured if you do not
immediately
follow instructions. WARNING means you can be killed or seriously injured if you do not
follow instructions. CAUTION indicates a potentially hazardous situation which, if not avoided, may
result in minor or moderate injury.
All safety messages will inform you as to potential hazards, inform you on how to reduce the risk of
injury and as to what can occur if the instructions are not followed.
IMPORTANT: Observe all government codes and ordinances.
WARNING: For your safety, the information in this manual must be followed to minimize the risk
of fire or explosion, or to prevent property damage, personal injury or death.
Do not store or use gasoline or other flammable vapors and liquids in the vicinity of this or any
other appliance.
WHAT TO DO IF YOU SMELL GAS
Do not attempt to switch on any appliances.
Do not touch any electrical switches.
Do not use any phones in your building.
Immediately call your gas supplier from a neighbor's phone. Follow the gas supplier's instructions.
lf you cannot reach your gas supplier, call the fire department.
Installation and service must be performed by a qualified installer, service agency or the gas
supplier.
NOTE: This cooktop is manufactured for use with Natural gas. To convert to LP/Propane gas, see
instructions in the Gas Conversion Kit provided in the literature package.
Proper gas supply connection must be available. See "Gas supply requirements”.
Important Safety Instruction
5
WARNING
To reduce the risk of fire, electrical shock, injury to persons, or damage
when using the cooktop, follow basic precautions, including the following:
- CAUTION: Do not store items of interest to children in cabinets above the cooktop – children
climbing on the cooktop to reach items could be seriously injured.
- Proper Installation – The cooktop, when installed, must be electrically grounded in accordance with
local codes or, in the absence of local codes, with the National Electrical Code, ANSI/NFPA70 or the
Canadian Electrical Code, Part 1. Be sure the cooktop is properly installed and grounded by a
qualified technician.
- This cooktop is equipped with a three-prong grounding plug for your protection against shock hazard
and should be plugged directly into a properly grounded receptacle. Do not cut or remove the
grounding prong from this plug.
- Disconnect the electrical supply before servicing the cooktop.
- Never Use the Cooktop for Warming or Heating the Room.
- Injuries may result from the misuse of the cooktop such as stepping, leaning, or sitting on the top
surface.
- Maintenance – Keep cooktop area clear and free from combustible materials, gasoline, and other
flammable vapors and liquids.
- Storage on the cooktop – Flammable materials should not be stored on or near surface units.
- Top burner flame size should be adjusted so it does not extend beyond the edge of the cooking
utensil.
SAVE THESE INSTRUCTIONS
NOTE: The California Safe Drinking Water and Toxic Enforcement Act requires the Governor of
California to publish a list of substances known to the State of California to cause cancer, birth defects,
or other reproductive harm, and requires businesses to warn of potential exposure to such substances.
WARNING: This product contains a chemical known to the State of California to cause cancer, birth
defects, or other reproductive harm.
This appliance can cause low-level exposure to some of the substances listed, including benzene,
formaldehyde, carbon monoxide, toluene, and soot.
Instructions for the user
6
2. DESCRIPTION OF CONTROLS
All the commands and controls for the cooktop can found on the front panel.
2.1 PU64
CONTROL PANEL
Use the front left and the front right burners for simmering or for cooking smaller quantities of food
requiring small cookware.
Use the rear left and the rear right burners for cooking large quantities of food, deepfat frying, or
cooking with large cookware.
Instructions for the User
7
2.2 PU75
CONTROL PANEL
Use the front left and the front right burners for simmering or for cooking smaller quantities of food
requiring small cookware.
Use the rear left, the rear right and the central burners for cooking large quantities of food, deep-fat
frying, or cooking with large cookware.
Instructions for the user
8
2.3 PU106
CONTROL PANEL
Use the front left and the front right burners for simmering or for cooking smaller quantities of food
requiring small cookware.
Use the rear left, the rear right and the central left/right burners for cooking large quantities of food,
deep-fat frying, or cooking with large cookware.
Instructions for the User
9
3. USING THE COOKTOP
WARNING
FIRE HAZARD
- Do not let the burner flame extend beyond the edge
of the pan.
- Turn off all controls when not cooking.
NOTE: Check that the flame cap crowns, the burner caps and grids are correctly
assembled.
Pins A on the flame cap crowns must be inserted in housings B on the burner
rings, and pins C on the grids must be locked into their respective housings on the
cooktop.
3.1 Ignition with safety device
Each knob has a symbol that shows the correspondent burner (the example here on the left shows the
front left burner).
The appliance is equipped with an electronic ignition.
- Just press and simultaneously turn the knob anti-clockwise to the low flame symbol until the
burner switches on.
- Keep the knob pressed down for about 2 seconds to keep the flame lit and to activate the safety
device.
- After switching the burner on it is recommended that the knob is left in the minimum position for
approximately 20 seconds before adjusting it to the required temperature.
It may happen that the flame goes out when the knob is released. In this case repeat the operation, but
keeping the knob pressed down for a longer time.
NOTE: If the flame goes out accidentally, after about 20 seconds the safety device will intervene and
block the gas flow, even when the tap is open.
REMEMBER: When the cooktop is in use, the entire cooktop area may become hot
Instructions for the user
10
3.1.1 Power failure
In case of a prolonged power outage you can manually lit the surface burners.
Hold a lit match near a burner and turn the control knob to the low flame symbol . After the burner
lights, turn the knob to the desired setting.
3.2 Practical advices to use the burners
NOTE: Do not obstruct the flow of combustion and ventilation around the burner grate edges.
To achieve a better performance of the burners and and minimum gas consumption,
flat bottomed, levelled cookware with lids should be used, and they should also be
proportioned to the burners (see paragraph “3.3 Diameter of cookware”).
To avoid overcooking or damage the surface top while cooking, all cookware or
griddles must be positioned within the cooktop perimeter and at a minimum distance of
3-4 cm / 1 ½” from the knobs.
Check burner flames occasionally for proper size and shape. A good flame is blue in
color, not yellow. Keep the burner ports area free of soil and do not allow spills, food,
cleaning agents or any other material to entre the burner ports.
NOTE: Before setting a control knob, place filled cookware on the grate. Do not operate a burner using
empty cookware or without cookware on the grate.
Do not leave empty cookware on a hot surface cooking area, element or surface burner.
3.3 Diameter of cookware
BURNERS Ø min. and max. (cm) Ø min. - max. (inch)
1 Auxiliary 7 - 18 2 ¾ - 7
2 Semi-rapid 12 - 24 4 ¾ - 9 ½
3 Medium rapid 18 - 24 7 - 9 ½
4 Large rapid 20 - 24 8 - 9 ½
5 Ultra rapid 22 - 28
8
2
/
3
- 11
Instructions for the User
11
3.4 Cookware
NOTE: Do not leave empty cookware on a hot surface cooking area, element or surface burner
Ideal cookware should have a flat bottom, straight sides, a well-fitting lid and the material should be of
medium-to-heavy thickness.
Rough finishes may scratch the cooktop. Aluminium and copper may be used as a core or base in
cookware. However, when used as a base they can leave permanent marks on the cooktop or grates.
Cookware material is a factor in how quickly and evenly heat is transferred, which affects cooking
results. A nonstick finish has the same characteristics as its base material. For example, aluminum
cookware with a nonstick finish will take on the properties of aluminum.
Use the following chart as a guide for cookware material characteristics.
COOKWARE CHARACTERISTICS
Aluminum
Heats quickly and evenly
Suitable for all types of cooking
Medium or heavy thickness is best for most cooking tasks.
Cast iron
Heats slowly and evenly
Good for browning and frying
Maintains heat for slow cooking.
Ceramic or ceramic glass
Follow manufacturer’s instructions
Heats slowly, but unevenly
Ideal results on low to medium heat settings.
Copper Heats very quickly and evenly
Earthenware
Follow manufacturer’s instructions
Use on low heat settings
Porcelain enamel-on-steel or
cast iron
See stainless steel or cast iron
Stainless steel
Heats quickly, but unevenly
A core or base of aluminum or copper on stainless steel provides
even heating
Instructions for the user
12
4. CLEANING AND MAINTENANCE
- Do not use steam jets to clean the cooktop and its components.
- Do not use cleaning products containing chlorine, ammonia or bleach.
NOTE: Before any intervention, disconnect the power supply to the device.
4.1 How to clean Stainless Steel
WARNING
BURN HAZARD
You must wait until the cooktop has completely cooled down before
starting any cleaning operation.
4.1.1 Regular cleaning of the cooktop
To clean and preserve the stainless steel surfaces, always use only specific products that do not contain
abrasives or chlorine-based acids.
To keep the cooktop in good condition, it would be ideal to clean it after every use.
How to use: pour the product on a damp cloth and wipe the surface, rinse thoroughly and dry with a soft
cloth or deerskin.
4.1.2 Food stains or residue
Never use metallic sponges or sharp scrapers, as they will damage the surface.
Use normal, non-abrasive products for steel together with non-scratch sponges and, if necessary,
wooden or plastic utensils.
Rinse thoroughly and dry with a soft cloth or deerskin.
4.2 Cleaning the components
4.2.1 Knobs
The knobs are made of stainless steel and therefore should be cleaned as indicated for
the cooktop.
4.2.2 Pan stands and burner caps (EVERSHINE treatment)
The special EVERSHINE treatment makes the polished stainless-steel burners and pan stands highly
heat resistant and prevents yellowing due to the exposure to high temperatures. Follow the cleaning
instructions below for the best results and to avoid damaging the treatment:
1 Remove the burner cap.
2 Pull one of the two horizontal spokes of the pan stand upwards to extract it from its seat.
3 Wash these components with hot water and a non-abrasive cleaner, taking care to remove any
deposits. Do not use metal pan scourers, abrasive sponges or sharp scrapers.
4 Dry the components.
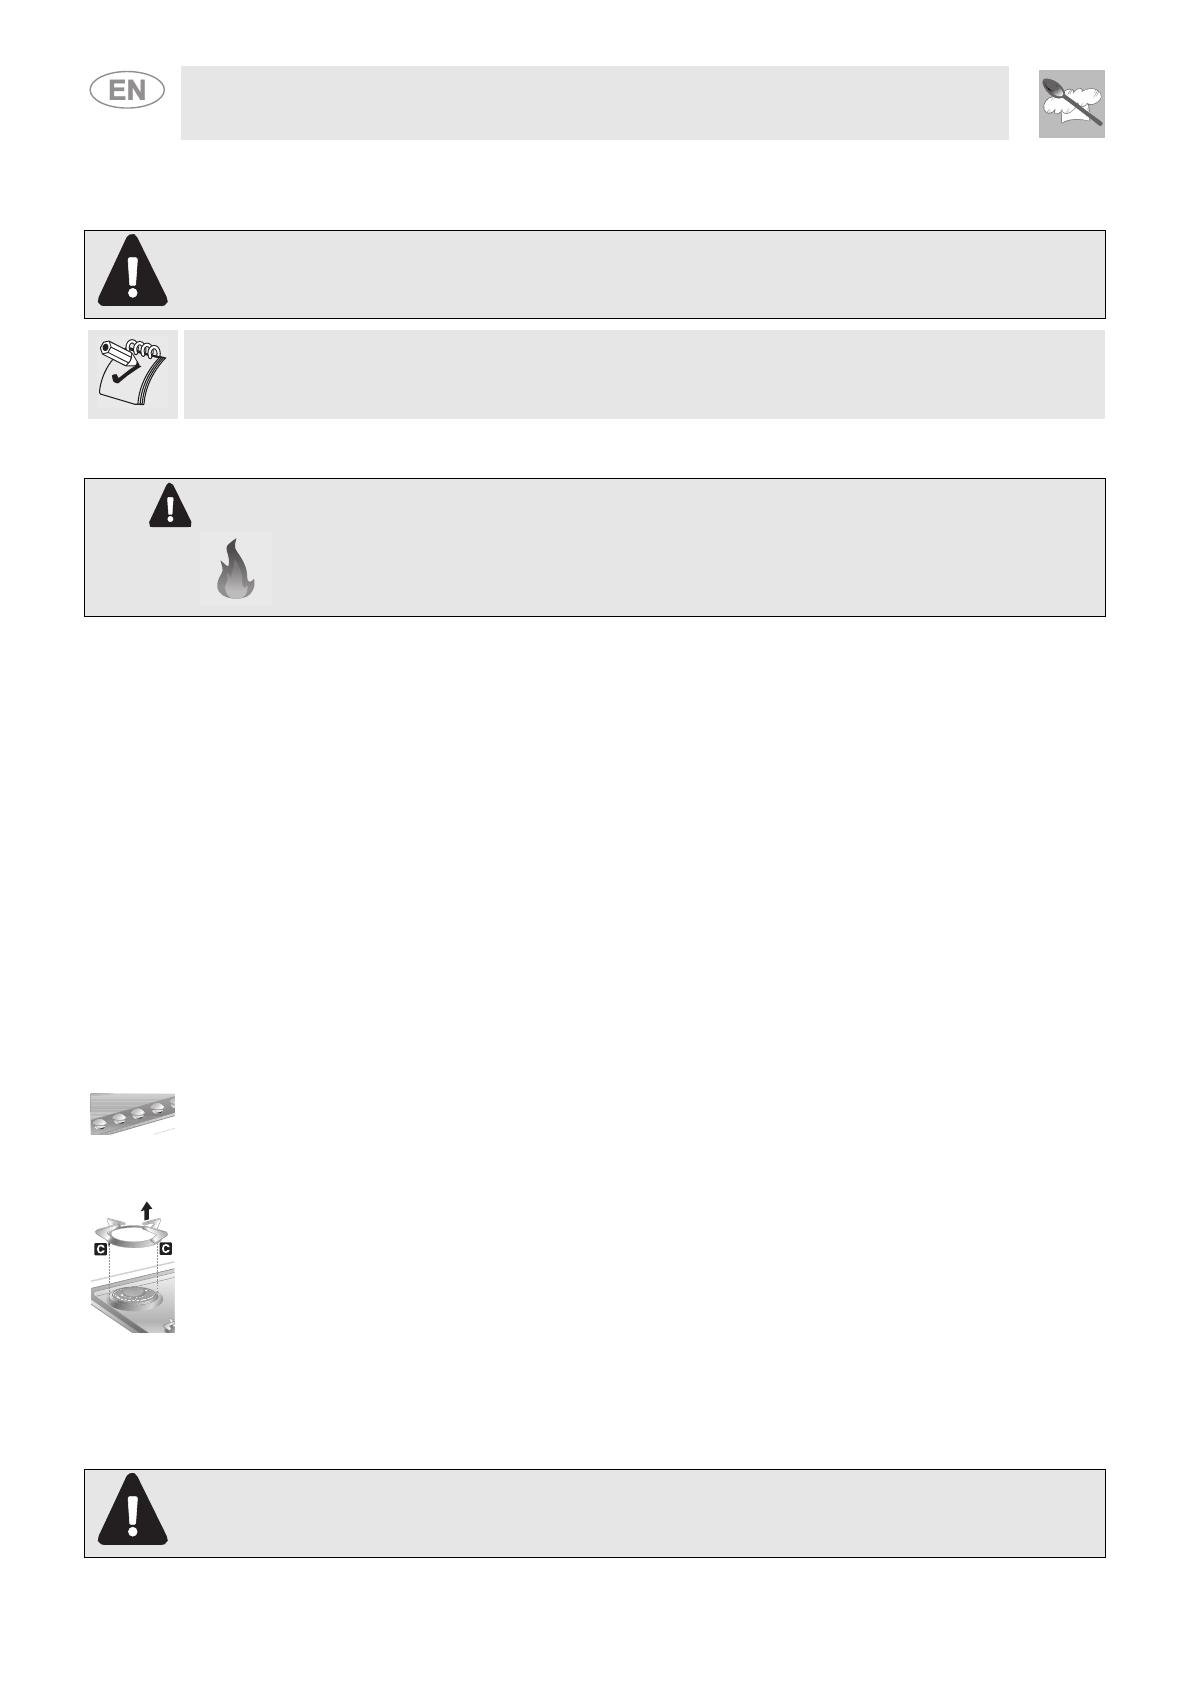
5 Replace the burner caps on their corresponding crowns; position the pan stands, ensuring that the
pins C line up with their holes on the cooktop, then push them down with the palm of your hand until
they click into place.
- In case of contact with overly harsh detergents, hard water or spills (cooking water, sauce, coffee etc.),
clean the cooktop as soon as it has cooled.
- Never wash in the dishwasher
Instructions for the User
13
4.2.3 Flame cap crowns
- The flame cap crowns are removable.
- Wash them with hot water and non-abrasive detergent.
- Make sure to remove all deposits.
- When you replace them, make sure that they are completely dry and inserted correctly in their
housings (see Section “3. Using The Cooktop”).
4.2.4 Ignition plugs and safety devices
For good operation of the lighting ignition plugs and the safety devices, keep them very clean.
Check them frequently and clean with a damp cloth when necessary.
  • Page 1 1
  • Page 2 2
  • Page 3 3
  • Page 4 4
  • Page 5 5
  • Page 6 6
  • Page 7 7
  • Page 8 8
  • Page 9 9
  • Page 10 10
  • Page 11 11

Smeg PU64ES Owner's manual

Category
Cookers
Type
Owner's manual
This manual is also suitable for

Smeg PU64ES is a four-burner gas cooktop with electronic ignition and safety device that automatically cuts off the gas supply if the flame goes out. It features a stainless steel surface for easy cleaning and durability. The front left and right burners are best for simmering or cooking smaller quantities of food, while the rear burners are ideal for larger pots and pans. With its various burner sizes and precise flame control, the Smeg PU64ES offers versatility for a wide range of cooking needs.

Ask a question and I''ll find the answer in the document

Finding information in a document is now easier with AI