Page is loading ...
GB
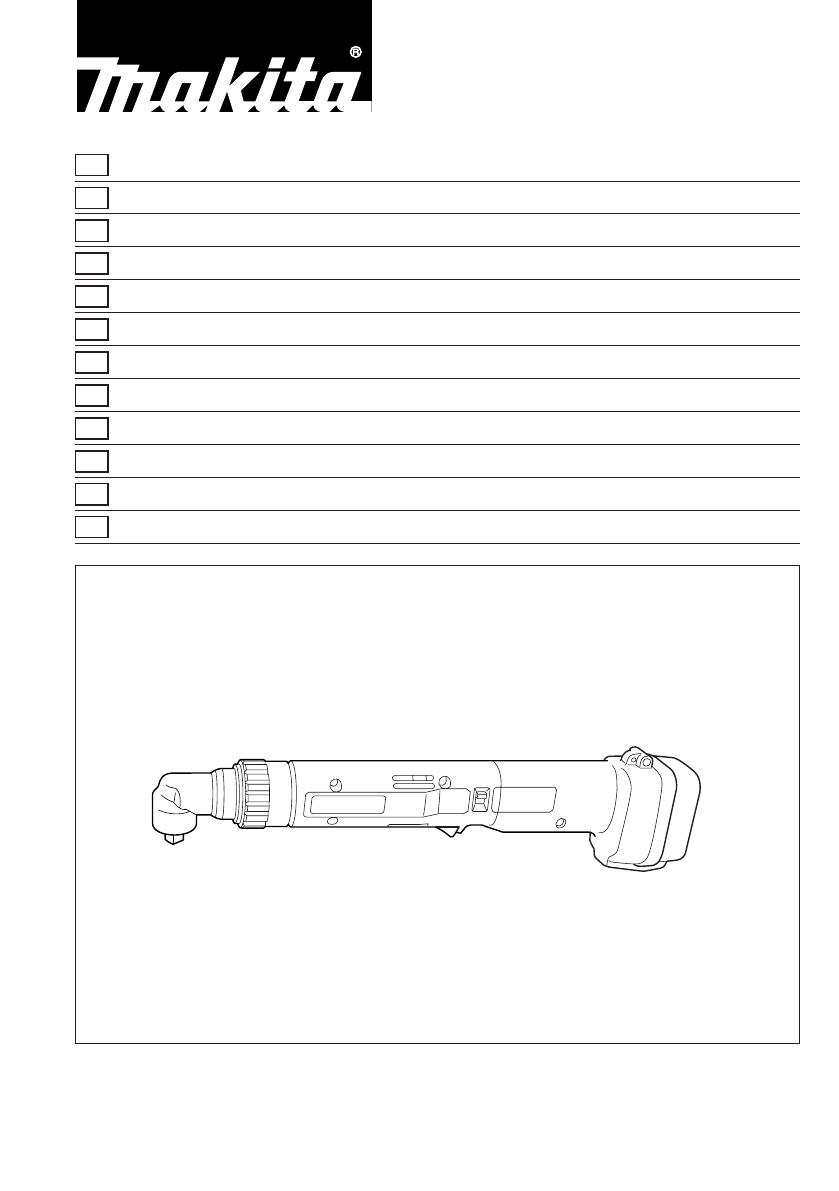
Cordless Angle Socket Driver Instruction Manual
F
Clé d’Angle sans Fil Manuel d’Instructions
D
Akku-Winkelschrauber Betriebsanleitung
I
Avvitatore Angolare a Batteria Istruzioni d’Uso
NL
Accu haakse moeraanzetter Gebruiksaanwijzing
E
Llave Angular a Batería Manual de Instrucciones
P
Aparafusadora Angular a Bateria Manual de Instruço˜es
DK
Akku Vinkelskruemaskine Brugsanvisning
S
Sladdlös Vinkelmutterdragare Bruksanvisning
N
Akku Vinkelmuttertrekker Bruksanvisning
SF
Akkukäyttöinen Kulmahylsyväännin Käyttöohje
GR
∞Û‡ÚÌ·ÙÔ ‚ȉÔÙÚ‡·ÓÔ ÁˆÓȷ΋˜ ˘Ô‰Ô¯‹˜ √‰ËÁ›Â˜ ¯Ú‹Ûˆ˜
6704D/6704DW
6706D/6706DW
6704DW/6706DW
With battery charger Met acculader Inkl. batteriladdar
Avec chargeur Con cargador de batería Med batterilader
Mit Ladegerät Com carregador de bateria Akkulataaja
Con carica batteria Med akku-ladeaggregat ªÂ ˇÔÚÙÈÛÙ‹˜ Ì·Ù·Ú›·˜
6704D/DW 6706D/DW (cover) (’100. 3. 17)

ENGLISH
Explanation of general view
1 Battery cartridge
2 Set plate
3 Charging light
4 Battery charger
5 Hole for detent pin
6 Detent pin
7 Square drive
8 Bit with Form C 6.3 shank
9 Round drive
0 Switch trigger
q Reversing switch
w Clockwise rotation
e Counterclockwise rotation
r Number
t Adjusting ring
y Red mark
u Screw
SPECIFICATIONS
Model 6704D 6706D
Capacities
Bolt, nut and machine screw ............................................... 4 mm–6mm 4mm–6mm
Square drive ........................................................................ 9.5 mm or 6.35 mm 9.5 mm or 6.35 mm
No load speed (min
-1
) ............................................................ 400 400
Fastening torque .................................................................... 2.0 N
.
m – 7.8 N
.
m 2.0 N
.
m – 7.8 N
.
m
Overall length ......................................................................... 396 mm 396 mm
Net weight .............................................................................. 1.4 kg 1.4 kg
Rated voltage ......................................................................... D.C. 9.6 V D.C. 9.6 V
•
Due to our continuing program of research and
development, the specifications herein are subject
to change without notice.
•
Note: Specifications may differ from country to
country.
Safety hints
For your own safety, please refer to the enclosed
safety instructions.
IMPORTANT SAFETY INSTRUCTIONS
FOR CHARGER & BATTERY
CARTRIDGE
1. SAVE THESE INSTRUCTIONS — This manual
contains important safety and operating
instructions for battery charger.
2. Before using battery charger, read all instruc-
tions and cautionary markings on (1) battery
charger, (2) battery, and (3) product using
battery.
3. CAUTION — To reduce risk of injury, charge
only MAKITA type rechargeable batteries.
Other types of batteries may burst causing
personal injury and damage.
4. Do not expose charger to rain or snow.
5. Use of an attachment not recommended or
sold by the battery charger manufacturer may
result in a risk of fire, electric shock, or injury
to persons.
6. To reduce risk of damage to electric plug and
cord, pull by plug rather than cord when dis-
connecting charger.
7. Make sure cord is located so that it will not be
stepped on, tripped over, or otherwise sub-
jected to damage or stress.
8. Do not operate charger with damaged cord or
plug — replace them immediately.
9. Do not operate charger if it has received a
sharp blow, been dropped, or otherwise dam-
aged in any way; take it to a qualified service-
man.
10. Do not disassemble charger or battery car-
tridge; take it to a qualified serviceman when
service or repair is required. Incorrect reas-
sembly may result in a risk of electric shock or
fire.
11. To reduce risk of electric shock, unplug
charger from outlet before attempting any
maintenance or cleaning. Turning off controls
will not reduce this risk.
ADDITIONAL SAFETY RULES FOR
CHARGER & BATTERY CARTRIDGE
1. Do not charge battery cartridge when tempera-
ture is BELOW 10°C (50°F) or ABOVE 40°C
(104°F).
2. Do not attempt to use a step-up transformer,
an engine generator or DC power receptacle.
3. Do not allow anything to cover or clog the
charger vents.
4. Always cover the battery terminals with the
battery cover when the battery cartridge is not
used.
5. Do not short the battery cartridge:
(1) Do not touch the terminals with any con-
ductive material.
(2) Avoid storing battery cartridge in a con-
tainer with other metal objects such as
nails, coins, etc.
(3) Do not expose battery cartridge to water or
rain.
A battery short can cause a large current flow,
overheating, possible burns and even a break-
down.
6. Do not store the machine and battery cartridge
in locations where the temperature may reach
or exceed 50°C (122°F).
7. Do not incinerate the battery cartridge even if
it is severely damaged or is completely worn
out. The battery cartridge can explode in a fire.
6704D/DW 6706D/DW (E) (’100. 3. 17)
3

8. Be careful not to drop, shake or strike battery.
9. Do not charge inside a box or container of any
kind. The battery must be placed in a well
ventilated area during charging.
ADDITIONAL SAFETY RULES
FOR MACHINE
1. Be aware that this machine is always in an
operating condition, because it does not have
to be plugged into an electrical outlet.
2. Always be sure you have a firm footing. Be
sure no one is below when using the machine
in high locations.
3. Hold the machine firmly.
4. When driving into walls, floors or wherever
‘‘live’’electrical wires may be encountered, DO
NOT TOUCH ANY METAL PARTS OF THE
MACHINE! Hold the machine only by the insu-
lated grasping surfaces to prevent electric
shock if you drive into a ‘‘live’’ wire.
5. Check the socket carefully for wear, cracks or
damage before installation.
SAVE THESE INSTRUCTIONS.
OPERATING INSTRUCTIONS
Installing or removing battery cartridge
(Fig. 1)
•
Always switch off the machine before insertion or
removal of the battery cartridge.
•
To remove the battery cartridge, pull out the set
plate on the machine and grasp both sides of the
cartridge while withdrawing it from the machine.
•
To insert the battery cartridge, align the tongue on
the battery cartridge with the groove in the housing
and slip it into place. Snap the set plate back into
place. Be sure to close the set plate fully before
using the machine.
•
Do not use force when inserting the battery car-
tridge. If the cartridge does not slide in easily, it is
not being inserted correctly.
Charging (Fig. 2)
1. Plug the battery charger into your power source.
2. Insert the battery cartridge so that the plus and
minus terminals on thebattery cartridge are onthe
same sides as their respective markings on the
battery charger. Insert the cartridge fully into the
port so that it rests on the charger port floor.
3. When the battery cartridge is inserted, the charg-
ing light color will flash in red color and charging
will begin.
4. When charging is completed, the charging light
goes out. The charging time is as follows:
Battery 9100 and 9100A: approx. 60 minutes.
5. If you leave the battery cartridge in the charger
after the charging cycle is complete, the charger
will switch into its ‘‘trickle charge (maintenance
charge)’’ mode.
6. After charging, remove the battery cartridge from
the charger and unplug the charger from the
power source.
Battery type
Capacity
(mAh)
Number of
cells
9100 1,300 8
CAUTION:
•
The battery charger is for charging Makita battery
cartridge. Never use it for other purposes or for
other manufacturer’s batteries.
•
When you charge a new battery cartridge or a
battery cartridge which has not been used for a long
period of time, it may not accept a full charge. This
is a normal condition and does not indicate a
problem. You can recharge the battery cartridge
fully after discharging it completely and recharging a
couple of times.
•
When you charge a battery cartridge from a just-
operated machine or a battery cartridge which has
been left in a location exposed to direct sunlight or
heat for a long time, let it cool off. Then re-insert it
and try to charge it once more.
•
When you charge a new battery cartridge or a
battery cartridge which has not been used for a long
period, sometimes the charging light will go out
soon. If this occurs, remove the battery cartridge
and re-insert it. If the charging light goes out within
one minute even after repeating this procedure a
couple of times, the battery cartridge is dead.
Replace it with a new one.
Trickle charge (Maintenance charge)
If you leave the battery cartridge in the charger to
prevent spontaneous discharging after full charge,
the charger will switch into its ‘‘trickle charge (main-
tenance charge)’’ mode and keep the battery car-
tridge fresh and fully charged.
Tips for maintaining maximum battery life
1. Charge the battery cartridge before completely
discharged.
Always stop machine operation and charge the
battery cartridge when you notice less machine
power.
2. Never recharge a fully charged battery cartridge.
Overcharging shortens the battery service life.
3. Charge the battery cartridge with room tempera-
ture at 10°C – 40°C (50°F – 104°F).
Let a hot battery cartridge cool down before
charging it.
4
6704D/DW 6706D/DW (E) (’100. 3. 17)

Installing or removing socket
Important:
Always be sure that the machine is switched off and
the battery cartridge is removed before installing or
removing the socket.
For machine with square drive (Fig.3&4)
Use 9.5 mm square drive socket with a hole for detent
pin which is available on the market. (Note: Use
6.35 mm square drivesocket when using the machine
with 6.35 mm square drive.)
To install the socket, depress the detent pin on the
square drive with your fingerand push the socket onto
the square drive until the detent pin is inserted into the
hole in the socket.
To remove the socket, depress the detent pin with a
small hand tool and pull off the socket.
For machine with round drive (Fig. 5)
Use a bit with Form C 6.3 shank which is available on
the market. The bit can be inserted directly into the
round drive and held in place.
To install the bit, push it firmly into the round drive.
To remove the bit, grasp it with a pair of pliers and pull
it out of the round drive. Sometimes, it helps to wiggle
the bit with the pliers as you pull.
Switch action (Fig. 6)
CAUTION:
Before inserting the battery cartridge into the
machine, always check to see that the switch trigger
actuates properly and returns to the ‘‘OFF’’ position
when released.
To start the machine, simply pull the trigger. Release
the trigger to stop.
Reversing switch action (Fig. 6)
CAUTION:
•
Always check the direction of rotation before opera-
tion.
•
Use the reversing switch only after the machine
comes to a complete stop. Changing the direction of
rotation before the machine stops may damage the
machine.
This machine has a reversing switch to change the
direction of rotation. Slide the reversing switch up for
clockwise rotation or slide it down for counterclock-
wise rotation.
Overload protector
For 6704D and 6704DW
The overload protector automatically cuts out to break
the circuit whenever heavy work is prolonged. Wait
20 – 30 seconds before resuming operation.
Adjusting the fastening torque (Fig. 7)
The fastening torque can be adjusted infinitely from
approx. 20 kg·cm to 80 kg·cm. To adjust it, loosen the
two screws and turn the adjusting ring. Then tighten
the screws to secure the adjusting ring. Refer to the
table below for relation between the numbers on the
adjusting ring andthe fastening torque to be obtained.
Numbers on
adjusting ring
Fastening torque to
be obtained
1 20 kg·cm
2 35 kg·cm
3 48 kg·cm
4 60 kg·cm
5 80 kg·cm
(Example)
35 kg·cm of fastening torque can be obtained when
the number 2 is aligned to the red mark.
NOTE:
•
Always tighten the two screws to secure the adjust-
ing ring after adjusting the fastening torque.
•
The fastening torque may differ depending upon the
kind of screws, the type of materials to be fastened,
etc. Before starting your job, always perform a test
operation to verify the adequate fastening torque.
Installing set plate (Fig. 8)
Always install the set plate when using battery car-
tridges 9100, 9102 or 9102A. Install the set plate on
the machine with the screw provided as shown in
Fig. 8.
Operation
The proper fastening torque may differ depending
upon the kind or size of screws, the type of materials
to be fastened, the condition of the threads, etc.
Before starting your job, always perform a test opera-
tion to verify adequate fastening torque.
Hold the machine firmly with both hands whenever
possible and place the socket over the bolt or nut.
Then turn the machine on. As soon as the bolt or nut
becomes tight, the clutch will cut in and the motor will
stop automatically. Release the switch trigger.
When fastening machine screws, use the proper
screwdriver bit shown in Fig. 9. It is commonly avail-
able on the market.
6704D/DW 6706D/DW (E) (’100. 3. 17)
5

For 6706D and 6706DW
When the battery capacity decreases to a certain
level, the motor will not start even if you press the
switch trigger. This mechanism prevents poor fasten-
ing caused by battery voltage-drop. Charge the bat-
tery cartridge to resume operation.
NOTE:
•
Always use the correct size socket for bolts and
nuts. An incorrect size socket will result in inaccu-
rate and inconsistent fastening torque and/or dam-
age to the bolt or nut.
•
Hold the machine with its square drive pointed
straight at the bolt or nut, or the bolt or nut will be
damaged.
•
If the motor will not start even after you pull the
trigger, release the trigger. Then pull the trigger
again after turning the socket slightly with your
fingers.
MAINTENANCE
CAUTION:
Always be sure that the machine is switched off and
the battery cartridge is removed before carrying out
any work on the machine.
To maintain product safety and reliability, repairs,
maintenance or adjustment should be carried out by a
Makita Authorized Service Center.
GUARANTEE
We guarantee Makita machines in accordance with
statutory/country-specific regulations. Damage attrib-
utable to normal wear and tear, overload or improper
handling will be excluded from the guarantee. In case
of complaint, please send themachine, undismantled,
with the enclosed GUARANTEE CERTIFICATE, to
your dealer or the Makita Service Center.
6
6704D/DW 6706D/DW (E) (’100. 3. 17)

GB
ACCESSORIES
CAUTION:
These accessories or attachments are recommended for use with your Makita machine specified in this
manual. The use of any other accessories or attachments might present a risk of injury to persons. The
accessories or attachments should be used only in the proper and intended manner.
F
ACCESSOIRES
ATTENTION :
Ces accessoires ou ces fixations sont recommandés pour l’utilisation de l’outil Makita spécifié dans ce manuel.
L’utilisation d’autres accessoires ou fixations peut présenter un risque de blessures. Les accessoires ou les
fixations ne devront être utilisés que dans le but et de la manière prévus.
D
ZUBEHÖR
VORSICHT:
Das mitgelieferte Zubehör ist speziell für den Gebrauch mit dem in dieser Betriebsanleitung angegebenen
Makita-Elektrowerkzeug vorgesehen. Bei Verwendung von Fremdzubehör in Verbindung mit dieser Maschine
besteht Verletzungsgefahr.
I
ACCESSORI
ATTENZIONE:
Gli accessori o raccordi seguenti sono raccomandati per l’uso con l’utensile Makita specificato in questo
manuale. L’uso di qualsiasi altro accessorio o raccordo potrebbe causare pericoli di ferite alle persone. Gli
accessori o raccordi devono essere usati soltanto nel modo corretto e specificato.
NL
ACCESSOIRES
LET OP:
Deze accessoires of hulpstukken zijn aanbevolen voor gebruik met uw Makita gereedschap dat in deze
gebruiksaanwijzing is beschreven. Het gebruik van andere accessoires of hulpstukken kan gevaar voor
persoonlijke verwondingen opleveren. De accessoires of hulpstukken dienen alleen op de juiste en voorge-
schreven manier te worden gebruikt.
E
ACCESORIOS
PRECAUCIÓN:
Estos accesorios o acoplamientos están recomendados para usar con la herramienta Makita especificada en
este manual. Con el uso de cualquier otro accesorio o acoplamiento se podría correr el riesgo de producir
heridas a personas. Los accesorios o acoplamientos deberán usarse solamentede la manera apropiada y para
la que ha sido designados.
50
6704D/DW (Accessories) (’100. 3. 17)

•
Battery cartridge 9100
•
Batterie 9100
•
Akku 9100
•
Cartuccia batteria 9100
•
Batterijpak 9100
•
Cartucho de batería 9100
•
Bateria 9100
•
Akku 9100
•
Kraftkassett 9100
•
Batteri 9100
•
Akku 9100
•
∫·Û¤Ù· Ì·Ù·Ú›·˜ 9100
•
Battery cartridge 9101
•
Batterie 9101
•
Akku 9101
•
Cartuccia batteria 9101
•
Batterijpak 9101
•
Cartucho de batería 9101
•
Bateria 9101
•
Akku 9101
•
Kraftkassett 9101
•
Batteri 9101
•
Akku 9101
•
∫·Û¤Ù· Ì·Ù·Ú›·˜ 9101
•
Battery cover
•
Couvercle de batterie
•
Kontaktschutzkappe
•
Coperchio batteria
•
Batterijkapje
•
Tapa de la batería
•
Cobertura da bateria
•
Akkukappe
•
Batteriskydd
•
Batterideksel
•
Akkusuojus
•
∫¿Ï˘ÌÌ· Ì·Ù·Ú›·˜
•
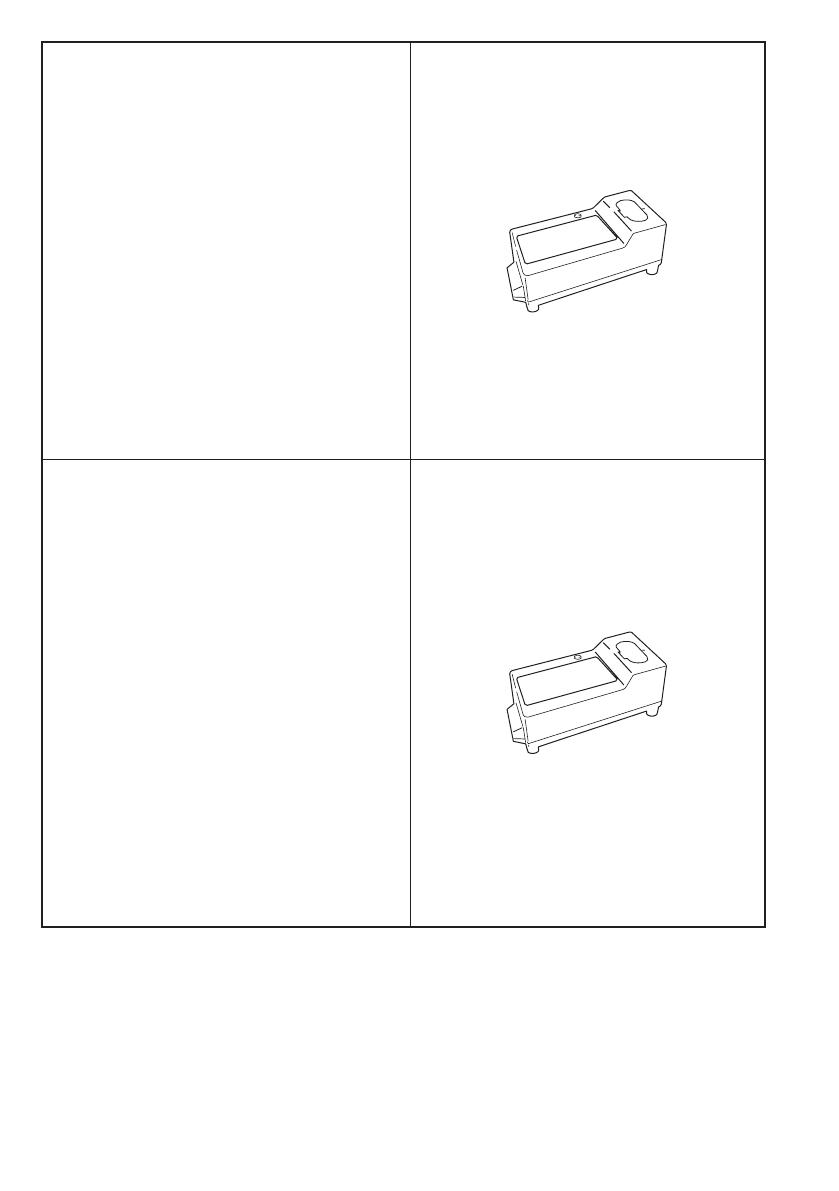
Battery charger DC9710
(For battery cartridges 9100/9101)
•
Chargeur DC9710
(Pour batteries 9100/9101)
•
Ladegerät DC9710
(Für Akkus 9100/9101)
•
Caricatore batteria DC9710
(Per le cartucce batteria 9100/9101)
•
Acculader DC9710
(Voor accu’s 9100/9101)
•
Cargador de batería DC9710
(Para cartuchos de batería 9100/9101)
•
Carregador de bateria DC9710
(Para as baterias 9100/9101)
•
Akku-ladeaggregat DC9710
(til akkuerne 9100/9101)
•
Batteriladdar DC9710
(För kraftkassetter 9100/9101)
•
Batterilader DC9710
(Til batteri 9100/9101)
•
Akkulataaja DC9710
(Akulle 9100/9101)
•
ºÔÚÙÈÛÙ‹˜ Ì·Ù·Ú›·˜ DC9710
(°È· ηۤÙ˜ Ì·Ù·Ú›·˜ 9100/9101)
52
6704D/DW (Accessories) (’100. 3. 17)
•
Fast charger DC1411
(For battery cartridges 9120/9122/9133)
•
Chargeur rapide DC1411
(Pour batteries 9120/9122/9133)
•
Ladegerät DC1411
(Für Akkus 9120/9122/9133)
•
Caricatore veloce DC1411
(Per le cartucce batteria 9120/9122/9133)
•
Snellader DC1411
(Voor accu’s 9120/9122/9133)
•
Cargador rápido DC1411
(Para cartuchos de batería 9120/9122/9133)
•
Carregador rápido DC1411
(Para as baterias 9120/9122/9133)
•
Hurtiglader DC1411
(til akkuerne 9120/9122/9133)
•
Snabbladdare DC1411
(För kraftkassetter 9120/9122/9133)
•
Hurtiglader DC1411
(Til batteri 9120/9122/9133)
•
Pikalaturi DC1411
(Akulle 9120/9122/9133)
•
∆·¯˘ˇÔÚÙÈÛÙ‹˜ DC1411
(°È· ηۤÙ˜ Ì·Ù·Ú›·˜ 9120/9122/9133)
•
Fast charger DC1412 (Automotive charger)
(For battery cartridges 9120/9122)
•
Chargeur rapide DC1412 (Chargeur automobile)
(Pour batteries 9120/9122)
•
Ladegerät DC1412 (Autobatterie-Ladegerät)
(Für Akkus 9120/9122)
•
Caricatore veloce DC1412 (autopropulso)
(Per le cartucce batteria 9120/9122)
•
Snellader DC1412 (Automatische lader)
(Voor accu’s 9120/9122)
•
Cargador rápido DC1412
(cargador para vehícuios)
(Para cartuchos de batería 9120/9122)
•
Carregador rápido DC1412 (automotriz)
(Para as baterias 9120/9122)
•
Hurtiglader DC1412 (input fra 12V bilbatteri)
(til akkuerne 9120/9122)
•
Snabbladdare DC1412
(För användning i motorfordon)
(För kraftkassetter 9120/9122)
•
Hurtiglader DC1412 (Autolader)
(Til batteri 9120/9122)
•
Pikalaturi DC1412 (Autolaturi)
(Akulle 9120/9122)
•
∆·¯˘ˇÔÚÙÈÛÙ‹˜ DC1412
(∞˘ÙfiÌ·ÙÔ˜)
(°È· ηۤÙ˜ Ì·Ù·Ú›·˜ 9120/9122)
54
6704D/DW (Accessories) (’100. 3. 17)

Makita Corporation
Anjo, Aichi, Japan
Made in Japan
884198C996
/