HP B2L56A#B1H User manual

Category
Inkjet printers
Type
User manual
HP Deskjet 1510 series
Table of contents
1 HP Deskjet 1510 series Help ............................................................................................................................ 1
2 Get to know the HP Deskjet 1510 series .......................................................................................................... 3
Printer parts .......................................................................................................................................... 4
Control panel features .......................................................................................................................... 5
Status light ............................................................................................................................................ 6
Auto-Off ................................................................................................................................................ 9
3 Print ................................................................................................................................................................. 11
Print documents ................................................................................................................................. 12
Print photos ........................................................................................................................................ 14
Print envelopes ................................................................................................................................... 15
Print using the maximum dpi .............................................................................................................. 16
Tips for print success ......................................................................................................................... 17
4 Paper basics ................................................................................................................................................... 19
Recommended papers for printing ..................................................................................................... 20
Load media ......................................................................................................................................... 22
5 Copy and scan ................................................................................................................................................ 27
Copy documents ................................................................................................................................ 28
Scan to a computer ............................................................................................................................ 30
Tips for copy success ......................................................................................................................... 32
Tips for scan success ......................................................................................................................... 33
6 Work with ink cartridges .................................................................................................................................. 35
Check estimated ink levels ................................................................................................................. 36
Order ink supplies .............................................................................................................................. 37
Choose right ink cartridges ................................................................................................................. 38
Replace ink cartridges ........................................................................................................................ 39
Use single-cartridge mode ................................................................................................................. 41
ENWW iii
Cartridge warranty information ........................................................................................................... 42
Tips for working with ink cartridges .................................................................................................... 43
7 Connectivity .................................................................................................................................................... 45
Connect a new printer ........................................................................................................................ 46
USB connection .................................................................................................................................. 47
8 Solve a problem .............................................................................................................................................. 49
Improve print quality ........................................................................................................................... 50
Clear paper jam .................................................................................................................................. 54
Unable to print .................................................................................................................................... 57
Clear print carriage ............................................................................................................................. 60
Identify a defective cartridge .............................................................................................................. 61
Prepare trays ...................................................................................................................................... 62
Resolve copy and scan issues ........................................................................................................... 63
Printer failure ...................................................................................................................................... 64
Ink cartridge problem .......................................................................................................................... 65
Older generation cartridges ................................................................................................................ 67
HP support ......................................................................................................................................... 68
Appendix A Technical information ..................................................................................................................... 71
Hewlett-Packard Company notices .................................................................................................... 72
Specifications ..................................................................................................................................... 73
Environmental product stewardship program ..................................................................................... 76
Regulatory notices .............................................................................................................................. 80
Index ................................................................................................................................................................... 85
iv ENWW
1 HP Deskjet 1510 series Help
Learn how to use your HP Deskjet 1510 series
Printer parts on page 4
Control panel features on page 5
Load media on page 22
Copy documents on page 28
Scan to a computer on page 30
Replace ink cartridges on page 39
Clear paper jam on page 54
ENWW 1
2 Chapter 1 HP Deskjet 1510 series Help ENWW
2 Get to know the HP Deskjet 1510 series
Printer parts
Control panel features
Status light
Auto-Off
ENWW 3
Printer parts
Front view
1 Input tray
2 Input tray guard
3 Ink cartridges
4 Lid
5 Lid-backing
6 Paper-width guide for the input tray
7 Control panel
8 Cartridge access door
9 Output tray
10 Output tray extender (also referred to as the tray extender)
11 Scanner glass
Rear view
12 USB port
13 Power connection
4 Chapter 2 Get to know the HP Deskjet 1510 series ENWW
Control panel features
Figure 2-1 Control panel features
Feature Description
1 On button: Turns the printer on or off.
2 Cancel button: Stops the current operation.
3 Start Copy Black button: Starts a black-and-white copy job. Acts as a resume button after
resolving print problems.
4 Start Copy Color button: Starts a color copy job. Acts as a resume button after resolving print
problems.
5 Attention light: Indicates that there is a paper jam, the printer is out of paper, or some event
that requires your attention.
6 Cartridge lights: Indicates low ink or an ink cartridge problem.
ENWW Control panel features 5
Status light
When the printer is turned on, the On button light is lit.
When the printer is turned off, the On button light is off.
When the printer is in Sleep mode, the On button light is dimmed. The printer automatically
enters Sleep mode after 5 minutes of inactivity.
When the printer is processing a job, the On button light is blinking.
Additional blinking lights signal errors that you can resolve. See below to learn about light behavior
and what to do.
Light behavior Cause and Solution
The Attention light is blinking.
The output tray is closed when printing is attempted, there is
no paper, there is a paper jam, or the scanner is not working.
If the output tray is closed, open it.
If there is no paper, load paper, and then press any
button, except the Cancel button, to resume printing.
If one of ink cartridges is missing, the printer enters to
the single-cartridge mode automatically. To exit the
single-cartridge mode, insert the corresponding ink
cartridge. For more information, see
Use single-
cartridge mode on page 41.
If there is a paper jam, clear the paper jam, and then
press any button, except the Cancel button, to resume
printing. For more information, see
Clear paper jam
on page 54.
If the problem persists, contact HP. The printer can still print
even if the scanner is not working.
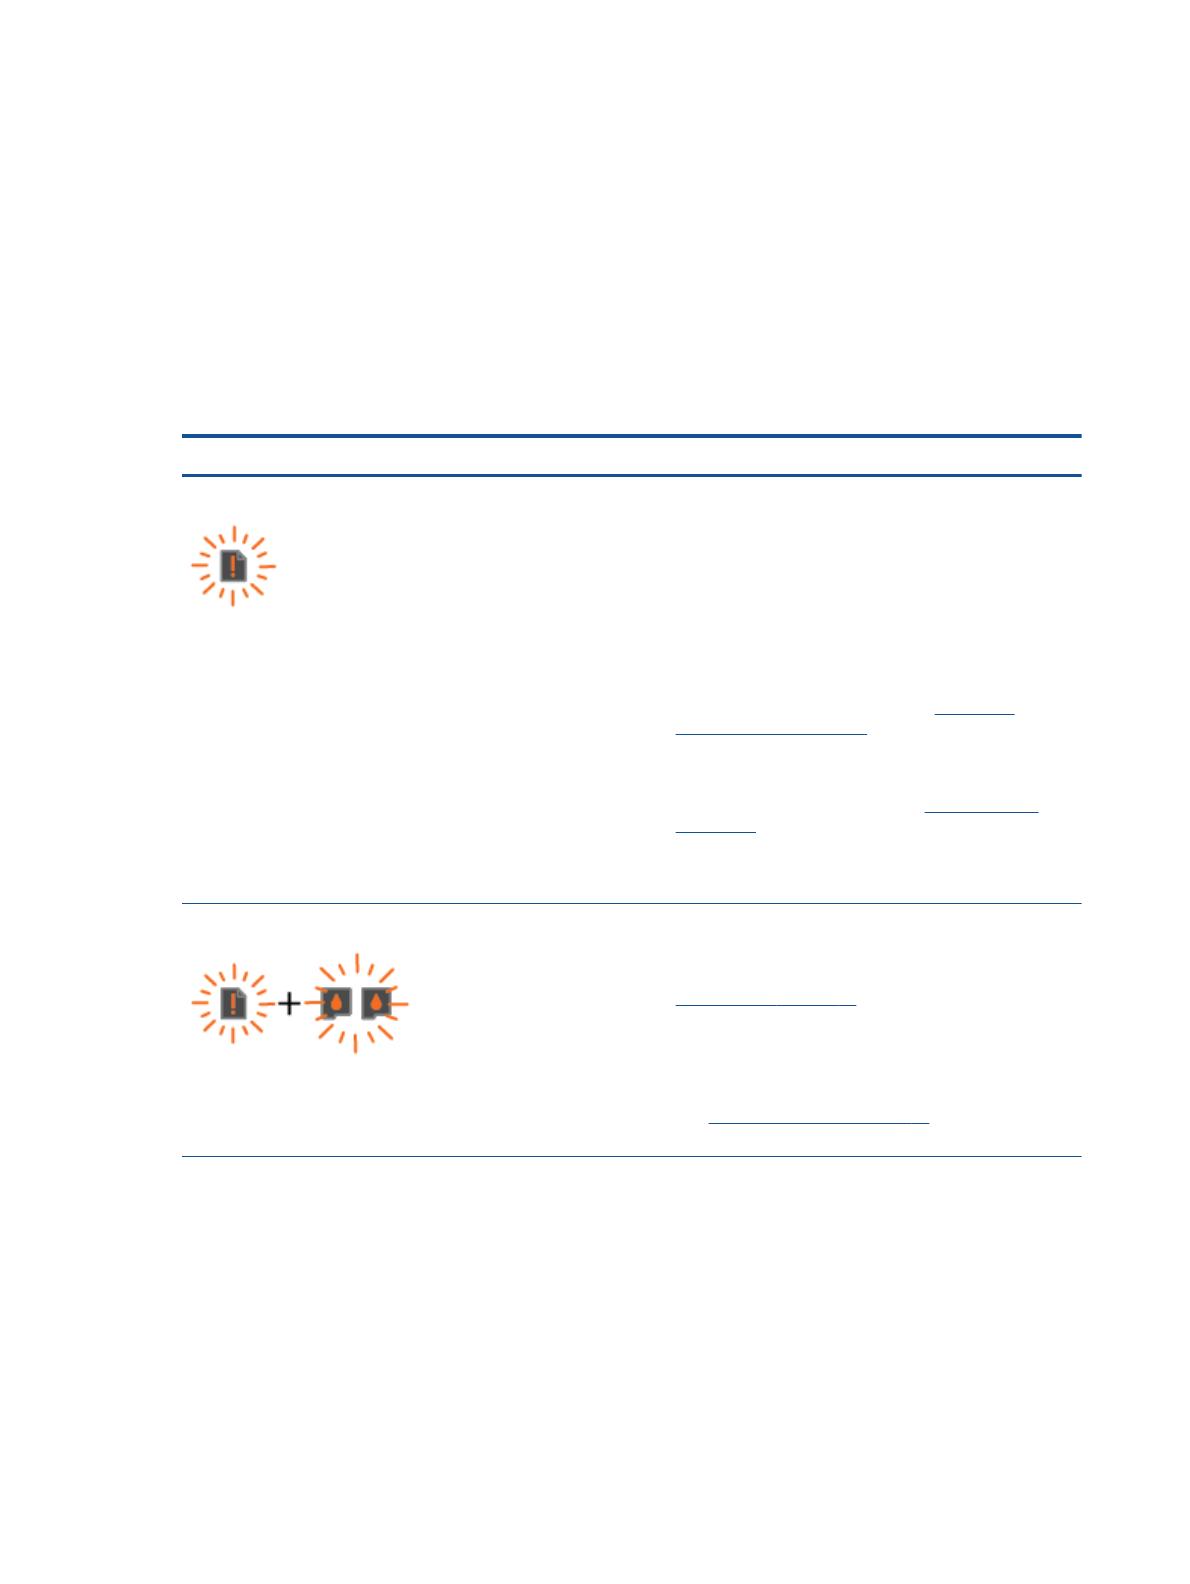
Both Cartridge lights and the Attention light are blinking.
The cartridge access door is open, or the carriage inside the
printer is stalled.
If the cartridge access door is open, close it. See
Prepare trays on page 62 for more information.
If the carriage is stalled, open the cartridge access door,
move the carriage to the right to clear the obstruction,
and then close the cartridge access door. Press any
button, except the Cancel button, to resume printing.
See
Clear print carriage on page 60 for more
information.
6 Chapter 2 Get to know the HP Deskjet 1510 series ENWW
Light behavior Cause and Solution
One Cartridge light is on (not blinking).
An “on” Cartridge light indicates that the corresponding ink
cartridge still has the tape on, is low on ink, is missing, or is
counterfeit.
If the pink tape is still on the ink cartridge, remove it.
If the ink cartridge is low on ink, replace the ink
cartridge when print quality is no longer acceptable. For
more information, see
Replace ink cartridges
on page 39.
If one of ink cartridges is missing, the printer enters to
the single-cartridge mode automatically. To exit the
single-cartridge mode, insert the corresponding ink
cartridge. For more information, see
Use single-
cartridge mode on page 41.
If the ink cartridge is counterfeit, replace the
corresponding ink cartridge with an original HP ink
cartridge, or press any button, except the Cancel
button, to resume printing.
Both Cartridge lights are on (not blinking).
Both ink cartridges are low on ink.
Replace both ink cartridges when print quality is no
longer acceptable. For more information, see
Replace
ink cartridges on page 39.
One Cartridge light is blinking.
A “blinking” Cartridge light indicates that the corresponding
ink cartridge is not installed correctly, is incompatible, or is
very low on ink.
If the ink cartridge is not installed correctly, reinsert the
ink cartridge.
If the ink cartridge is incompatible, replace it with a
compatible ink cartridge.
If the ink cartridge is very low on ink, press any button,
except the Cancel button, to resume printing, and
replace the corresponding ink cartridge when print
quality is no longer acceptable.
ENWW Status light 7
Light behavior Cause and Solution
Both Cartridge lights are blinking.
Both ink cartridges may still have the tape on, are missing,
are defective, or are very low on ink.
If the pink tape is still on the ink cartridges, remove it.
If the ink cartridges are missing, install the missing ink
cartridges.
If the ink cartridges are defective, replace the ink
cartridges. See
Identify a defective cartridge
on page 61 to identify if only one ink cartridge is a
defective.
If the ink cartridges are very low on ink, press any
button, except the Cancel button, to resume printing,
and replace both ink cartridges when print quality is no
longer acceptable. For more information, see
Replace
ink cartridges on page 39.
The On button light, both Cartridge lights, and the Attention
light are blinking.
The printer is in an error state. To exit the error state, reset
the printer.
1. Turn off the printer.
2. Unplug the power cord.
3. Wait a minute, and then plug the power cord back in.
4. Turn on the printer.
If the problem persists, contact HP.
8 Chapter 2 Get to know the HP Deskjet 1510 series ENWW
Auto-Off
Auto-Off is automatically enabled by default when you turn on the printer. When Auto-Off is enabled,
the printer will automatically turn off after 2 hours of inactivity to help reduce energy use. Auto-Off
turns the printer off completely, so you must use the On button to turn the printer back on. For printer
models with wireless or Ethernet network capability, Auto-Off is automatically disabled when the
printer establishes a wireless or Ethernet network connection. Even when Auto-Off is disabled, the
printer enters Sleep mode after 5 minutes of inactivity to help reduce energy use.
To change the Auto-Off setting from the printer software
1. Depending on your operating system, do one of the following to open the printer software:
Windows 8: On the Start screen, right-click an empty area on the screen, click All Apps on
the app bar, and then click the icon with the printer's name.
Windows 7, Windows Vista, and Windows XP: From the computer desktop, click Start,
select All Programs, click HP, click HP Deskjet 1510 series, and then click HP Deskjet 1510
series.
2. In the printer software, select Print & Scan, and then click Maintain Your Printer to access the
printer toolbox.
3. The printer toolbox appears.
4. Click Advanced Settings, and then follow the on-screen instructions.
Once you change the setting, the printer maintains the setting that you choose.
ENWW Auto-Off 9
10 Chapter 2 Get to know the HP Deskjet 1510 series ENWW
3Print
This section contains the following topics:
Print documents
Print photos
Print envelopes
Print using the maximum dpi
Tips for print success
ENWW 11
Print documents
Load paper
1. Make sure the output tray is open.
2. Make sure you have paper loaded in the input tray.
To print a document
1. From your software, click the Print button.
2. Make sure your printer is selected.
3. Click the button that opens the Properties dialog box.
Depending on your software application, this button might be called Properties, Options, Printer
Setup, Printer Properties, Printer, or Preferences.
4. Select the appropriate options.
On the Layout tab, select Portrait or Landscape orientation.
On the Paper/Quality tab, select the appropriate paper type and print quality from the Media
drop-down list.
Click Advanced to select the appropriate paper size from the Paper Size drop-down list.
5. Click OK to close the Properties dialog box.
6. Click Print or OK to begin printing.
To print on both sides of the page
1. From your software, click the Print button.
2. Make sure your printer is selected.
3. Click the button that opens the Properties dialog box.
Depending on your software application, this button might be called Properties, Options, Printer
Setup, Printer Properties, Printer, or Preferences.
4. Select the appropriate options.
12 Chapter 3 Print ENWW
On the Layout tab, select Portrait or Landscape orientation.
On the Paper/Quality tab, select the appropriate paper type and print quality from the Media
drop-down list.
Click Advanced to select the appropriate paper size from the Paper Size drop-down list.
5. On the Layout tab, select an appropriate option from the Print on Both Sides Manually drop-
down list.
6. Click OK to print.
7. After the even numbered pages of the document have been printed, remove the document from
the output tray.
8. Follow the on-screen instructions, reload the paper in the input tray with the blank side up and
top of page down, and then click Continue.
ENWW Print documents 13
Print photos
Load photo paper
1. Make sure the output tray is open.
2. Remove all paper from the input tray, and then load the photo paper with side to be printed on
facing up.
To print a photo on photo paper
1. On the File menu in your software, click Print.
2. Make sure your printer is selected.
3. Click the button that opens the Properties dialog box.
Depending on your software application, this button might be called Properties, Options, Printer
Setup, Printer Properties, Printer, or Preferences.
4. Select the appropriate options.
On the Layout tab, select Portrait or Landscape orientation.
On the Paper/Quality tab, select the appropriate paper type and print quality from the Media
drop-down list.
Click Advanced to select the appropriate paper size from the Paper Size drop-down list.
NOTE: For maximum dpi resolution, go to the Paper/Quality tab and select Photo Paper, Best
Quality from the Media drop-down list. Then go to the Advanced tab and select Yes from the
Print in Max DPI drop-down list. If you want to print Max DPI in grayscale, select High Quality
Grayscale from the Print in Grayscale drop-down list.
5. Click OK to return to the Properties dialog box.
6. Click OK, and then click Print or OK in the Print dialog box.
NOTE: After the printing is finished, remove unused photo paper from the input tray. Store the photo
paper so it does not start to curl, which could reduce the quality of your printout.
14 Chapter 3 Print ENWW
Print envelopes
You can load one or more envelopes into the input tray of the HP Deskjet 1510 series. Do not use
shiny or embossed envelopes or envelopes that have clasps or windows.
NOTE: For details on how to format text on envelopes, see the help files in your word processing
software.
Load envelopes
1. Make sure the output tray is open.
2. Slide the paper-width guide all the way to the left.
3. Place the envelopes in the right side of the input tray. The side to be printed on should face up.
4. Push the envelopes into the printer until they stop.
5. Slide the paper-width guide firmly against the edge of the envelopes.
To print an envelope
1. On the File menu in your software, click Print.
2. Make sure your printer is selected.
3. Click the button that opens the Properties dialog box.
Depending on your software application, this button might be called Properties, Options, Printer
Setup, Printer Properties, Printer, or Preferences.
4. Select the appropriate options.
On the Layout tab, select Portrait or Landscape orientation.
On the Paper/Quality tab, select the appropriate paper type and print quality from the Media
drop-down list.
Click Advanced to select the appropriate paper size from the Paper Size drop-down list.
5. Click OK, and then click Print or OK in the Print dialog box.
ENWW Print envelopes 15
Print using the maximum dpi
Use maximum dots per inch (dpi) to print high-quality, sharp images on photo paper.
Printing in maximum dpi takes longer than printing with other settings and requires a large amount of
memory.
To print in Maximum dpi mode
1. On the File menu in your software, click Print.
2. Make sure your printer is selected.
3. Click the button that opens the Properties dialog box.
Depending on your software application, this button might be called Properties, Options, Printer
Setup, Printer Properties, Printer, or Preferences.
4. Click the Paper/Quality tab.
5. From the Media drop-down list, must select Photo Paper, Best Quality to enable printing in
maximum dpi.
6. Click the Advanced button.
7. In the Printer Features area, select Yes from the Print in Max DPI drop-down list.
8. Select the appropriate paper size from the Paper Size drop-down list.
9. Click OK to close the advanced options.
10. Confirm Orientation on the Layout tab, and then click OK to print.
16 Chapter 3 Print ENWW
  • Page 1 1
  • Page 2 2
  • Page 3 3
  • Page 4 4
  • Page 5 5
  • Page 6 6
  • Page 7 7
  • Page 8 8
  • Page 9 9
  • Page 10 10
  • Page 11 11
  • Page 12 12
  • Page 13 13
  • Page 14 14
  • Page 15 15
  • Page 16 16
  • Page 17 17
  • Page 18 18
  • Page 19 19
  • Page 20 20
  • Page 21 21
  • Page 22 22
  • Page 23 23
  • Page 24 24
  • Page 25 25
  • Page 26 26
  • Page 27 27
  • Page 28 28
  • Page 29 29
  • Page 30 30
  • Page 31 31
  • Page 32 32
  • Page 33 33
  • Page 34 34
  • Page 35 35
  • Page 36 36
  • Page 37 37
  • Page 38 38
  • Page 39 39
  • Page 40 40
  • Page 41 41
  • Page 42 42
  • Page 43 43
  • Page 44 44
  • Page 45 45
  • Page 46 46
  • Page 47 47
  • Page 48 48
  • Page 49 49
  • Page 50 50
  • Page 51 51
  • Page 52 52
  • Page 53 53
  • Page 54 54
  • Page 55 55
  • Page 56 56
  • Page 57 57
  • Page 58 58
  • Page 59 59
  • Page 60 60
  • Page 61 61
  • Page 62 62
  • Page 63 63
  • Page 64 64
  • Page 65 65
  • Page 66 66
  • Page 67 67
  • Page 68 68
  • Page 69 69
  • Page 70 70
  • Page 71 71
  • Page 72 72
  • Page 73 73
  • Page 74 74
  • Page 75 75
  • Page 76 76
  • Page 77 77
  • Page 78 78
  • Page 79 79
  • Page 80 80
  • Page 81 81
  • Page 82 82
  • Page 83 83
  • Page 84 84
  • Page 85 85
  • Page 86 86
  • Page 87 87
  • Page 88 88
  • Page 89 89
  • Page 90 90

HP B2L56A#B1H User manual

Category
Inkjet printers
Type
User manual

Ask a question and I''ll find the answer in the document

Finding information in a document is now easier with AI