Operating
Instructions
355 East Kehoe Blvd. • Carol Stream, IL 60188 USA
Telephone: 630-462-8800 • Fax : 630-462-1460
Toll Free: 1-800-PCASTLE
www.princecastle.com
197-538revB-EN
Printed in USA 5/06 © 2006
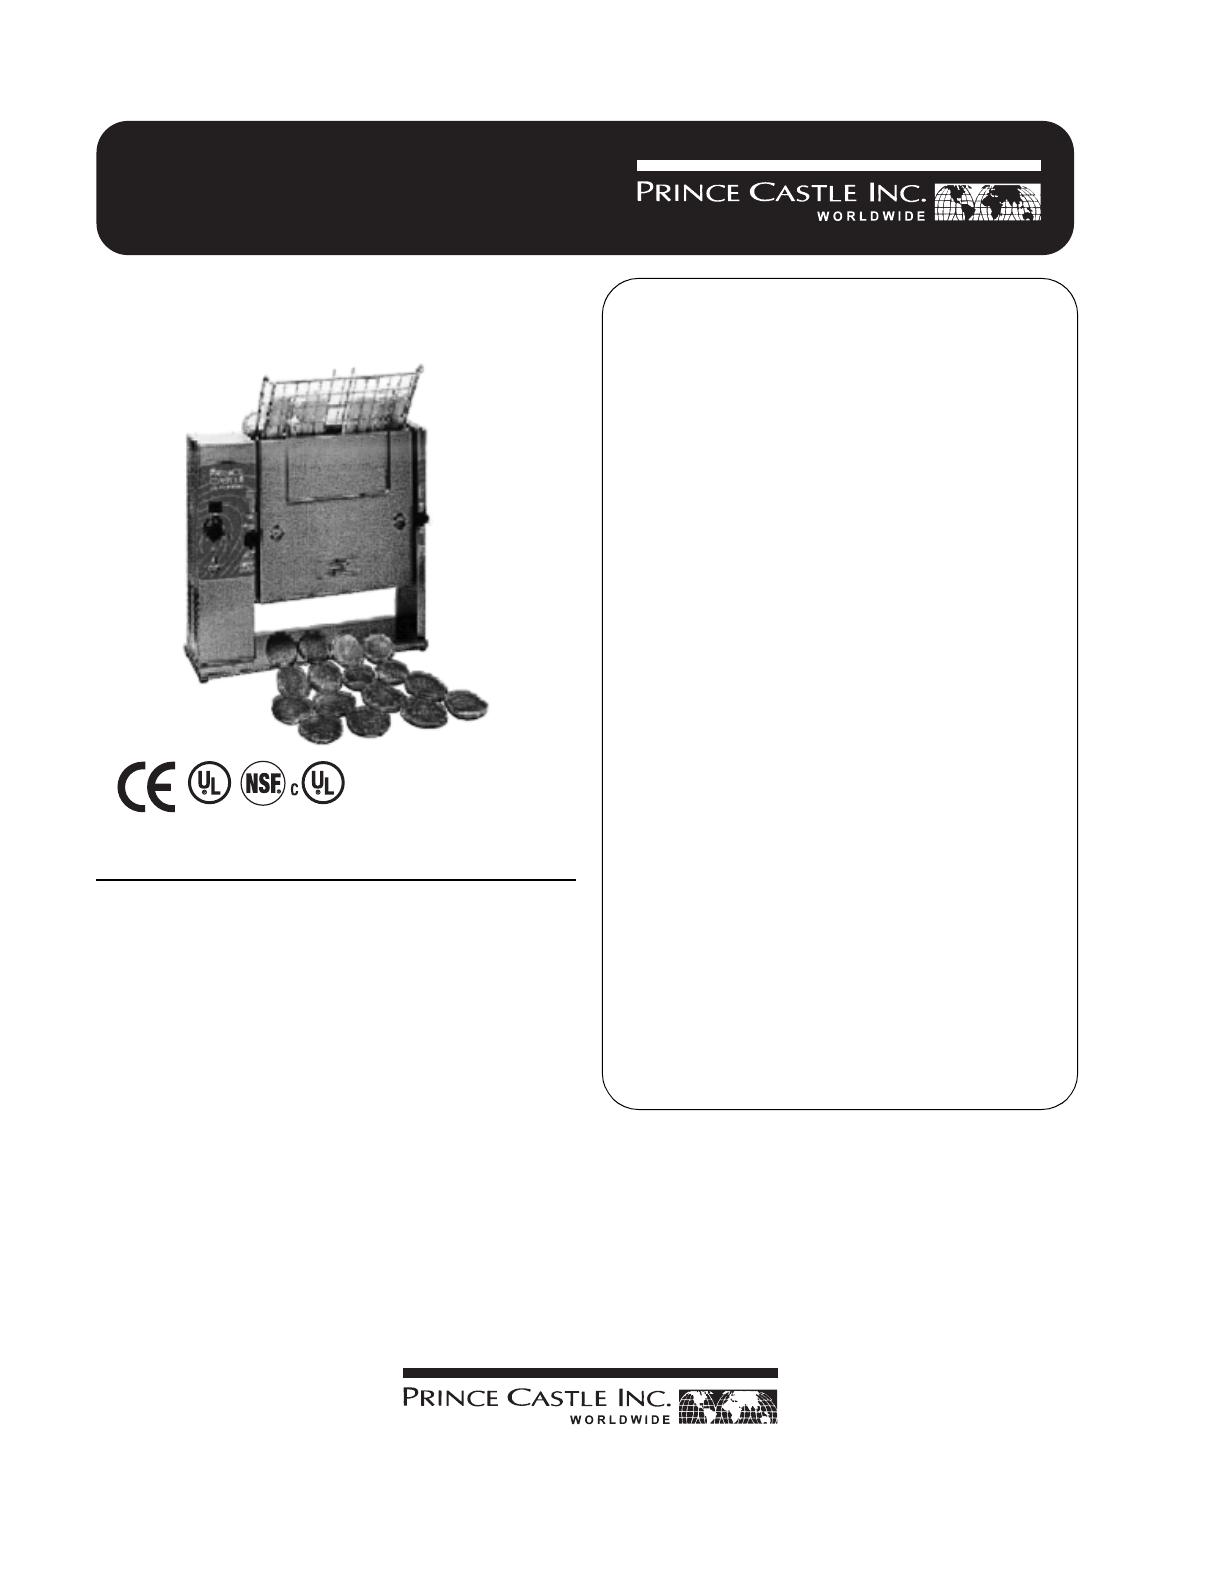
Vertical Contact Toaster
296 & 297 Series
Electrical Specifications
Table of Contents
Installation . . . . . . . . . . . . . . . . . . . . . . . . . . . . . . . 2
Operation . . . . . . . . . . . . . . . . . . . . . . . . . . . . . . . 2
Adjustments . . . . . . . . . . . . . . . . . . . . . . . . . . . . . 3
Cleaning . . . . . . . . . . . . . . . . . . . . . . . . . . . . . . . . 4
Troubleshooting . . . . . . . . . . . . . . . . . . . . . . . . . . . 5
Parts List . . . . . . . . . . . . . . . . . . . . . . . . . . . . . . 5 – 8
Wiring Diagram . . . . . . . . . . . . . . . . . . . . . . . . . . . 9
Volts Hz Watts Amps
230 60 1700 7.5
110/120 60 1700 15.5
220 50/60 1700 7.5
Limited Warranty
This product is warranted to be free from defects in
material and/or workmanship for a period of 1 year from
date of original installation, not to exceed 18 months
from the date of manufacture.
Any component which proves to be faulty in material
and/or workmanship will be replaced or repaired (at the
option of Prince Castle, Inc.) without cost to the
customer for parts and labor. This warranty covers on
location service (i.e. trip charges and/or mileage). Travel
mileage is limited to 100 miles (200 Kilometers) round
trip (one trip warranty) from an authorized service
agency or its sub-service agency.
This warranty is subject to the following exceptions/
conditions:
• Use of any non-genuine Prince Castle parts voids
this warranty.
• All labor to be performed during regular work hours.
Overtime premium (the incremental amount) will be
charged to the customer.
• Damage caused by carelessness, neglect and/or
abuse (e.g., dropping, tampering or altering parts,
equipment damaged in shipment, by fire, flood or an
act of God) is not covered under this warranty.
• All problems due to operation at voltages other than
that specified on equipment nameplates are not
covered by this warranty. Conversion to correct
voltage is the customer’s responsibility.
• This equipment must be serviced by Prince Castle
Authorized Service Agency or a Prince Castle
Service Technician during the warranty period.
• Normal adjustments as outlined in this manual are
not covered under warranty.
• Motors that fail due to the lack of monthly lubrication
will not be covered under warranty.


