INDICATOR LIGHTS
Right LED on - red — scanner is powered on.
Right LED on - green— scanner is ready for
operation and has detected the Kodak t6000 Client
Software.
Left LED on - amber — scanner detects the
presence of documents in the input tray.
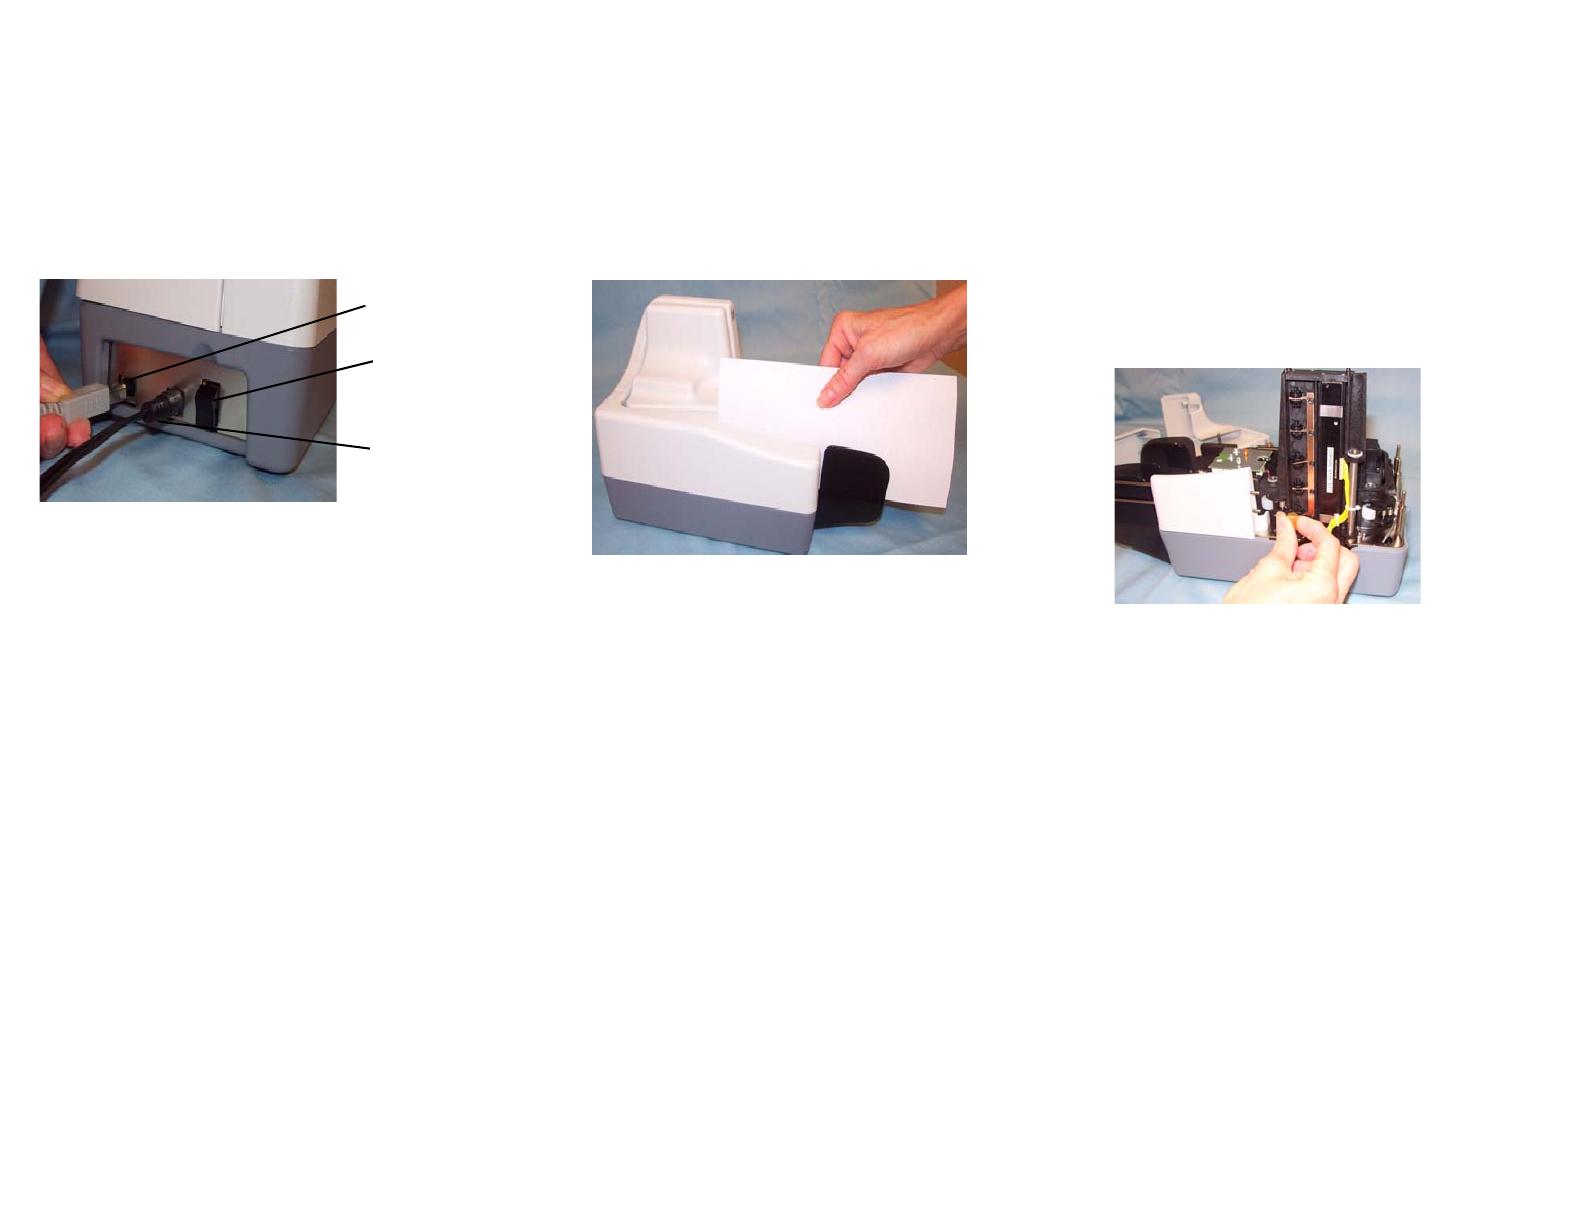
POWER SWITCH AND CONNECTORS
USB port — connects the scanner to the PC.
Power switch — turns the scanner on and off.
Power port — connects the power cord to the scanner.
NOTES:
Be sure that the USB cable and power cord are secure
and connected properly.
Place the power supply on the floor. Do not place it
next to the scanner. Failure to do so may result in
degraded MICR read rates.
CLEANING AND MAINTENANCE
For detailed cleaning and replacement procedures, see the
User’s Guide, Chapter 4, Maintenance.
DAILY CLEANING PROCEDURES
1. Launch the Kodak ScanTest Software.
2. Open the cleaning card package and remove the
cleaning card.
3. Place the cleaning card between the entry separation
drive roller as shown.
4. While holding the cleaning card in place, select Scan
from the Kodak ScanTest Software window allowing the
entry rollers to scrub the card.
5. Wait until the motor stops, then remove the card, and
flip the card to a clean corner and repeat Step 4.
6. Place the cleaning card in the input tray and select
Scan. You may need to give the cleaning card a slight
push to start it through the transport.
7. Turn the cleaning card over and repeat Step 6.
8. Scan the cleaning card three or four more times. Be
sure that you continue to turn the cleaning card to a
clean side each time you scan the cleaning card
through the transport.
9. When finished, discard the cleaning card and shut
down the Kodak ScanTest Software.
WEEKLY CLEANING PROCEDURES
A thorough cleaning should be performed approximately
every fourth cleaning cycle.
1. Before starting this procedure, perform the daily clean-
ing procedure.
2. Turn off the scanner.
3. Remove the scanner top cover.
4. Lift and remove the side cover.
5. Pull the exit stop wire out about 4 inches to provide
adequate clearance for removing the back cover.
6. Lift and remove the back cover.
7. Loosen and remove the thumbscrew that holds the
scan tower door in place.
8. Open the scan tower door.
9. Using the cleaning swab, wipe both surfaces of the
scan heads.
10. Close the scan tower door and reinstall the
thumbscrew.
11. Replace the back cover first, then the side cover and
turn the scanner on.
12. Launch the Kodak ScanTest Software.
13. Clean each drive roller by selecting Eject on the Kodak
ScanTest Software window. Selecting Eject turns the
drive rollers for about 5 seconds.
14. Each of the drive rollers should be thoroughly cleaned
with the swab. While the rollers are turning, use an up-
and-down motion to clean the entire roller. You may
need to use several cleaning swabs if the rollers are
very dirty.
15. Replace the top cover.
USB port
Power switch
Power port

