4
GB
Table of
contents
Operation
Search
Settings
Search
Index
No compensation for damaged
content or recording failure
Sony cannot compensate for failure to record or
loss or damage of recorded content due to a
malfunction of the camera or recording media, etc.
The images used in this handbook
• The images used as examples in this handbook
are reproduced images, and are not actual
images shot using the camera.
• Design and specifications are subject to change
without notice.
Notes on playing back movies on
other devices
The camera is compatible with MPEG-4 AVC/
H.264 Main Profile. Therefore, you cannot play
back images on the camera with the devices which
are not compatible with the MPEG-4 AVC/H.264.
About water-proof, dust-proof, and
shock-proof performance of the
camera
This camera is equipped to be water-proof, dust-
proof and shock-proof. Damage caused from
misuse, abuse or failure to properly maintain the
camera is not covered by the limited warranty.
This camera is water-proof/dust-proof equivalent
to IEC60529 IP58. The camera is operable up to a
water depth of 5 m for 60 minutes.
• Do not subject the camera to pressurized water,
such as from a tap.
• Do not use in hot springs.
• Use the camera in the recommended operating
water temperature range of 0°C to 40°C (32°F to
104°F).
• Conforming to MIL-STD 810F Method 516.5-
Shock standards, this product has passed testing
when dropped from a height of 1.5 m above a 5-
cm thick plywood board*.
* Depending on use conditions and circumstances,
no guarantee is made regarding damage to,
malfunction of, or the water-proof performance
of this camera.
• As for dust-proof/shock-proof performance,
there is no guarantee that the camera will not
become scratched or dented.
• Sometimes water-proof performance is lost if
the camera is subjected to a strong shock such as
from being dropped. We recommend the camera
be inspected at an authorized repair shop for a
fee.
• Accessories supplied do not meet water-proof,
dust-proof, and shock-proof specifications.
• Read “Precautions” (page 67) before operating
the camera.
• If you attach the camera to a tripod with a screw
over 5.5 mm in length, a hole may result in the
camera body, and cause water to enter the
camera.
Notes before using the camera under/
near water
• Make sure that no foreign matter such as sand,
hair, or dirt gets inside the multi-connector
cover. Even a small amount of foreign matter
may lead to water entering the camera.
• Confirm that the sealing gasket and its mating
surfaces have not become scratched. Even a
small scratch may lead to water entering the
camera. If the sealing gasket or its mating
surfaces become scratched, take the camera to
an authorized repair shop to have the sealing
gasket replaced for a fee.
• If dirt or sand gets on the sealing gasket or its
mating surfaces, wipe the area clean with a soft
cloth that will not leave behind any fibers. Be
careful not to damage the sealing gasket or
mating surfaces when cables are connected.
• Do not open/close the multi-connector cover
with wet or sandy hands or near water. There is
a risk this will lead to sand or water getting
inside. Before opening the cover, perform the
procedure described in “Cleaning after using the
camera under/near water”.
• Open the multi-connector cover with the camera
completely dry.
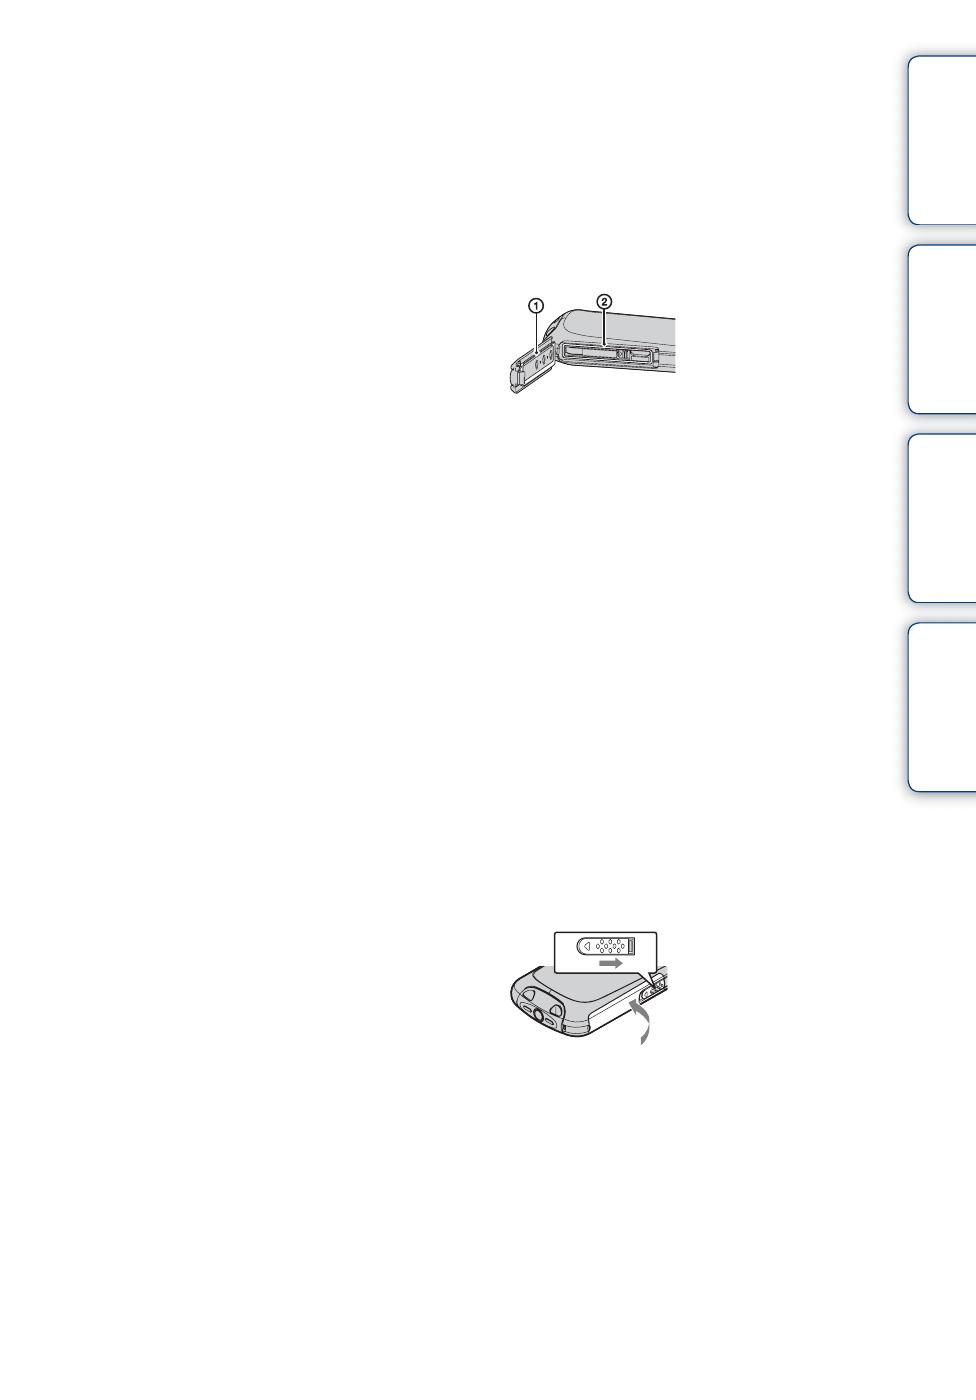
Closing the covers
• Fully close the cover until the yellow mark
under the slide lock can no longer be seen.
Notes on using the camera under/near
water
• Do not subject the camera to shock such as from
jumping into water.
• Do not open and close the multi-connector cover
while under/near water.
• This camera sinks in water. Place your hand
through the wrist strap to prevent the camera
from sinking.
1Sealing gasket
2Surface contacting
the sealing gasket
Multi-connecter cover
knob
Continued r


