20
Never leave the saw running unattended.
This petrol chain saw produces harmful substances!
Never run the chain saw in closed or poorly ventilated
rooms. Provide for a sufficient change of air when working in
wells, trenches or confined spaces. There is the risk of
carbon monoxide poisoning or death by suffocation.
Immediately stop working when you feel unwell (e.g.
headache, dizziness, nausea, etc.). Otherwise there is an
increased risk of accidents.
 When switching on the chain saw must be supported
and held safely. Chain and guide bar must stand free.
Start cutting only when the saw chain has reached the full
number of revolutions.
Do not overload the machine! You work better and safer in
the given performance range.
Do not use the chain saw for lifting or moving of wood.
Make breaks when sawing so that the engine can cool
down.
Do not place a hot chain saw in dry grass or onto inflam-
mable objects.
Never touch the silencer and the engine while the saw is
running or shortly after it was stopped. Danger of burning!
Never get in contact with the running saw with metallic
fences or the ground.
Make sure that the wood is free of foreign object (stones,
nails etc).
Make sure that the wood can not turn when sawing.
Saw splintered wood with care. There is risk of injury by
wood pieces carried away.
Avoid saw backstroke by a correct guiding of the saw.
Note: Safety instructions - saw backstroke
 Use the claw stopper (31) for fixing the chain saw on
the wood. Use the claw stopper when sawing as lever.
Do not use the chain saw for lifting or moving wood.
Let the chain saw work by producing a light leverage
pressure over the claw stopper.
When sawing do not press
with strength.
When sawing thicker perches or trunks set back the claw
stopper (31) on a deeper point. For setting back release the
claw stopper from the wood and place it again in a deeper
position. Do not remove the saw here out of the cut.
Be careful at the end of a sawing cut. As far as the saw
leaves the wood the force of weight changes.
There is risk
of accident for legs and feet.
Remove the chain saw only with running saw chain out of
the cut.
If the saw chain gets jammed in the wood, stop it
immediately. Use a wedge to free the guide bar.
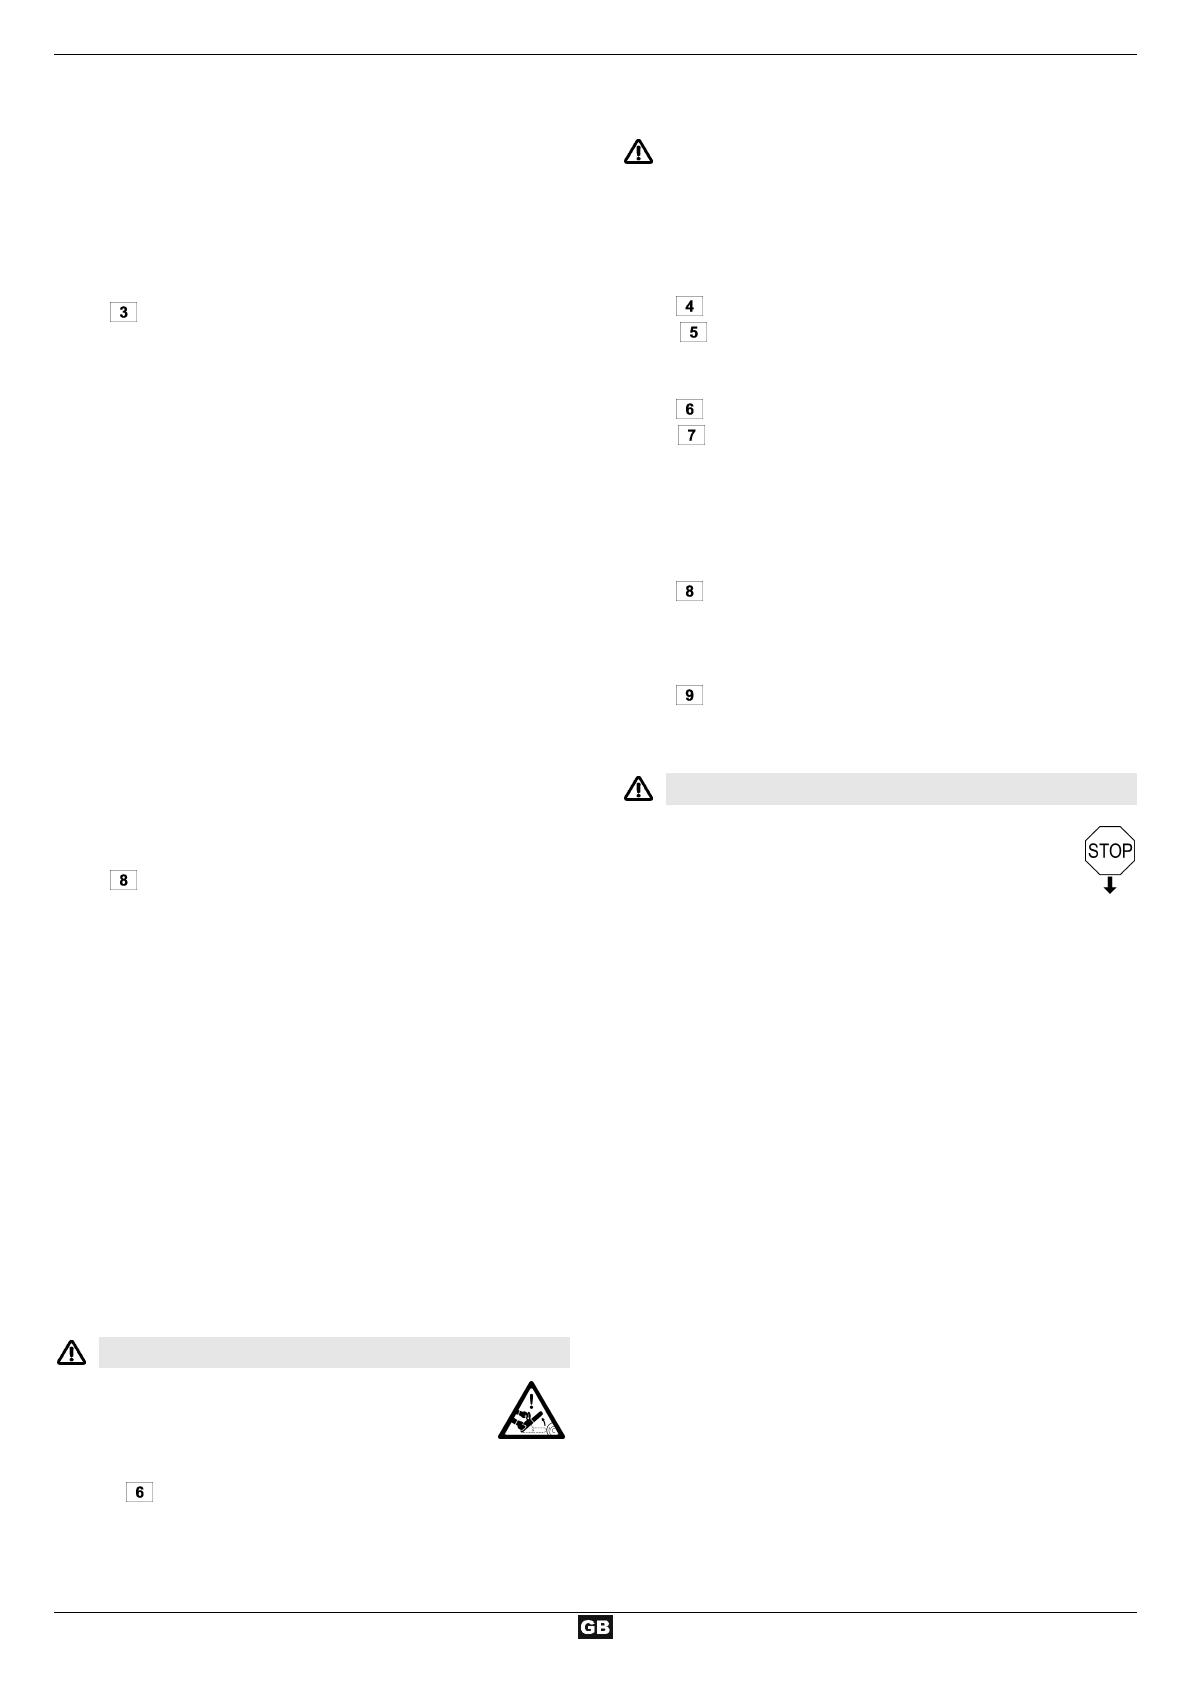
Safety instructions - saw backstroke
What is saw backstroke? Saw backstroke is the
sudden strike upwards or backwards of the
running chain saw in direction of the operator.
This happens when
− Â
the guide bar tip gets in contact with the sawing
material (unintended) or other hard objects.
− the saw chain is jammed at the guide bar tip.
The chain saw reacts uncontrolled and causes frequently heavy
injuries with the operator.
Carry out lateral cuts, diagonal cuts and longitudinal cuts
with increased attention because here the claw stopper (36) is
not put on.
How to avoid saw backstroke?
 Always hold the chain saw firmly with both hands.
 For better control saw with the lower edge of the
guide bar. Hold the chain saw as close as possible to the
horizontal position when contacting wood.
 Never saw with the guide bar tip.
 Sawing with the upper guide bar edge may cause a
saw backstroke if the saw gets jammed or hits a hard object
in the wood.
Start cutting only with running saw chain.
Only work with sharp and correctly sharpened saw chain.
Only work with correctly clamped saw chain.
 Use claw stopper (31) as lever.
Never work above height of shoulders.
Never cut through several perches at the same time. When
releasing make sure that no other perch is touched.
 If possible use a sawhorse when cutting to length.
Stab cuts shall only be carried out by instructed personal.
General safety instructions
Stop the machine when:
− contact of chain saw with soil, stones, nails or
other foreign substances
B Check immediately chain and guide bar.
− carrying out repair works
− maintenance and cleaning
− removal of faults
− transport
− clamping again the chain
− chain change
− Leaving the machine (also during temporary inter-ruption)
Maintain your chain saw with care:
− Comply with the maintenance instructions and the
advices for lubrication and for the tool change.
− Keep your tools sharp and clean in order to be able to
work better and safer.
− Keep the handholds dry and free from resin, oil and
grease.
Check the machine for possible damage:
− Carefully check the machine, in particular after it has been
dropped.
− Before continuing to use the machine, the protective
devices must be inspected to ensure that they work
perfectly and with their intended function. Only operate the
machine with complete and correctly attached safety
equipment and do not alter anything on the machine that
could impair the safety.
− Check whether the movable parts function perfectly and
do not stick or whether the parts are damaged.
All parts
must be correctly installed and fulfil all conditions to
ensure perfect operation of the saw.


