Brother HL-8050N Quick setup guide

Category
Print & Scan
Type
Quick setup guide
Quick Setup Guide
Laser Printer
HL-8050N
Read this Quick Setup Guide before using the printer.
Before you can use the printer, you must set up the hardware and install
the driver.
Keep this Quick Setup Guide and supplied CD-ROM in a convenient place so you can use them
quickly if you need to.
For the latest driver and to find the best solution for your problem or question, access the Brother
Solutions Center directly from the CD-ROM/Driver or go to http://solutions.brother.com
Setup is Complete!
Step 1
Setting Up Your Printer
Step 2
Installing the Driver
USB
page 18
Parallel
page 20
Network
Peer-to-
Peer (LPR)
page 22
Mac OS
®
8.6 – 9.2
page 33
Mac OS
®
X
10.1 / 10.2
page 35
Peer-to-
Peer
(NetBIOS)
page 24
Network
Shared
Printer
page 26
Mac
OS
®
X
10.1 / 10.2
page 31
Mac OS
®
8.6 – 9.2
page 28
Network
USB
Setting Up
Your Printer
Windows
®
USB
Windows
®
Parallel
Windows
®
Network
Macintosh
®
USB
Macintosh
®
Network
For
Administrators
Installing the Driver
Version 3
ENG
1
Table of Contents
Safety Precautions
To Use the Printer Safely ................................................................................................................ 2
Regulations ...................................................................................................................................... 7
Getting Started
Carton Components ........................................................................................................................ 9
Control Panel ................................................................................................................................. 10
Supplied CD-ROM ......................................................................................................................... 11
Setting Up Your Printer
Install the Toner Cartridge ....................................................................................................... 12
Load Paper in the Paper Tray .................................................................................................. 13
Installing the Face-up Output Tray ........................................................................................... 14
Printing a Test Page ................................................................................................................ 15
Setting Your Language on the Control Panel .......................................................................... 15
Installing the Driver
For USB Interface Cable Users .................................................................................................... 18
For Parallel Interface Cable Users ................................................................................................ 20
For Network Interface Cable Users ..............................................................................................22
For Brother Peer-to-Peer Network Printer Users (LPR) ........................................................... 22
For Brother Peer-to-Peer Network Printer Users (NetBIOS) .................................................... 24
For Network Shared Printer Users ........................................................................................... 26
For USB Interface Cable Users .................................................................................................... 28
For Mac OS
®
8.6 to 9.2 Users ................................................................................................. 28
For Mac OS
®
X 10.1 / 10.2 Users ............................................................................................ 31
For Network Interface Cable Users ..............................................................................................33
For Mac OS
®
8.6 to 9.2 Users ................................................................................................. 33
For Mac OS
®
X 10.1 / 10.2 Users ............................................................................................ 35
For Administrators
Setting your IP Address, Subnet Mask and Gateway (Using the Control panel) ........................... 37
Installing the BRAdmin Professional utility (Windows
®
Users Only) ............................................. 38
Web BRAdmin ............................................................................................................................... 38
Printing a Printer Settings Page .................................................................................................... 39
Factory Default Setting .................................................................................................................. 39
Other Information
Shipment of the Printer .................................................................................................................. 40
Options .......................................................................................................................................... 41
Consumables ................................................................................................................................. 42
Troubleshooting User’s Guide Chapter 5
Step 1
Step 2
2
Safety Precautions
To ensure the safe operation of your printer, make sure that you read this section thoroughly before use.
This section describes the conventions used in the guide.
Installing and Relocating your Printer
Do not place the printer in a hot, humid, dusty, or poorly ventilated environment. Prolonged exposure to
such adverse conditions can cause fire or electric shocks.
Do not place the printer near heaters or volatile, flammable, or combustible materials, such as curtains.
Place the printer on a level, sturdy surface that can withstand the printer's weight. Failure to do so could
cause the printer to fall, resulting in injuries.
To prevent injuries, this printer should be lifted by at least two people.
To Use the Printer Safely
Indicates warning that must be observed to prevent
possible personal injury.
Indicates caution that must be observed to use the
printer properly or prevent damage to the printer.
This symbol alerts you to procedures that require
close attention. Make sure that you read and follow the
instructions carefully.
This symbol alerts you to prohibited procedures.
Make sure that you read the instructions carefully.
This symbol alerts you to procedures that need to be
performed. Make sure that you perform the procedure
after reading the instructions carefully.
Note
Indicates notes and useful tips to remember when using
the printer.
User’s Guide
Network User’s Guide
Indicates reference to the User’s Guide or Network User’s
Guide which is on the CD-ROM we have supplied.
WARNING
CAUTION
High
temperature
Flammable
Electrical
shock
Finger injury
Do not
touch
No naked /
open flame
Prohibited
Do not
dismantle
Ground /
Earth
Remove the
plug
Hint
CAUTION
3
To lift the printer, face the front of the printer and grip the recessed areas at the bottom left and right with
both hands. Never try to lift the printer by gripping any other areas. Lifting the printer by gripping other areas
can cause the printer to fall, resulting in injuries.
When lifting the printer, get a firm footing and bend your knees to avoid possible injuries to your back.
Do not move the printer by lifting it by the front and rear edges (positions shown in the following diagram)
when the paper tray is extended (loaded with Legal 14 paper). The printer may fall and result in injuries or
the paper tray may be damaged.
The printer has ventilation grills on the side and at the back of the machine. Ensure that the printer is
installed no less than 300 mm (11.7 in.) from the wall on the right, 200 mm (7.8 in.) from the wall on the left,
and 255 mm (9.9 in.) from the wall at the back. A poorly ventilated printer can cause excessive internal heat
to build up and result in fire.
The diagram below shows the minimum clearances required for normal operation, consumables
replacement, and maintenance ensuring that your printer operates at peak performance.
When moving the printer, be sure to unplug the power cord from the AC power outlet/socket. Moving the
printer with the power cord connected can damage the power cord, which could result in a fire or an electric
shock.
When moving the printer, do not tilt it more than the angles shown in the diagram below.
If tilted excessively, the printer may fall, resulting in injuries.
255 mm200 mm
402 mm
300 mm
10°
10°
10°
10°
4
Safety Precautions
Use the printer in a place that meets the following requirements:
Ambient temperature range of 10 to 32 °C (50.0 to 89.6 °F), relative humidity of 15 to 85% (no condensation)
When using the printer at an ambient temperature of 32 °C (89.6 °F), the relative humidity should not exceed
65%. When the relative humidity reaches 85%, the ambient temperature should not exceed 28 °C (82.4 °F).
Do not place the printer in a room where there are sudden fluctuations in temperature and do not move
the printer from a cold place to a warm humid place. If you do, condensation may occur inside the
printer and deteriorate print quality.
Do not place the printer in direct sunlight, as this may damage the printer.
When moving the printer, Do not remove the toner cartridges, leave them locked in place. Loose toner
can spill inside the printer and deteriorate print quality.
Do not place the printer directly next to an air conditioner or heater, as this affects the temperature
inside the printer and can cause damage.
Do not use the printer when it is tilted at an angle of more than 5 degrees, as this may result in damage.
Precautions for Power and Grounded/Earthed Connections
Use the printer within the specified power range.
AC power: 100-127 V AC ± 10% (90V-140V) or 220-240 V AC ± 10% (198V-264V)
Frequency: 50 ± 3Hz/60 ± 3Hz
Ensure that the AC power cord connector and AC power outlet/socket are free of dust. In a damp
environment, a contaminated connector can, over time, draw non-negligible amounts of current that can
generate heat and eventually cause fire.
Do not attempt to modify, pull, bend, chafe, or otherwise damage the AC power cord. Do not place objects
on the AC power cord. A damaged AC power cord can cause fire or electric shock.
Never touch an AC power cord with wet hands. This constitutes an electric shock hazard.
In the following situations, stop using the printer immediately, turn it off, and disconnect the AC power cord
from the AC power outlet/socket. After that, call your dealer or Brother Customer Service immediately.
Continued use of the printer in such situations could result in fire:
There is smoke emanating from the printer or the outside of the printer is excessively hot.
Unusual noises are coming from the printer.
There is water inside the printer.
To prevent fire or electric shocks, connect the AC power cord to a grounded/earthed AC power outlet/
socket. For your safety, if in any doubt about the effective grounding/earthing of the power, call a qualified
electrician.
If the power cord is broken or insulated wires are exposed, stop using the printer immediately, turn it off,
and disconnect the AC power cord from the AC power outlet/socket. After that, call your dealer or Brother
Customer Service. Using a damaged cord can cause fire or an electric shock.
Do not plug or unplug the printer when it is on. Unplugging a live connector can deform the plug and cause
fire.
When unplugging the printer, grasp the plug instead of the AC power cord. Forcibly pulling the AC power
cord can damage it and cause a fire or an electric shock.
Operating Environment
WARNING
CAUTION
5
Be sure to turn off and unplug the printer before accessing the interior of the printer for cleaning,
maintenance, or troubleshooting. Accessing the interior of a live printer can result in electric shock.
Once a month, turn off the printer and check the AC power cord for the following:
The AC power cord is plugged firmly into the AC power outlet.
The plug is not excessively heated, rusted, or bent.
The plug and outlet are dust free.
The cord is not cracked or frayed.
If you notice any unusual conditions, call your dealer or Brother Customer Service for assistance.
When the printer is not used over an extended period of time, it is advisable to unplug the printer.
Switch off the printer before connecting the interface cable or options. Connecting the interface cable or
options to a live printer can cause electric shock.
This printer may interfere with radio or television reception, causing flickering or distortion. This can be determined
by turning the printer off and on. To correct interference, perform one or a combination of the following procedures:
Move the printer away from a TV and/or radio.
Reposition the printer, TV and/or radio.
If the printer, TV and/or radio are plugged in to the same AC power outlet/socket, unplug them, then plug
them into different AC power outlets/sockets.
Reposition the TV and/or radio antennas and cables until the interference stops. For external antennas,
consult your local electrician.
Use coaxial cables with radio and television antennas.
Operating Precautions
Do not place any liquid containers such as vases or coffee cups on the printer. Liquids spilt on the printer
can cause a fire or electric shock.
Do not place any metal parts such as staples or clips on the printer. If metal or flammable materials get into
the printer, they can short circuit internal components and cause a fire or electric shocks.
If debris (metal or liquid) gets into the printer, turn off and unplug the printer. After that, call your dealer or
Brother Customer Service immediately. Operating a debris-contaminated printer can cause a fire or electric
shock.
Never open or remove printer covers that are secured with screws unless specifically instructed to do so
in this guide. High-voltage components can cause electric shocks.
Do not try to alter the printer's structure or modify any parts. Unauthorized modifications can cause fire.
This printer complies with the IEC60825 (Class 1) international laser standard. This means that the printer
does not present any risk of injury to individuals from laser radiation. Various covers confine the laser
radiation to the inside of the printer; hence, users cannot incur injury from the laser under normal operating
conditions. Removing covers, unless instructed to do so in this guide, can cause injury from laser radiation.
Radio Interference
WARNING
6
Safety Precautions
Never touch an area indicated by a high-temperature warning label (on or near the fuser unit). Touching
these areas may result in burns.
If a sheet of paper is wrapped around the fuser or rollers, do not use excessive force to remove it so as to
avoid injuries or burns. Turn off the printer immediately and call your dealer or Brother Customer Service.
Do not place any heavy objects on the printer. An off-balance printer can fall over or the heavy object can
fall, resulting in injuries.
Do not use highly flammable sprays or solvents in or around the printer, as this can result in fire.
When removing paper jams, make sure that no pieces of paper are left inside the printer, as this can cause
fire.
If the paper is wrapped around the fuser or roller, or you cannot see the jam that you are trying to clear, do
not attempt to remove the paper by yourself, as this may result in injuries or burns. Turn off the printer
immediately and call your dealer or Brother Customer Service.
Do not place magnetic objects near the safety switch of the printer. Magnets can activate the printer
accidentally, resulting in injuries.
Notes on Handling Consumables
Never put a toner cartridge into an open flame. It can explode, resulting in injuries.
Never put a transfer roll cartridge into an open flame. It can explode, resulting in injuries.
Never heat the drum in a cartridge, or scratch its surface. A heated or scratched drum can be
hazardous to your health.
Do not use a vacuum cleaner for cleaning a toner spilled on the floor. Use a broom to sweep it out, or
a cloth soaked with soap water to wipe it out. The vacuumed toner may cause a fire in the cleaner due
to its electrical sparks.
Do not open consumables until you are ready to use them. Do not store consumables in the following
conditions:
Hot or humid areas
Near an open flame
Exposed to direct sunlight
Dusty areas
Before using consumables, read the instructions and precautions provided with the consumables.
Administer emergency first aid as follows:
Eye Contact: Flush eyes with plenty of water for a minimum of 15 minutes, and seek medical advice.
Skin contact: Wash material off skin with plenty of soap and water.
Inhalation: remove person to fresh air, and seek medical attention.
Ingestion: If toner is swallowed, get immediate medical attention or advice.
When you remove the transfer roll cartridge from the printer because the waste toner collection box is full, do
not attempt to empty the waste toner box and reuse the cartridge, as toner may spill inside the printer and
cause damage. Loose toner can spill inside the printer and deteriorate print quality.
Do not tilt or shake the print head cartridges or transfer roll cartridges when removing them temporarily. Loose
toner can spill inside the printer and deteriorate print quality.
CAUTION
WARNING
CAUTION
7
Federal Communications Commission (FCC) Declaration of
Conformity (For U.S.A. Only)
Responsible Party: Brother International Corporation
100 Somerset Corporate Boulevard
Bridgewater, NJ 08807-0911
USA
Telephone: (908) 704-1700
declares, that the products
Product name: Laser Printer
Model number: HL-8050N
Product options: All
complies with Part 15 of the FCC Rules. Operation is subject to the following
two conditions: (1) This device may not cause harmful interference, and (2)
this device must accept any interference received, including interference that
may cause undesired operation.
This equipment has been tested and found to comply with the limits for a
Class B digital device, pursuant to Part 15 of the FCC Rules. These limits are
designed to provide reasonable protection against harmful interference in a
residential installation. This equipment generates, uses, and can radiate
radio frequency energy and, if not installed and used in accordance with the
instructions, may cause harmful interference to radio communications.
However, there is no guarantee that interference will not occur in a particular
installation. If this equipment does cause harmful interference to radio or
television reception, which can be determined by turning the equipment off
and on, the user is encouraged to try to correct the interference by one or
more of the following measures:
Adjust or relocate the receiving antenna.
Increase the distance between the equipment and receiver.
Connect the equipment to an AC power outlet/socket on a circuit
different from that which the receiver is already connected.
Call the dealer or an experienced radio/TV technician for help.
Important
A shielded interface cable should be used in order to ensure compliance with
the limits for a Class B digital device.
Changes or modifications not expressly approved by Brother Industries, Ltd.
could void the user’s authority to operate the equipment.
Industry Canada Compliance Statement (For Canada Only)
This Class B digital apparatus complies with Canadian ICES-003.
Cet appareil numérique de la classe B est conforme à la norme NMB-003 du
Canada.
Laser Safety (100 to 127 Volt Model Only)
This printer is certified as a Class I laser product under the U.S. Department
of Health and Human Services (DHHS) Radiation Performance Standard
according to the Radiation Control for Health and Safety Act of 1968. This
means that the printer does not produce hazardous laser radiation.
Since radiation emitted inside the printer is completely confined within
protective housings and external covers, the laser beam cannot escape from
the machine during any phase of user operation.
FDA Regulations (100 to 127 Volt Model Only)
U.S. Food and Drug Administration (FDA) has implemented regulations for
laser products manufactured on and after August 2, 1976. Compliance is
mandatory for products marketed in the United States. The label shown on
the back of the printer indicates compliance with the FDA regulations and
must be attached to laser products marketed in the United States.
Caution: Use of controls, adjustments or the performance of
procedures other than those specified in this manual may
result in hazardous radiation exposure.
IEC 60825 specification (220 to 240 Volt Model Only)
This printer is a Class 1 laser product as defined in IEC 60825 specifications.
The label shown below is attached in countries where required.
This printer has a Class 3B laser Diode that emits invisible laser radiation in
the Scanner Unit. The Scanner Unit should not be opened under any
circumstances.
Caution: Use of controls, adjustments or performance of
procedures other than those specified in this manual may
result in hazardous radiation exposure.
Regulations
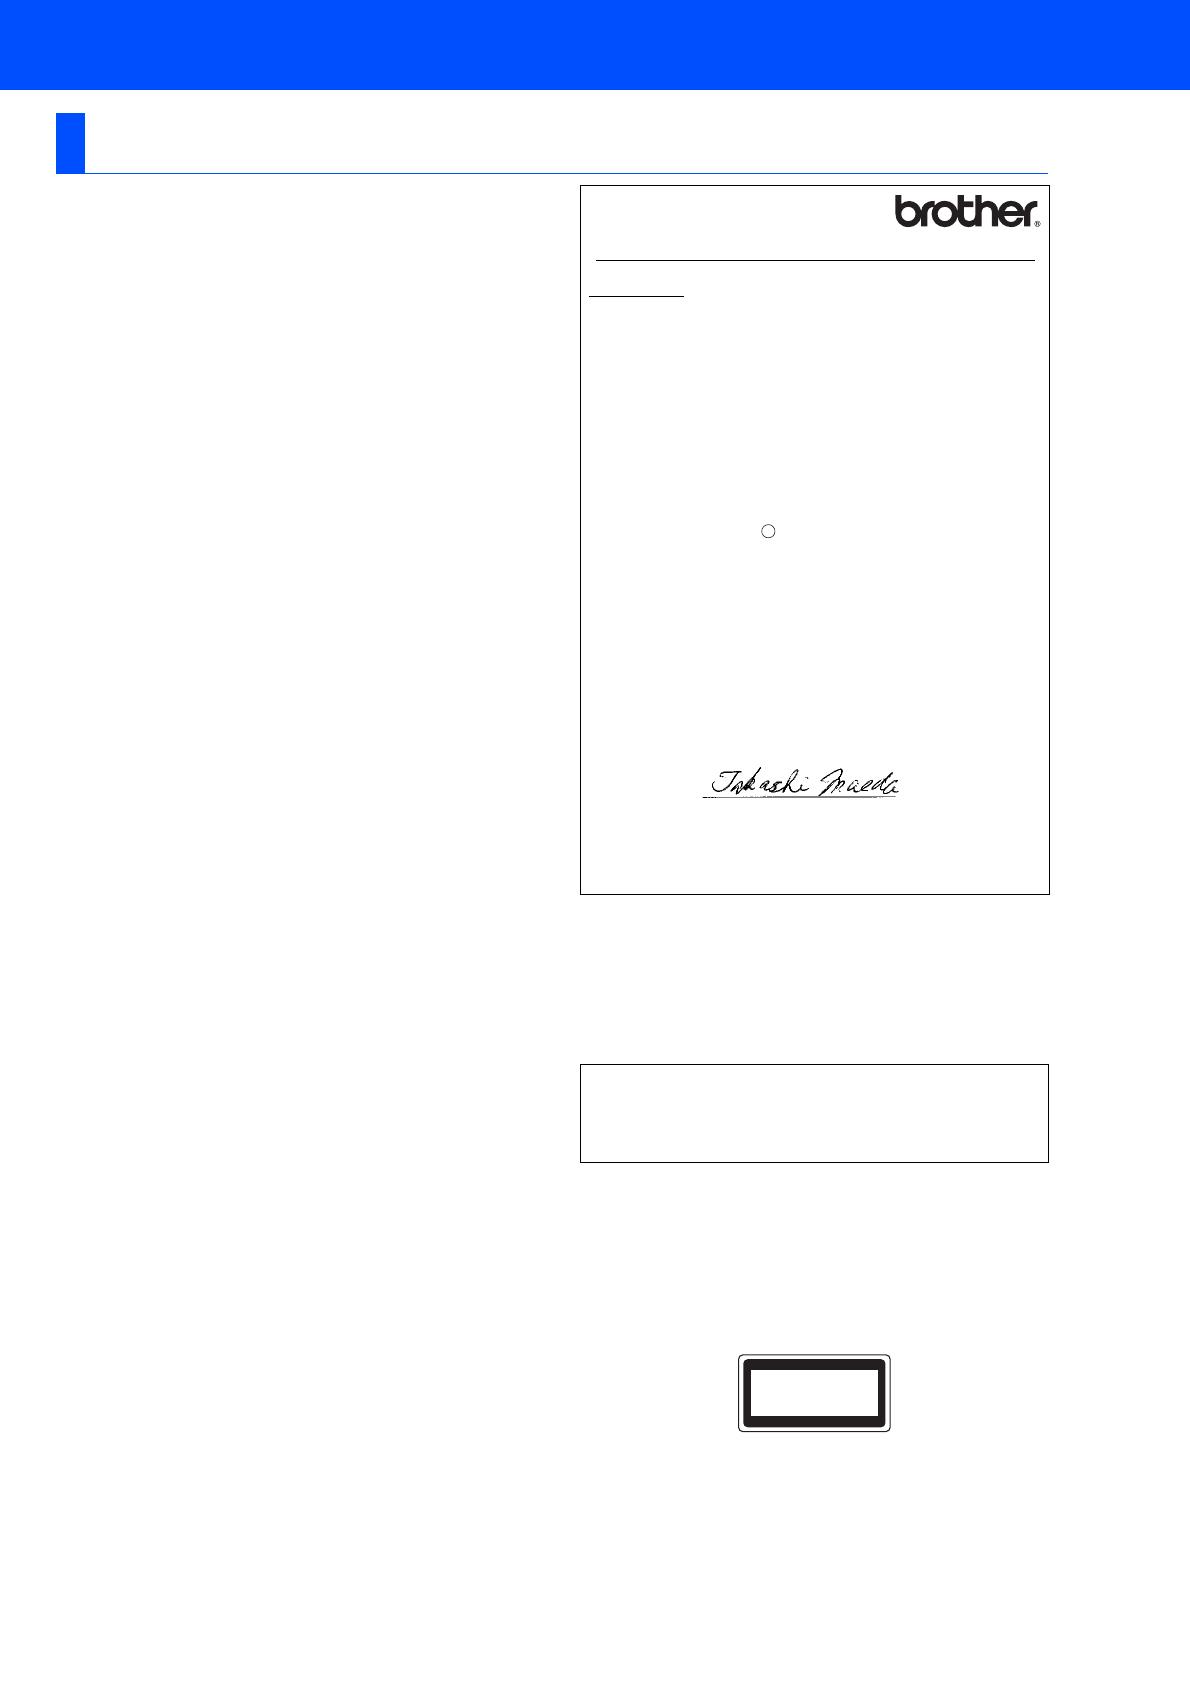
EC Declaration of Conformity under the R & TTE Directive
Manufacture
Brother Industries Ltd.,
15-1, Naeshiro-cho, Mizuho-ku,
Nagoya 467-8561, Japan
Herewith declare that:
Products description: Laser Printer
Product Name: HL-8050N
is in conformity with provisions of the R & TTE Directive (1995/5/EEC
2002) and we declare compliance with the following standards:
R&TTE: EN300330-2 V1.1.1
EN301489-3 V1.3.1
CE0682
Safety: EN60950: 2000
EMC: EN55022: 1998 + A1: 2000 Class B
EN55024: 1998
EN61000-3-2: 1995 + A14: 2000
EN61000-3-3: 1995
Year in which CE marking was First affixed: 2003
Issued by: Brother Industries, Ltd.
Date: 7 July, 2003
Place: Nagoya, Japan
Signature:
Takashi Maeda
Manager
Quality Management Group
Quality Management Dept.
Information & Document Company
MANUFACTURED:
Brother Industries, Ltd.,
15-1 Naeshiro-cho Mizuho-ku Nagoya, 467-8561 Japan
This product complies with FDA radiation performance standards, 21
CFR subchapter J.
CLASS 1LASERP RODUCT
APPAREIL Å LASER DE CLASSE 1
LASER KLASSE 1 PRODUKT
!
8
Safety Precautions
For Finland and Sweden
LUOKAN 1 LASERLAITE
KLASS 1 LASER APPARAT
Varoitus! Laitteen käyttäminen muulla kuin tässä käyttöohjeessa
mainitulla tavalla saattaa altistaa käyttäjän
turvallisuusluokan 1 ylittävälle näkymättömälle
lasersäteilylle.
Varning Om apparaten används på annat sätt än i denna
Bruksanvisning specificerats, kan användaren utsättas för
osynlig laserstrålning, som överskrider gränsen för
laserklass 1.
Internal laser radiation
Maximum radiation power: 5 mW
Wave length: 770 - 800 nm
Laser class: Class IIIb
(Accordance with 21 CFR Part 1040.10)
IMPORTANT - For Your Safety
To ensure safe operation the three-pin plug supplied must be inserted only
into a standard three-pin power outlet/socket which is properly grounded/
earthed through the normal standard wiring.
Extension cords should not be used the equipment. If it is essential that an
extension cord has to be used, it must be three-pin plug type and correctly
wired to provide proper grounding/earthing. Incorrectly wired extension cords
may cause personal injury and equipment damage.
The fact that the equipment operates satisfactorily does not imply that the
power is grounded/earthed and that the installation is completely safe. For
your safety, if in any doubt about the effective grounding/earthing of the
power, call a qualified electrician.
Disconnect device
This printer must be installed near an AC power outlet/socket that is easily
accessible. In case of emergencies, you must disconnect the power cord
from the power outlet/socket to shut off the power completely.
Caution for batteries
Do not replace the battery. There is a danger of explosion if the battery is
incorrectly replaced. Do not disassemble, recharge or dispose of in a fire.
Used batteries should be disposed of according to local regulations.
Opmerking / Oplaadbare Batterij Recycle Informatie (For
Netherlands Only)
Bij dit product zijn batterijen geleverd. Wanneer deze
leeg zijn, moet u ze niet weggooien maar inleveren
als Klein Chemisch Afval.
Geräuschemission / Acoustic noise emission (for Germany
only)
Lpa < 70 dB (A) DIN 45635-19-01-KL2
Radio Interference (220 to 240 Volt Model Only)
This printer complies with EN55022 (CISPR Publication 22) / Class B.
IT power system (For Norway only)
This product is also designed for an IT power system with phase-to-phase
voltage 230V.
Caution for LAN connection
Connect this product to a LAN connection that is not subjected to over
voltages.
Wiring information (for UK)
Important
If you need to replace the plug fuse, fit a fuse that is approved by ASTA to
BS1362 with the same rating as the original fuse.
Always replace the fuse cover. Never use a plug that does not have a cover.
Warning - This printer must be earthed.
The wires in the mains lead are coloured in line with the following code:
Green and Yellow: Earth
Blue: Neutral
Brown: Live
If in any doubt, call a qualified electrician.
9
Getting Started
\
Carton components may differ from one country to another.
The power cord may be slightly different to the one in the diagram above, depending upon which country you
bought the printer in.
Save all packing materials and the printer carton. They should be used when shipping the printer.
Carton Components
Printer
CD-ROM
(including User’s Guide)
Quick Setup Guide
AC Power Cord Toner Cartridge
Face-up Output Tray
The interface cable is not a standard accessory. Buy the appropriate interface cable for the interface
you intend to use (USB, Parallel or Network).
It’s recommended to use a Parallel interface cable or USB interface cable that is not longer than 6 feet
(2.0 meters).
For Parallel interface cable use a shielded interface cable that is IEEE 1284-compliant.
5
3
4
1
1 Control Panel
2 Top Cover
3 Paper Support
4 Power Switch
5 Paper Tray
2
10
Getting Started
Control Panel
User’s Guide Chapter 4.
LED Indicators
Ready (Green)
Lights when the printer is ready to print.
Blinks when the printer is receiving data.
Alarm (Red)
Lights when the printer has a problem that the user can rectify.
To clear the error, see the User’s Guide Chapter 5.
Buttons
Job Cancel
Stop and cancel the printing job in progress.
Go
Exit from the control panel menu, reprint settings and error messages.
Pause and continue printing.
Secure Print
Reprint the secure data.
+
Move forward through menus.
Move forward through the options you can choose.
-
Move backward through menus.
Move backward through the options you can choose.
Set
Select the control panel menu.
Set the selected menus and settings.
Back
Go back one level in the menu.
Reprint
Reprint the last job or receiving job.
Menu
Go to the top menu (INFORMATION mode).
Display
LED Indicators
Buttons
11
Getting Started
You can find a variety of information on the CD-ROM.
Supplied CD-ROM
1
2
3
4
5
1
3
3
2
4
This screen is not supported by Mac OS
®
8.6 to 9.2.
5
1 Brother Solutions Center
The Brother Solutions Center
http://solutions.brother.com
is your one-stop resource for all your printer needs. Download the latest drivers
and utilities for your printers, read the FAQs and troubleshooting tips, or learn about printer solutions.
2Install Software
Installs the printer driver and utilities.
3 Documentation
View the Printer User's Guide and Network User's Guide in PDF format. (Viewer included)
4 Maintenance Tutorial
Instruction movie for printer maintenance.
5 On-Line Registration
Register your product on-line.
For visually impaired users, we have prepared the HTML file on
the supplied CD-ROM: readme.html. This file can be read by
Screen Reader ‘text-to-speech’ software.
Mac OS
®
X 10.1 /
10.2 Users
Mac OS
®
8.6 to 9.2
Users
12
Setting Up Your Printer
Do NOT connect the interface cable.
Connecting the interface cable is
done when installing the driver.
1 Remove all the packing tape.
2 Open the top cover.
Do not touch any parts inside the
printer.
3 Take the toner cartridge out of the box and
rock it 7 to 8 times.
4 Place the toner cartridge on a flat surface
and pull the seal out horizontally.
5 Hold the toner cartridge by the grip and
insert it into the slot inside the printer.
6 Close the top cover securely.
1 Install the Toner Cartridge
Top cover
When pulling out the seal, pull it out
horizontally. The tape might break if it is
pulled out diagonally.
After the seal has been pulled out, do not
shake or bump the toner cartridge.
Make sure that the toner cartridge is firmly
set.
Step 1
Seal
Toner cartridge
13
1 Pull the paper tray out of the printer.
2 Place the paper tray on a flat surface.
3 Remove the lid of the tray.
4 If the base plate of the paper tray is raised,
push it down.
5 Squeeze the length guide and slide it to fit
the paper size.
6 Squeeze the right width guide and slide it to
fit the paper size.
7 Load the paper with the side to be printed
facing up and with all 4 corners aligned.
Do not load paper exceeding the
maximum fill line or the maximum
capacity allowed.
2 Load Paper in the Paper Tray
The paper tray must be pulled out
completely. If the paper tray is pulled out
halfway and pushed in again, the paper may
be damaged.
Paper tray
Align the right width guide with the paper
width correctly. If the right width guide is not
in place, the paper will not be properly fed
and may cause a paper jam.
Length guide
Right width guide
Setting Up
Your Printer
Windows
®
USB
Windows
®
Parallel
Windows
®
Network
Macintosh
®
USB
Macintosh
®
Network
For
Administrators
Installing the Driver
Base plate
14
Setting Up Your Printer
Step 1
8 Replace the lid of the paper tray.
9 Put the paper tray back into the printer.
Be sure to switch off the power and
unplug the power cord from the
outlet before carrying out the
following steps.
1 Insert the right and left tabs of the face-up
output tray into the holes at the back of the
printer.
If you want to print to the face-up output tray,
push up lever (1) and pull out the extension
tray (2).
The lid of the tray must be firmly seated. If
not, the paper might be misaligned.
Load paper in the lower paper tray in the
same way.
3
Installing the Face-up
Output Tray
The installation of the tray is optional
and is only necessary if you want to
do face up printing.
Face-up output tray
Extension tray
15
1 Connect the AC power cord to the printer,
and then plug it into the AC power outlet/
socket.
2 Turn the printer power switch on.
3 After the printer warms up, the READY
message will appear.
4 Press .
Press .
5 Press once.
6 Press .
The printer will now print the test page.
1 Press .
2 Press 3 times.
Press .
3 Press .
Press or to select your
language.
Press to accept.
4 Press .
.
3 Printing a Test Page
-MENU-
INFORMATION
INFORMATION
PRINT SETTING
INFORMATION
PRINT TEST
READY
4
Setting Your Language
on the Control Panel
-MENU-
INFORMATION
-MENU-
SETUP
SETUP
LANGUAGE
LANGUAGE
=ENGLISH *
LANGUAGE
=ENGLISH *
READY
Go to page 17 to
install the driver.
Setting Up
Your Printer
Windows
®
USB
Windows
®
Parallel
Windows
®
Network
Macintosh
®
USB
Macintosh
®
Network
For
Administrators
Installing the Driver
Control Panel
16
17
Setting Up
Your Printer
Windows
®
USB
Windows
®
Parallel
Windows
®
Network
Macintosh
®
USB
Macintosh
®
Network
For
Administrators
Installing the Driver
Follow the instructions on this page for your operating system and interface cable.
The screens for Windows
®
in this Quick Setup Guide are based on Windows
®
XP.
The screens for Mac OS
®
X in this Quick Setup Guide are based on Mac OS
®
X 10.1
For USB Interface Cable Users............................................... Go to page 18
For Parallel Interface Cable Users......................................... Go to page 20
For Network Interface Cable Users
Brother Peer-to-Peer Network Printer Users (LPR) .................................. Go to page 22
Brother Peer-to-Peer Network Printer Users (NetBIOS)
................................. Go to page 24
Network Shared Printer Users..................................................................... Go to page 26
For USB Interface Cable Users
Mac OS
®
8.6 to 9.2 Users ............................................................................ Go to page 28
Mac OS
®
X 10.1 / 10.2 Users........................................................................ Go to page 31
For Network Interface Users
Mac OS
®
8.6 to 9.2 Users ............................................................................ Go to page 33
Mac OS
®
X 10.1 / 10.2 Users........................................................................ Go to page 35
For Administrators .................................................................................... Go to page 37
Step 2
18
Installing the Driver
1. Installing the Driver and Connecting the Printer to Your PC
1 Make sure the USB interface cable is NOT
connected to the printer, and then begin
installing the driver. If you have already
connected the cable, remove it.
2 Insert the CD-ROM into your CD-ROM
drive. The opening screen will appear
automatically. If the language screen
appears, select your language.
3 Click Install Software on the Menu screen.
4 Click Printer Driver.
5 Click the Next button.
Follow the instructions on the screen.
6 Select Standard Installation, and then
click the Next button.
7 Select Local Printer with USB cable, and
then click the Next button.
For USB Interface Cable Users
If the Found New Hardware Wizard
appears on your PC, click the Cancel button.
C
A
N
C
E
L
If you want to install the PS driver, select Custom
Installation and then follow the instructions on
the screen. When the Select Components
screen appears, check PS Printer Driver, and
then continue following the instructions on the
screen.
Step 2
19
S
8 When this screen appears, make sure the
printer power switch is on.
Connect the USB interface cable to your
PC, and then connect it to the printer.
Click the Next button.
9 Click the Finish button.
For Windows
®
98 / Me users:
The Setup is now complete.
For Windows
®
2000/XP users:
Go to “2. Setting Your Printer as the
Default Printer”.
2. Setting Your Printer as the
Default Printer
(For Windows
®
2000/XP Users
Only)
1 Click Start and Printers and Faxes.
2 Select the Brother HL-8050N series icon.
3 From the File menu, select Set as Default
printer.
Setup is now complete.
If you want to register your product on-line,
check “On-Line Registration” box.
Setting Up
Your Printer
Windows
®
USB
For
Administrators
Installing the Driver
  • Page 1 1
  • Page 2 2
  • Page 3 3
  • Page 4 4
  • Page 5 5
  • Page 6 6
  • Page 7 7
  • Page 8 8
  • Page 9 9
  • Page 10 10
  • Page 11 11
  • Page 12 12
  • Page 13 13
  • Page 14 14
  • Page 15 15
  • Page 16 16
  • Page 17 17
  • Page 18 18
  • Page 19 19
  • Page 20 20
  • Page 21 21
  • Page 22 22
  • Page 23 23
  • Page 24 24
  • Page 25 25
  • Page 26 26
  • Page 27 27
  • Page 28 28
  • Page 29 29
  • Page 30 30
  • Page 31 31
  • Page 32 32
  • Page 33 33
  • Page 34 34
  • Page 35 35
  • Page 36 36
  • Page 37 37
  • Page 38 38
  • Page 39 39
  • Page 40 40
  • Page 41 41
  • Page 42 42
  • Page 43 43
  • Page 44 44

Brother HL-8050N Quick setup guide

Category
Print & Scan
Type
Quick setup guide

Ask a question and I''ll find the answer in the document

Finding information in a document is now easier with AI