Instructions for the installer
11
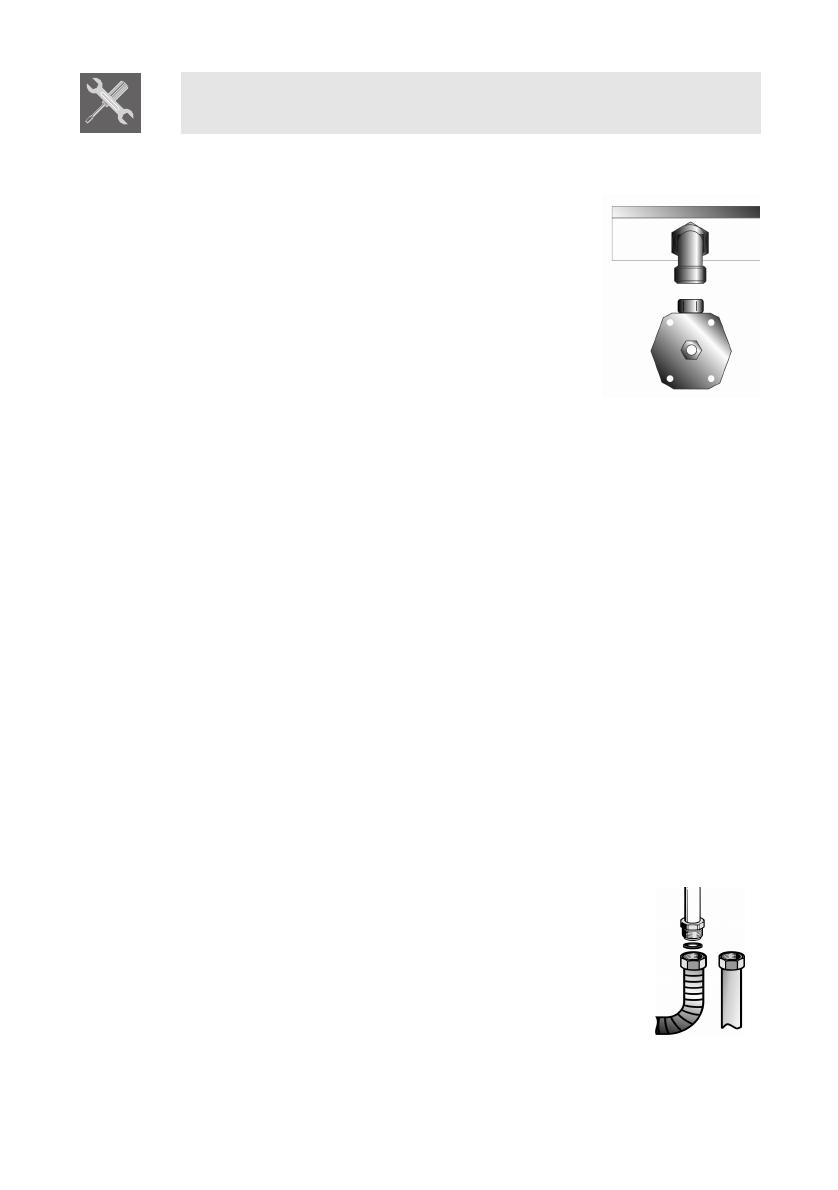
3 GAS CONNECTION
This appliance is suitable for installation with Natural
Gas or ULPG (propane). Refer to page 12 for the
relevant burner pressure and appropriate injector
sizes. When the appliance is to be connected to
Natural Gas then the pressure regulator supplied
must be fitted to the gas inlet. A test point (for
checking the gas pressure) is supplied either with
the regulator or as a separate fitting in the case of
ULPG (propane) appliances.
Connection of the appliance to the gas supply must
be in accordance with the requirements of AS5601. A
½” BSP connector at the inlet is recommended and
the gas supply line to the appliance must be of
adequate length to allow sufficient withdrawal of
appliance for service or disconnection and be:
1. annealed copper pipe or;
2. flexible hose according to AS/NZ1869 & be at
least Class “B”, 10 mm diameter.wqertttt
The appliance must be installed with provision to allow the gas to be
turned off and disconnected for servicing and removal of the appliance as
required from the gas supply.
Before the appliance is operated make certain all relevant parts are
placed in the correct position.
When the installation is completed the installation connections of
appliance will require to be leak tested, the burner operating pressure and
flame checked and adjusted.
Warranty service calls do not cover these adjustments!
To check the operating pressure of the appliance it is recommended at
least 2 large size burners are used. Ensure appliance is secured to wall
when installation is completed.
N.G. The regulator supplied must be fitted to the ½ BSP thread at the rear
of the appliance. An approved manual shut-off valve must be installed.
The N.G. regulator must be checked and adjusted to 1.0kPa after
installation.
U.L.P.G. Can be connected to the inlet fitting directly.
The pressure must be checked to ensure it is operating
at 2.75kPa. A separate test point fitting must be
installed between the piping & the appliance for the
pressure to be checked to ensure it is operating at
2.75kPa.


