12
• Use pots and pans whose bottom diameter is
equal to that of the cooking zone or slightly
larger.
• Only use flat-bottomed pots and pans.
• If possible, keep the pot covered when
cooking.
• Cook vegetables, potatoes, et. with little
water in order to cut down cooking time.
• A pressure cooker allows you to save even
more energy and time.
.
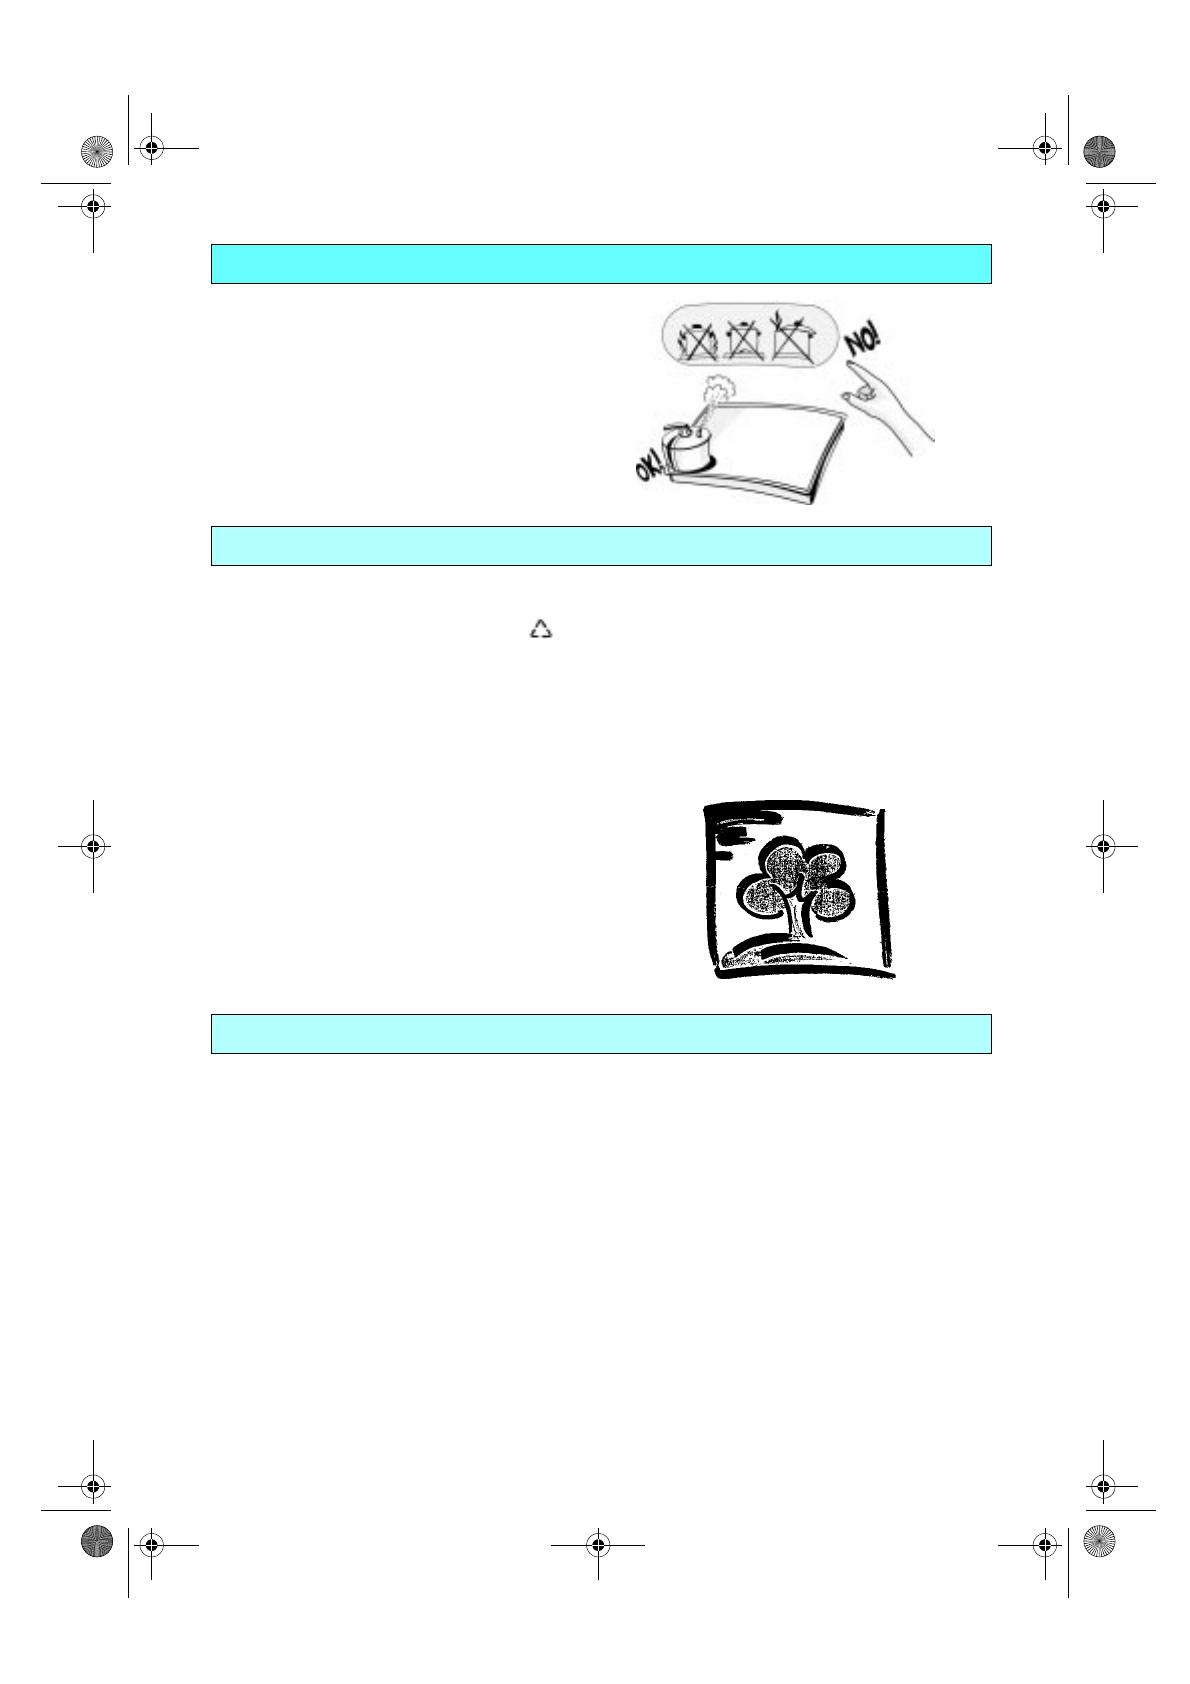
1. Packing
• The packaging material can be100% recycled,
as confirmed by the recycling symbol ( ).
2. Products
• The appliances are built from recyclable
materials. If you decide to scrap the
appliances act responsibly and observe local
waste disposal by laws. Cut off the power
cords so that the appliances cannot be
connected to the mains.
Declaration of conformity CE
• These appliances are designed to come into
contact with foodstuffs and they are
constructed in compliance with Directive
89/109/EEC.
• The appliances are designed solely for use as
cooking appliances. Any other use of the
appliances (e.g. for room heating) is considered
as improper use and potentially dangerous.
• The appliances are designed, built and sold
in compliance with:
• The safety requirements of “Low Voltage”
Directive 73/23/EEC.
• The protection requirements of EMC
Directive 89/336/EEC.
• The requirement of Directive 93/68/EEC.
• This appliance complies with Class “Y” fire
protection category.
.
• Before any maintenance on the appliance
disconnect it from the electrical power supply.
• Keep children away from the appliances
when they are in use.
• The appliances must be repaired or adjusted
exclusively by a qualified technician.
• Make sure that the electrical wires of other
electrical appliances near the cooktop do not
come into contact with hot parts.
• Do not switch on the hotplates/cooking
zones when there is no pan in position.
• The cooktop features different size hotplates/
cooking zones. Use pans whose base
diameter is the same as or slightly larger than
the diameter of the hotplate/cooking zone. To
avoid permanently damaging the glass-
ceramic top, do not use:
- Pots with bottoms that are not perfectly flat;
- Metal pots with enamelled bottom.
• Do not use the cooktop as a work surface or
a support surface.
• Do not leave the appliance unattended when
frying food -risk of fire.
• If the glass ceramic surface should break or
crack due to violent impact (falling objects,
etc...) do not use it and call After-Sales
Service immediately.
• Do not place food wrapped in aluminium foil,
plastic containers or cloths on the hot
cooking zones.
• Do not drag pans across the glass-ceramic
surface - risk of scratches.
• Avoid spilling sugar and similar substances
on the cooktop. If necessary, clean the
cooktop immediately following the care and
maintenance instructions in this handbook.
ENERGY SAVING TIPS
PROTECTING THE ENVIRONMENT
PRECAUTIONS AND GENERAL RECOMMENDATIONS
1gb58913.fm Page 12 Friday, March 5, 2004 12:29 PM


