●
Use cold water. We recommend
using filtered water as it reduces
l
imescale and prolongs the life of
y
our coffee maker. Never use
warm or fizzy water.
3 Ensure the filter holder is
positioned correctly.
4 Fit either the permanent filter
supplied or a paper filter into the
filter holder. Add the coffee using
the spoon supplied (approximately
1 level spoon (7g) per cup to
taste).
5 Close the lid and put the carafe on
the hotplate/location plate .
Note: Ensure the lid is fully
closed. If the lid is not
closed down correctly the
anti-drip valve will not
operate causing the filter
holder to overfill, resulting in
water spillage from out of
the holder area.
6 Press the ON/OFF button and the
indicator light will flash to show the
brewing cycle has started.
7 Don’t remove the carafe until
b
rewing has finished.
CMM620 Thermal carafe - to
p
our coffee from the carafe, push
the lid release lever down . To
e
mpty and clean the carafe,
remove the lid by turning the lid
release lever anti clockwise and
lift off.
8
When the carafe is empty, press
the ON/OFF button and the coffee
maker will go into “Standby Mode”
and the display will dim until any of
the buttons are pressed again.
NOTE: if the coffee maker is not
in the brewing cycle and none of
the buttons are pressed the coffee
maker will automatically go into
“Standby Mode” to help reduce
energy consumption.
CMM610 only
●
Your coffee maker will keep the
coffee warm and then switch off
after approximately 40 minutes.
The indicator light will go out when
the keep warm stops. If you want
to continue keeping the coffee
warm ensure the water tank is
empty before pressing the ON/OFF
button back on, the coffee will then
keep warm for another 40 minutes.
● The Keep Warm feature will not
operate if the (1-4) cup feature is
selected.
M
odels Min Max
C
MM610 125mls 1500mls
CMM620 125mls 1250mls
7
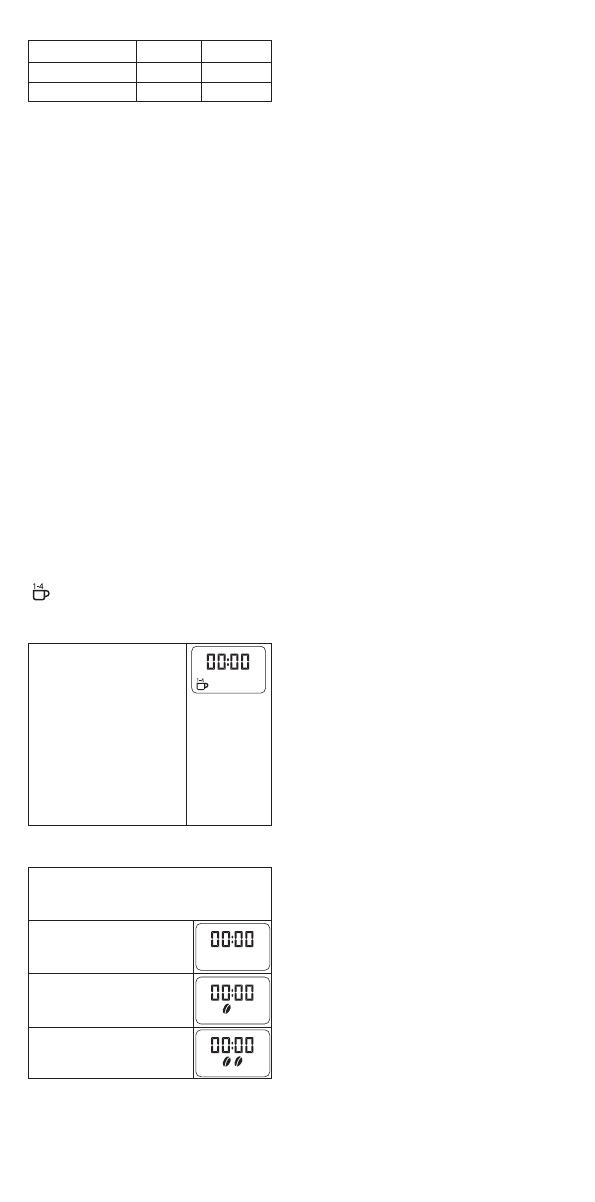
Aroma control
• To adjust the strength of your
coffee press the Aroma button and
select from the following settings:-
Standard – default
setting
Medium – press button
once
Strong – press button
twice
AC 1
1-4 cup
AC 2
AC 3
PF 2
PF 3
PF4
PF 5
PF 6
9
10
11
12
AC 1
1-4 cup
AC 2
AC 3
PF 2
PF 3
PF4
PF 5
PF 6
9
10
11
12
AC 1
1-4 cup
AC 2
AC 3
PF 2
PF 3
PF4
PF 5
PF 6
9
10
11
12
• If you want to brew
small quantities
(500 ml or less) press
the (1-4 cup) button
and the graphic will
appear on the display
screen.
• Press the (1-4 cup)
button again to
remove option from
display screen.
brewing small
quantities
AC 1
1-4 cup
AC 2
AC 3
PF 2
PF 3
PF4
PF 5
PF 6
9
10
11
12


