Samsung S24E650C User manual

Category
TVs & monitors
Type
User manual
Monitor
User Manual
The colour and the appearance may differ depending on the
product, and the specifications are subject to change without
prior notice to improve the performance.
S24E650C S27E650C
BN46-00484A-01
2
Table of contents
Before Using the Product
Copyright 4
Securing the Installation Space 5
Precautions for storage 5
Safety Precautions 5
Symbols 5
Cleaning 6
Electricity and Safety 6
Installation 7
Operation 9
Correct posture to use the product 11
Preparations
Checking the Components 12
Components 12
Parts 13
Front Buttons 13
Reverse Side 15
Installation 16
Attaching the Stand 16
Removing the Stand 17
Installing the Wall Mount 18
Wall Mount Kit Specifications (VESA) 19
Adjusting the Product Tilt and Height 20
Rotating the Monitor Screen 20
Anti-theft Lock 21
Connecting and Using a Source
Device
Before Connecting 22
Pre-connection Checkpoints 22
Connecting and Using a PC 22
Connection using the DVI cable 22
Connection Using the DVI-HDMI Cable 23
Connection Using the HDMI Cable 23
Connection Using the HDMI-DVI Cable 24
Connection Using the DP Cable 24
Connecting to Headphones 25
Connecting the Power 25
Tidying Up the Connected Cables 26
Connecting the Product to a PC
as a USB HUB 27
Connecting a PC to the Product 27
Utilizing the Product as a USB HUB 28
Driver Installation 29
Setting Optimum Resolution 29
Attaching the sound bar (sold separately) 30
Specifications of the sound bar
(sold separately) 31
Screen Setup
SAMSUNG MAGIC Bright 32
Configuring SAMSUNG MAGIC Bright 32
Brightness 34
Configuring Brightness 34
Contrast 35
Configuring Contrast 35
Sharpness 36
Configuring Sharpness 36
Color 37
Configuring Color 37
SAMSUNG MAGIC Upscale 38
Configuring SAMSUNG MAGIC Upscale 38
HDMI Black Level 39
Configuring the HDMI Black Level Settings 39
Eye Saver Mode 40
Configuring Eye Saver Mode 40
Game Mode 41
Configuring Game Mode 41
Response Time 42
Configuring the Response Time 42
Picture Size 43
Changing the Picture Size 43
Screen Adjustment 45
Configuring H-Position & V-Position 45
3
Table of contents
Coordinating OSD
Transparency 46
Changing Transparency 46
Position 47
Configuring H-Position & V-Position 47
Language 48
Configuring Language 48
Display Time 49
Configuring Display Time 49
Setup and Reset
Smart ECO Saving 50
Configuring Smart ECO Saving 50
Off Timer Plus 51
Configuring Off Timer 51
Configuring Eco Timer 53
PC/AV Mode 55
Configuring PC/AV Mode 55
Source Detection 56
Configuring Source Detection 56
Key Repeat Time 57
Configuring Key Repeat Time 57
Reset All 58
Initializing Settings (Reset All) 58
Information Menu and Others
Information 59
Displaying Information 59
Configuring Brightness, Contrast and
Volume
from the Initial Screen 60
Installing the Software
Easy Setting Box 61
Installing the Software 61
Removing the Software 61
Troubleshooting Guide
Requirements Before Contacting Samsung
Customer Service Centre 62
Testing the Product 62
Checking the Resolution and Frequency 62
Check the following. 63
Q & A 66
Specifications
General 68
PowerSaver 70
Standard Signal Mode Table 71
Appendix
Responsibility for the Pay Service
(Cost to Customers) 73
Not a product defect 73
A Product damage caused by customer's fault 73
Others 73
Correct Disposal 74
Correct Disposal of This Product
(Waste Electrical & Electronic Equipment) 74
Extended warranty 74
Terminology 75
4
Copyright
The contents of this manual are subject to change without notice to improve quality.
2015 Samsung Electronics
Samsung Electronics owns the copyright for this manual.
Use or reproduction of this manual in parts or entirety without the authorization of Samsung Electronics is prohibited.
Microsoft, Windows are registered trademarks of Microsoft Corporation.
VESA, DPM and DDC are registered trademarks of the Video Electronics Standards Association.
Ownership of all other trademarks is attributed to their due owner.
An administration fee may be charged if either
-
(a) an engineer is called out at your request and there is no defect in the product
(i.e. where you have failed to read this user manual).
-
(b) you bring the unit to a repair centre and there is no defect in the product
(i.e. where you have failed to read this user manual).
The amount of such administration charge will be advised to you before any work or home visit is carried out.
Before Using the Product
Chapter 01
5
Securing the Installation Space
Ensure some space around the product for ventilation. An internal temperature rise may cause fire and
damage the product. Be sure to allow the amount of space as shown below or greater when installing
the product.
The exterior may differ depending on the product.
10 cm (3.93 Inches)
10 cm
(3.93 Inches)
10 cm
(3.93 Inches)
10 cm (3.93 Inches)
10 cm
(3.93 Inches)
Precautions for storage
High-glossy models can develop white stains on the surface if an ultrasonic wave humidifier is used
nearby.
Contact your nearest Samsung Customer Service Centre if you want to clean the inside of the product
(Service fee will be charged.)
Safety Precautions
Caution
RISK OF ELECTRIC SHOCK DO NOT OPEN
Caution : TO REDUCE THE RISK OF ELECTRIC SHOCK, DO NOT REMOVE COVER. (OR BACK)
THERE ARE NO USER SERVICEABLE PARTS INSIDE.
REFER ALL SERVICING TO QUALIFIED PERSONNEL.
This symbol indicates that high voltage is present inside.
It is dangerous to make any kind of contact with any internal part of this product.
This symbol alerts you that important literature concerning operation and maintenance has been
included with this product.
Symbols
Warning
A serious or fatal injury may result if instructions are not followed.
Caution
Personal injury or damage to properties may result if instructions are not followed.
Activities marked by this symbol are prohibited.
Instructions marked by this symbol must be followed.
6
Cleaning
Exercise care when cleaning as the panel and exterior of advanced LCDs are easily scratched.
Take the following steps when cleaning.
The following images are for reference only. Real-life situations may differ from what is shown in the
images.
1
Power off the product and computer.
2
Disconnect the power cord from the product.
Hold the power cable by the plug and do not touch the cable with
wet hands. Otherwise, an electric shock may result.
!
3
Wipe the monitor with a clean, soft and dry cloth.
Do not apply a cleaning agent that contains alcohol,
solvent, or surfactant to the monitor.
Do not spray water or detergent directly on the
product.
4
Wet a soft and dry cloth in water and wring thoroughly to clean the
exterior of the product.
5
Connect the power cord to the product when cleaning is finished.
6
Power on the product and computer.
Electricity and Safety
The following images are for reference only. Real-life situations may differ from what is shown in the
images.
Warning
Do not use a damaged power cord or plug, or a loose power socket.
An electric shock or fire may result.
Do not use multiple products with a single power socket.
Overheated power sockets may cause a fire.
Do not touch the power plug with wet hands. Otherwise, an electric shock
may result.
!
Insert the power plug all the way in so it is not loose.
An unsecure connection may cause a fire.
!
Connect the power plug to a grounded power socket (type 1 insulated
devices only).
An electric shock or injury may result.
7
Do not bend or pull the power cord with force. Be careful not to leave the
power cord under a heavy object.
Damage to the cord may result in a fire or electric shock.
Do not place the power cord or product near heat sources.
A fire or electric shock may result.
!
Clean any dust around the pins of the power plug or the power socket with
a dry cloth.
A fire may result.
Caution
Do not disconnect the power cord while the product is being used.
The product may become damaged by an electric shock.
!
Only use the power cord provided with your product by Samsung. Do not
use the power cord with other products.
A fire or electric shock may result.
!
Keep the power socket where the power cord is connected unobstructed.
The power cord must be disconnected to cut off power to the product
when an issue occurs.
!
Hold the plug when disconnecting the power cord from the power socket.
An electric shock or fire may result.
Installation
Warning
DO NOT PLACE CANDLES, INSECT REPELLANTS OR CIGARETTES ON TOP OF
THE PRODUCT. DO NOT INSTALL THE PRODUCT NEAR HEAT SOURCES.
A fire may result.
Do not install the product in poorly ventilated spaces such as a bookcase or
closet.
An increased internal temperature may cause a fire.
!
Install the product at least 10cm away from the wall to allow ventilation.
An increased internal temperature may cause a fire.
!
Keep the plastic packaging out of the reach of children.
Children may suffocate.
8
Do not install the product on an unstable or vibrating surface (insecure shelf,
sloped surface, etc.)
The product may fall and become damaged and/or cause an injury.
Using the product in an area with excess vibration may damage the
product or cause a fire.
!
Do not install the product in a vehicle or a place exposed to dust, moisture
(water drips, etc.), oil, or smoke.
A fire or electric shock may result.
Do not expose the product to direct sunlight, heat, or a hot object such as a
stove.
The product lifespan may be reduced or a fire may result.
Do not install the product within the reach of young children.
The product may fall and injure children.
Edible oil, such as soybean oil, can damage or deform the product. Do not
install the product in a kitchen or near a kitchen counter.
Caution
!
Do not drop the product while moving.
Product failure or personal injury may result.
Do not set down the product on its front.
The screen may become damaged.
When installing the product on a cabinet or shelf, make sure that the
bottom edge of the front of the product is not protruding.
The product may fall and become damaged and/or cause an injury.
Install the product only on cabinets or shelves of the right size.
!
Set down the product gently.
Product failure or personal injury may result.
SAMSUNG
!
Installing the product in an unusual place (a place exposed to a lot of fine
dust, chemical substances, extreme temperatures or a significant presence
of moisture, or a place where the product will operate continuously for an
extended period of time) may seriously affect its performance.
Be sure to consult Samsung Customer Service Centre if you want to
install the product at such a place.
9
Operation
Warning
There is a high voltage inside the product. Never disassemble, repair or
modify the product yourself.
A fire or electric shock may result.
Contact Samsung Customer Service Centre for repairs.
!
To move the product, first disconnect all the cables from it, including the
power cable.
Damage to the cord may result in a fire or electric shock.
!
If the product generates abnormal sounds, a burning smell or smoke,
disconnect the power cord immediately and contact Samsung Customer
Service Centre.
An electric shock or fire may result.
Do not let children hang from the product or climb on top of it.
Children may become injured or seriously harmed.
If the product is dropped or the outer case is damaged, turn off the power
and disconnect the power cord. Then contact Samsung Customer Service
Centre.
Continued use can result in a fire or electric shock.
Do not leave heavy objects or items that children like (toys, sweets, etc.) on
top of the product.
The product or heavy objects may fall as children try to reach for the
toys or sweets resulting in a serious injury.
!
During a lightning or thunderstorm, power off the product and remove the
power cable.
A fire or electric shock may result.
!
Do not drop objects on the product or apply impact.
A fire or electric shock may result.
Do not move the product by pulling the power cord or any cable.
Product failure, an electric shock or fire may result from a damaged
cable.
!
GAS
If a gas leakage is found, do not touch the product or power plug. Also,
ventilate the area immediately.
Sparks can cause an explosion or fire.
Do not lift or move the product by pulling the power cord or any cable.
Product failure, an electric shock or fire may result from a damaged
cable.
10
!
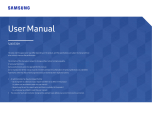
Do not use or keep combustible spray or an inflammable substance near
the product.
An explosion or fire may result.
Ensure the vents are not blocked by tablecloths or curtains.
An increased internal temperature may cause a fire.
100
Do not insert metallic objects (chopsticks, coins, hairpins, etc) or objects
that burn easily (paper, matches, etc) into the product (via the vent or input/
output ports, etc).
Be sure to power off the product and disconnect the power cord
when water or other foreign substances have entered the product.
Then contact Samsung Customer Service Centre.
Product failure, an electric shock or fire may result.
Do not place objects containing liquid (vases, pots, bottles, etc) or metallic
objects on top of the product.
Be sure to power off the product and disconnect the power cord
when water or other foreign substances have entered the product.
Then contact Samsung Customer Service Centre.
Product failure, an electric shock or fire may result.
Caution
!
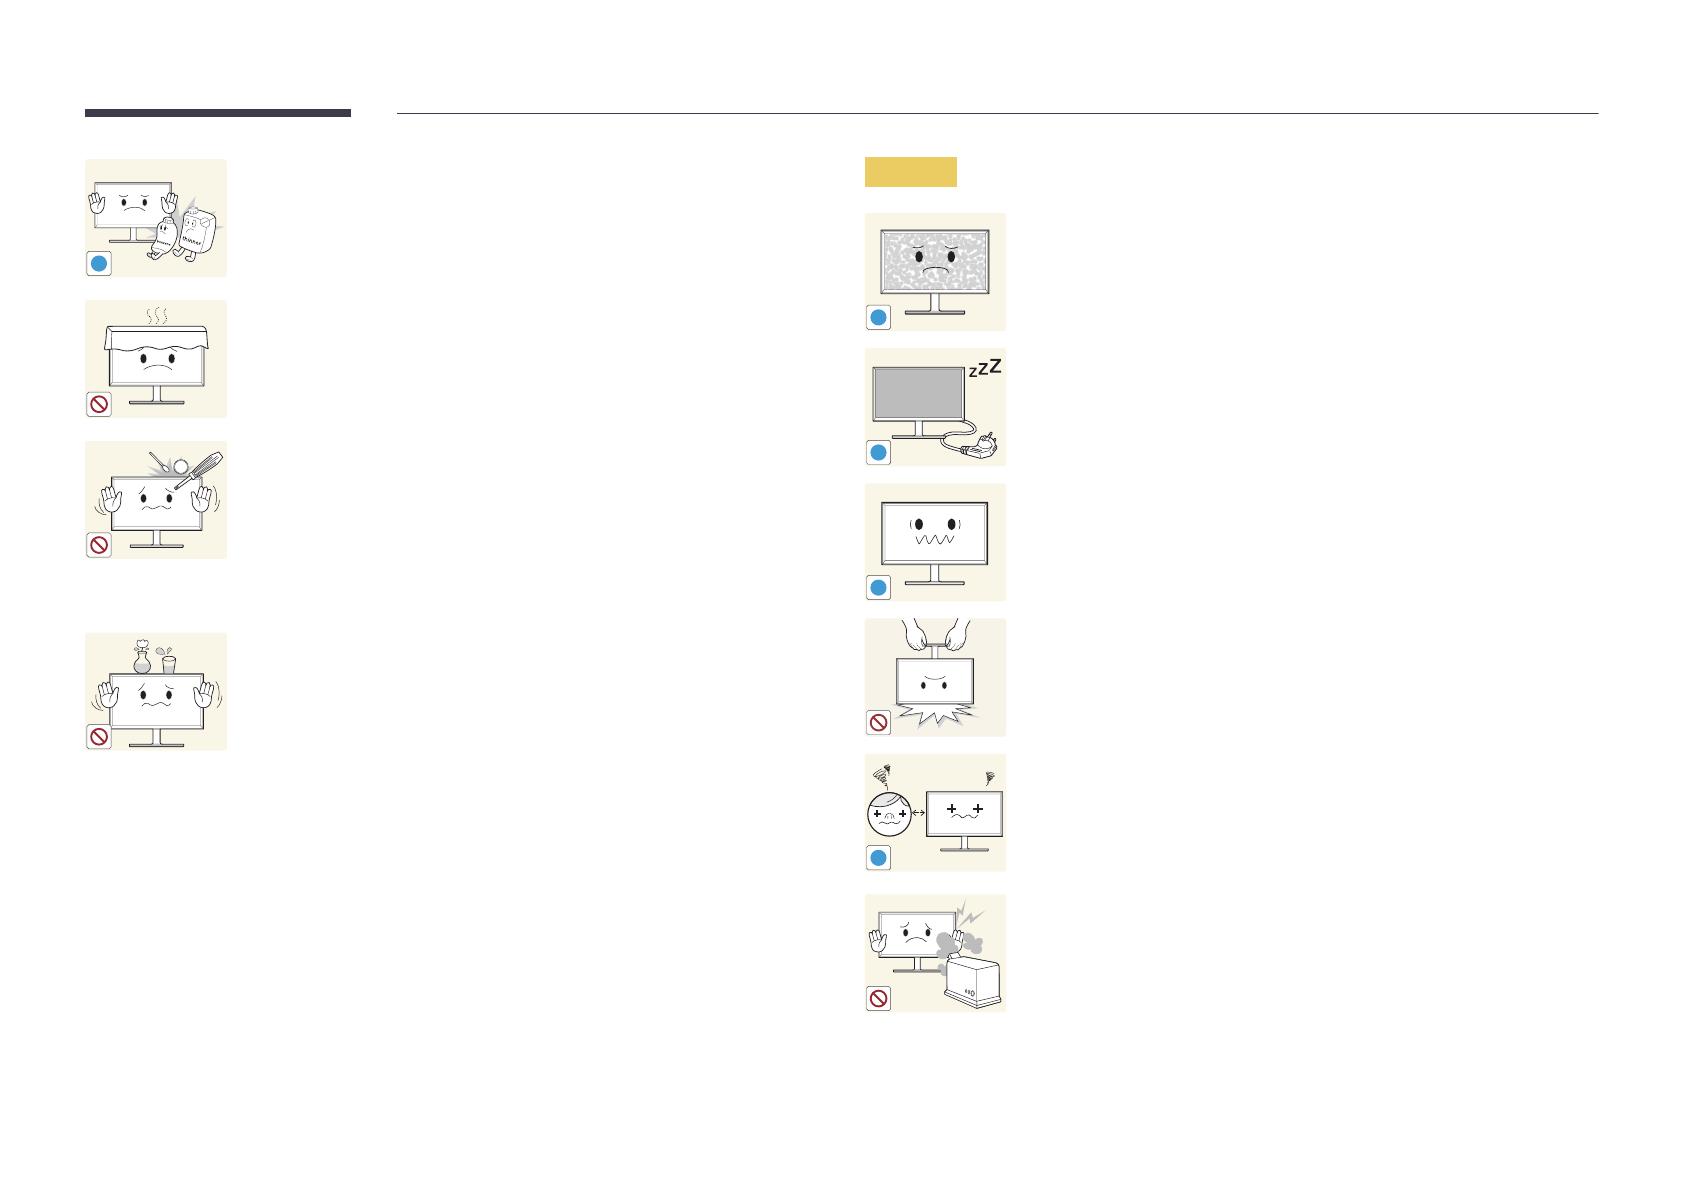
Leaving the screen fixed on a stationary image for an extended period of
time may cause afterimage burn-in or defective pixels.
Activate power-saving mode or a moving-picture screen saver if you
will not be using the product for an extended period of time.
-_-
!
Disconnect the power cord from the power socket if you do not plan on
using the product for an extended period of time (vacation, etc).
Dust accumulation combined with heat can cause a fire, electric shock
or electric leakage.
!
Use the product at the recommended resolution and frequency.
Your eyesight may deteriorate.
Do not hold the product upside-down or move it by holding the stand.
The product may fall and become damaged or cause an injury.
!
Looking at the screen too close for an extended period of time can
deteriorate your eyesight.
Do not use humidifiers or stoves around the product.
A fire or electric shock may result.
11
!
Rest your eyes for more than 5 minutes for every 1 hour of product use.
Eye fatigue will be relieved.
Do not touch the screen when the product has been turned on for an
extended period of time as it will become hot.
!
Store small accessories out of the reach of children.
!
Exercise caution when adjusting the product angle or stand height.
Your hand or finger may get stuck and injured.
Tilting the product at an excessive angle may cause the product to fall
and an injury may result.
Do not place heavy objects on the product.
Product failure or personal injury may result.
When using headphones or earphones, do not turn the volume too high.
Having the sound too loud may damage your hearing.
Correct posture to use the product
Use the product in the correct posture as follows:
Straighten your back.
Allow a distance of 45 to 50 cm between your eye and the screen, and look slightly downward at
the screen. Keep your eyes directly in front of the screen.
Adjust the angle so light does not reflect on the screen.
Keep your forearms perpendicular to your upper arms and level with the back of your hands.
Keep your elbows at about a right angle.
Adjust the height of the product so you can keep your knees bent at 90 degrees or more, your
heels attached to the floor, and your arms lower than your heart.
12
Preparations
Chapter 02
Checking the Components
-
Contact the vendor where you
purchased the product if any
components are missing.
-
The pictures may look different from the
actual components.
-
The optimal resolution may not be
available when using a non-high speed
HDMI or HDMI-DVI cable.
Components
Components may vary depending on the country.
Quick Setup Guide
Warranty card
(Not available in some
locations)
Regulatory guide User manual
Power cable (P.25)
DVI cable (Optional) (P. 22) USB 3.0 cable (P.27)
HDMI-DVI cable (Optional)
(P. 23)
HDMI cable (Optional) (P. 23) DP cable (Optional) (P. 24)
MINI DP cable (Optional) Cleaning cloth (Optional) Sound Bar (Optional)
13
Parts
Front Buttons
The colour and shape of parts may differ from what is shown. Specifications are
subject to change without notice to improve quality.
Function Key Guide
When the initial screen is displayed, tap any button on the front, except for the and buttons, to display the function
button screen.
Icons Description
Open or close the onscreen display (OSD) menu, or return to the parent menu.
If you tap the button when the function button screen is displayed, the OSD (On
Screen Display) menu will be displayed.
/
Move to the upper or lower menu or adjust the value for an option on the OSD menu.
When the Function Key Guide is displayed, press to adjust the Brightness and
Contrast, Volume.
Confirm a menu selection.
Pressing the button when the OSD menu is not displayed will change the input
source (DVI, HDMI, DisplayPort).
If you power on the product or change the input source by pressing the button,
a message that shows the changed input source will appear at the top left corner of
the screen.
Press to enable or disable Eye Saver Mode.
The items below are not available if the Eye Saver Mode function is enable.
Picture
SAMSUNG
MAGIC
Bright, Brightness, Color, Game Mode
System
Smart ECO Saving
Turn the screen on or off.
The power indicator will be lit when the product is operating normally.
For details on the power-saving function, refer to “PowerSaver(P. 70)” in the product
specifications.
To reduce power consumption, it is best to remove the power cable when not using
the product for an extended period of time.
14
Icons Description
Function Key Guide
When a control button on the product is pressed, the Function Key Guide will be displayed
before the onscreen menu opens.
(The guide shows the function of the button pressed.)
To access the onscreen menu when the guide is displayed, press the corresponding
button again.
The Function Key Guide may vary depending on the function or product model.
Refer to the actual product.
15
Reverse Side
The colour and shape of parts may differ from what is shown. Specifications are
subject to change without notice to improve quality.
Port Description
Connect the power cord for your monitor to the POWER IN port on the back of the
product.
DP IN
Connects to a PC using a DP cable.
Connects to a source device using an HDMI cable or HDMI-DVI cable.
Connects to a source device via a DVI cable.
The DVI IN terminal is supplied for the digital (DVI)-dedicated models only.
Connects to a PC using a USB cable.
This port can only connect to a PC.
Connect to a USB device. Compatible with a USB cable version 3.0 or lower.
Source devices can be charged using these USB ports.
Connect to an audio output device such as headphones.
Connect to speakers.
16
Installation
Attaching the Stand
The colour and shape of parts may differ from what is shown. Specifications are subject to change without notice to improve quality.
Before assembling the product, place the product down on a flat and stable surface so that the screen is facing downwards.
Warning: The product is curved. Placing pressure on the product when on a flat surface may damage the product. When the product is on the ground facing up or down, do not put pressure on it.
1
Place the protective Styrofoam (cushion) included in
the package on the floor and place the product facing
down on the Styrofoam, as shown in the image.
If Styrofoam is unavailable, use a thick sitting mat.
2
Insert the tabs of the stand into the slots on the back
of the product in the direction of the arrows.
3
Fasten the screws to tightly fix the stand.
4
After attaching the stand, place the product in an
upright position.
17
Removing the Stand
The colour and shape of parts may differ from what is shown. Specifications are subject to change without notice to improve quality.
Before assembling the product, place the product down on a flat and stable surface so that the screen is facing downwards.
Warning: The product is curved. Placing pressure on the product when on a flat surface may damage the product. When the product is on the ground facing up or
down, do not put pressure on it.
Power the product off and remove the power cable from the power socket.
1
2
3
Place the protective Styrofoam (cushion) included
in the package on the floor and place the product
facing down on the Styrofoam, as shown in the
image.
If Styrofoam is unavailable, use a thick sitting mat.
Unfasten the screw from the back of the
product.
Lift and detach the stand.
Caution
Do not place your hands in the swiveling area.
Do not put the hand below the stand body. Do not hold the product upside down only by the
stand.
18
Installing the Wall Mount
Installing the Wall Mount Kit
The wall mount kit allows you to mount the product on the wall.
Purchase a compatible wall-mount kit to use with the product.
For detailed information on installing the wall mount, see the instructions provided with the wall mount.
We recommend you contact a technician for assistance when installing the wall mount bracket.
Samsung Electronics is not responsible for any damage to the product or injury to yourself or others if you elect to install the
wall mount on your own.
19
Wall Mount Kit Specications (VESA)
Install your wall mount on a solid wall perpendicular to the floor. Before
attaching the wall mount to surfaces other than plaster board, please contact
your nearest dealer for additional information. If you install the product on
a slanted wall, it may fall and result in severe personal injury. Samsung wall
mount kits contain a detailed installation manual and all parts necessary for
assembly are provided.
A
B
For wall mounts that do not comply with the VESA standard screw specifications, the length of the screws may differ
depending on the wall mount specifications.
Do not fasten the screws too firmly. This may damage the product or cause the product to fall, leading to personal injury.
Samsung is not liable for these kinds of accidents.
Samsung is not liable for product damage or personal injury when a non-VESA or non-specified wall mount is used or the
consumer fails to follow the product installation instructions.
Do not mount the product at more than a 15 degree tilt.
Always have two people mount the product on a wall.
Standard dimensions for wall mount kits are shown in the table below.
Unit: mm (inches)
Model name VESA screw hole
specs (A * B) in
millimeters
Standard Screw Quantity
S24E650C / S27E650C 100 x 100 (3.9 x 3.9) M3 x L10 or smaller
(MACHINE SCREW)
4
Do not install your Wall Mount Kit while your product is turned on. It may result in personal injury due to electric shock.
20
Adjusting the Product Tilt and Height
The colour and shape of parts may differ from what is shown. Specifications are subject to change
without notice to improve quality.
-30° (0, -2°) - 30° (+2°, 0)
-1.5° (-1.5°, +1.5°) - 91.5° (-1.5°, +1.5°)
-5° (±2.0°) - 22° (±2.0°)
130 mm ±2.0 mm
The monitor tilt and height can be adjusted.
When adjusting the tilt and height, hold both sides of the product and avoid using excessive force
to prevent damage.
The rotation and height adjustment has a certain tolerance. Stay within the tolerances when
rotating or adjusting the height of the product.
Rotating the Monitor Screen
You can rotate your monitor as shown below.
1 2 3
4 5 6
Adjust the screen following the arrow direction.
Rotate the screen in clockwise direction till it becomes completely vertical to the desktop.
Rotating the screen counterclockwise can damage the product. Rotating the screen when the
product is upright or when the height is not at the maximum can also damage the product.
  • Page 1 1
  • Page 2 2
  • Page 3 3
  • Page 4 4
  • Page 5 5
  • Page 6 6
  • Page 7 7
  • Page 8 8
  • Page 9 9
  • Page 10 10
  • Page 11 11
  • Page 12 12
  • Page 13 13
  • Page 14 14
  • Page 15 15
  • Page 16 16
  • Page 17 17
  • Page 18 18
  • Page 19 19
  • Page 20 20
  • Page 21 21
  • Page 22 22
  • Page 23 23
  • Page 24 24
  • Page 25 25
  • Page 26 26
  • Page 27 27
  • Page 28 28
  • Page 29 29
  • Page 30 30
  • Page 31 31
  • Page 32 32
  • Page 33 33
  • Page 34 34
  • Page 35 35
  • Page 36 36
  • Page 37 37
  • Page 38 38
  • Page 39 39
  • Page 40 40
  • Page 41 41
  • Page 42 42
  • Page 43 43
  • Page 44 44
  • Page 45 45
  • Page 46 46
  • Page 47 47
  • Page 48 48
  • Page 49 49
  • Page 50 50
  • Page 51 51
  • Page 52 52
  • Page 53 53
  • Page 54 54
  • Page 55 55
  • Page 56 56
  • Page 57 57
  • Page 58 58
  • Page 59 59
  • Page 60 60
  • Page 61 61
  • Page 62 62
  • Page 63 63
  • Page 64 64
  • Page 65 65
  • Page 66 66
  • Page 67 67
  • Page 68 68
  • Page 69 69
  • Page 70 70
  • Page 71 71
  • Page 72 72
  • Page 73 73
  • Page 74 74
  • Page 75 75

Samsung S24E650C User manual

Category
TVs & monitors
Type
User manual

Ask a question and I''ll find the answer in the document

Finding information in a document is now easier with AI