Elkay
2222 Camden Court
Oak Brook, IL 60523
USA
©2013 Elkay
0000000998 (10/13)
www.elkayusa.com
ELKAY•2222 CAMDEN COURT•OAK BROOK, IL 60523 USA
SAVE FOR CONSUMER
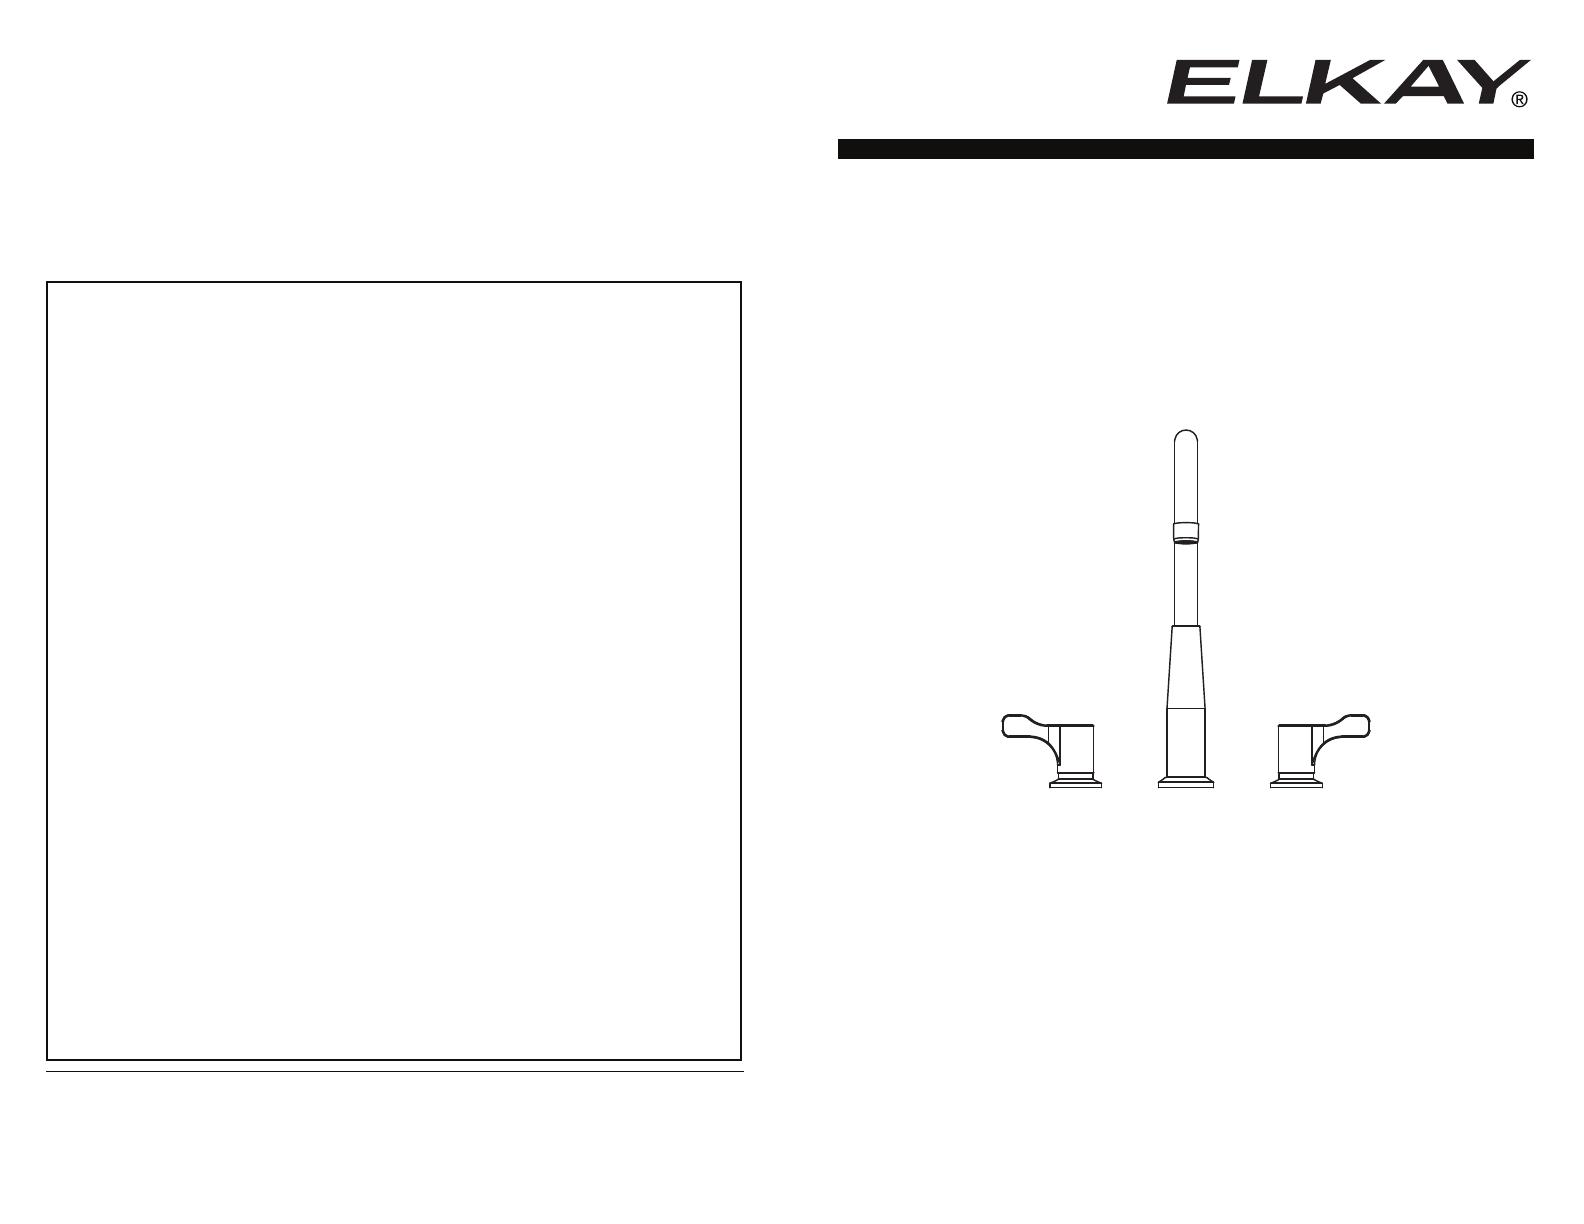
How to Install an
Undermount
Two-Handle Faucet
Limited Lifetime Functional and
Finish Warranty
Elkay warrants to the original consumer pur-
chaser that the Elkay faucet purchased will
be free from defects in material and workman-
ship for as long as the original consumer
purchaser owns the faucet. Elkay will, at its
option, supply replacement parts (or if no
longer available a comparable product) if the
faucet fails due to a defect in material or
workmanship. This warranty does not apply
in the event of product surface damage
caused by abuse, misuse or improper care
and maintenance. This warranty excludes
damage caused by harsh or abrasive cleaners
and/or materials. This warranty excludes all
industrial, commercial and business use,
whose purchasers are hereby extended a
limited lifetime on mechanical parts and 5
years on finish. Product replacement does
not include transportation cost or labor
installation cost. Elkay reserves the right to
examine product in question and its installa-
tion prior to replacement.
OTHER WARRANTY CONDITIONS
ON FAUCETS
Our warranty does not cover product failure
or damage caused by abusive treatment,
misuse, environmental factors, improper
care and cleaning, or damage due to han-
dling or faulty installations. This warranty is
extended only to the original consumer pur-
chaser of the product. This warranty does
not cover shipping costs, labor costs, or any
other charges for such items as installation
or replacement of the sink, diagnosis or
replacement of any faucet or component
part, or any other expense or loss.
All incidental or consequential damages
are specifically excluded. No additional
warranties, express or implied are given.
Any implied warranty, including one of
merchantability or fitness for a particular
purpose, is limited to the duration of this
written warranty.
Some states do not allow the exclusion or
limitation of incidental or consequential
damages or limitations on how long an
implied warranty lasts, so the above limita-
tions or exclusions may not apply to you.
This warranty gives you specific legal rights,
and you may also have other rights which
vary from state to state.
TO OBTAIN SERVICE
UNDER WARRANTY
1. Write to: Elkay
Attention: Consumer Services
2222 Camden Court
Oak Brook, IL 60523
2. Include a letter containing the following
information:
a. Date of purchase and installation
b. Description of nature of defect
c. Model number or description of model
and/or component part if possible.
ELKAY LIMITED LIFETIME FAUCET WARRANTY
ON RESIDENTIAL FAUCETS
Replacement parts available
by visiting web site
www.elkayusa.com