Brother MFC-J6545DW(XL) Quick setup guide

Category
Print & Scan
Type
Quick setup guide

This manual is also suitable for

NOTE
Manuals in Spanish for this model are available at support.brother.com.
Manuales en Español para este modelo están disponibles en support.brother.com.
Most of the illustrations in this Quick Setup Guide show the MFC-J6945DW.
• Save all packing materials and the box in case you must ship your machine.
• You must purchase the correct interface cable for the interface you want to
use. A USB cable is included in some countries.
USB cable
Use a USB 2.0 cable (Type A/B) that is no more than 16 feet (5 meters) long.
Ethernet (Network) cable
Use a straight-through Category 5 (or greater) twisted-pair cable for 10BASE-T or
100BASE-TX Fast Ethernet Network.
2
Load plain Letter/A4 paper
1
Unpack the machine and check the components
The components included in the box may differ depending on your country.
Remove the protective tape or film covering the machine.
Follow the touchscreen
instructions to unpack and install
the ink cartridges. Close the ink
cartridge cover. The machine will
prepare the ink tube system for
printing.
NOTE
Thersttimeyouinstalltheink
cartridges, the machine will use
extrainktolltheinkdeliverytubes.
This is a one-time process that
enables high-quality printing.
Follow the touchscreen instructions to configure the
machine settings:
• View operation tips
• Set Brother LCD Message defaults
• Check print quality
• Configure the tray or paper size settings
• Print the installation sheet
NOTE
You can adjust the control panel angle
to read the touchscreen more easily.
Quick Setup Guide
MFC-J6545DW / MFC-J6945DW
Read the Product Safety Guide first, then read this Quick Setup Guide
for the correct installation procedure.
3
Connect the
power cord
4
Install the starter ink cartridges
For MFC-J6545DW XL models: Insert the LC3039 Series Starter Ink Cartridges first.
6
Machine settings
D01D86001-01
USA/CAN
Version B
Starter Ink Cartridges
• Black
• Yellow
• Cyan
• Magenta
Quick Setup Guide
Product Safety Guide
Brother Installation Disc
Maintenance Sheet Telephone Line Cord
1. Press [Settings] > [All Settings] >
[Initial Setup] > [Local Language].
2. Press your language.
3. Press .
1. Press [Settings] > [All Settings] >
[Fax] > [Setup Receive] > [Receive Mode].
2. Press your preferred Receive Mode.
3. Press .
Store your name and fax number so the machine prints it on all
outgoing fax pages.
1. Press [Settings] > [All Settings] >
[Initial Setup] > [Station ID] > [Fax].
2. Enter your fax number (up to 20 digits) on the touchscreen,
and then press [OK].
3. Press [Name].
4. Enter your name (up to 20 characters) using the touchscreen,
and then press [OK].
5. Press .
8
Select your language
(if needed)
10
Set your Station ID
If you are not using your machine as a fax, go to
11
.
7
Connect the telephone line cord
If you are not using your machine as a fax, go to
8
.
For more information on using the fax feature, see the Online User’s Guide.
9
Select the correct
Receive Mode
If you are not using your machine as a fax, go to
11
.
The latest manuals are available at the Brother Solutions Center:
support.brother.com/manuals
Quickly shake just the black
ink cartridge horizontally
15 times as shown, before
inserting it into the machine.
Open the ink cartridge cover.
Pull the paper tray completely out of
the machine as shown by the arrow. Fan the paper well. Load the paper in the tray.
Adjust the paper guides.
Do not exceed this
mark (bbb).
Pull out the paper support
until it locks into place.
Slowly push the paper tray
completely into the machine.
5
Set the date
and time
Follow the touchscreen instructions to
set the date and time.
Watch our FAQ Videos for help
with setting up your Brother
machine.
support.brother.com/videos
Connect the telephone line cord.
Use the jack marked LINE and guide
the cord out the back of the machine.
Lift the scanner cover. Close the scanner cover.
© 2018 Brother Industries, Ltd. All rights reserved.
For FAQs, Troubleshooting, and to download software and manuals, visit support.brother.com. For product specifications, see the Online Users Guide.
11
Select a device to connect to your machine
12
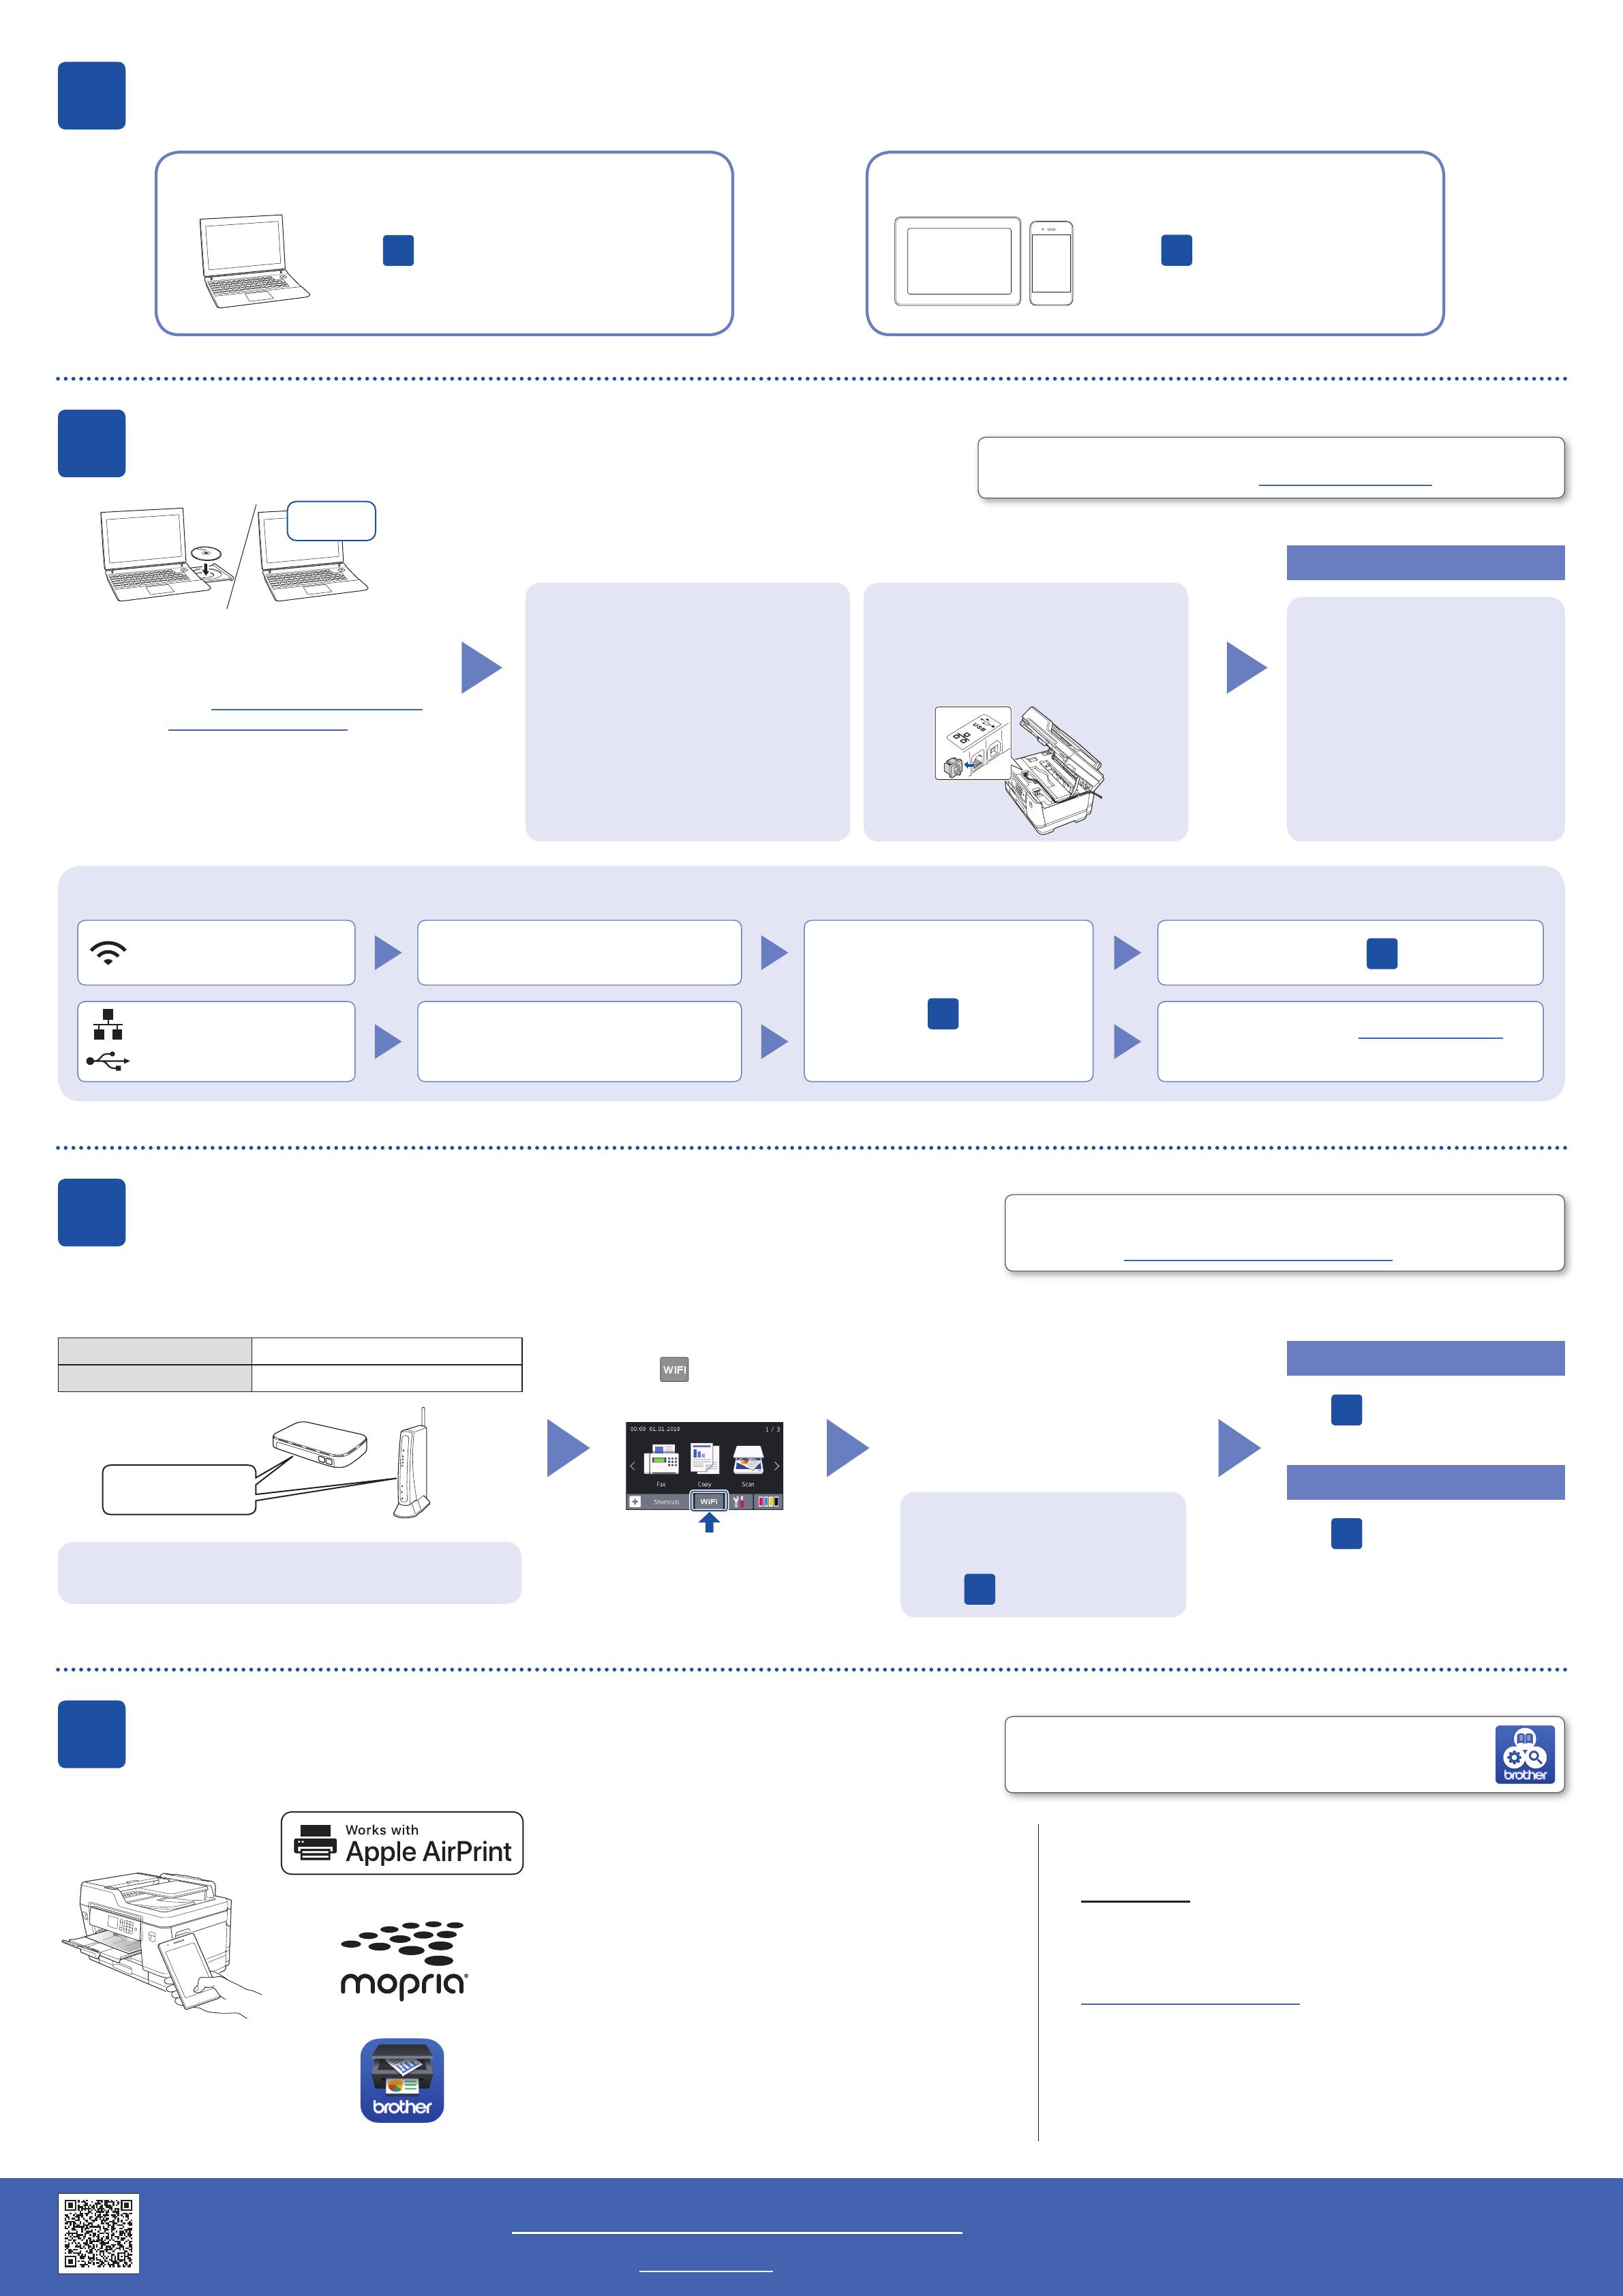
Connect your computer
13
Alternative wireless setup
14
Print or scan using your mobile device
Your mobile device must be connected to the same wireless network as your Brother machine.
D01D86001-01
Put the installation disc into your CD/DVD drive, or
download the Full Driver & Software Package at:
For Windows
®
: support.brother.com/windows
For Mac: support.brother.com/mac
If you are using a recently released operating
system on your computer, visit the above websites
for updated driver and software information.
Follow the on-screen instructions and prompts.
For Windows
®
:
If the Brother screen does not appear
automatically, go to Computer (My
Computer/This PC). Double-click the
CD/DVD-ROM icon, and then double-click
start.exe.
For Mac:
For full driver functionality, we recommend
choosing the CUPS driver when adding a
printer.
For Network Users: Important
Notice for Network Security
The default Web Based
Management password is located
on the back of the machine and
markedPwd”.
We recommend immediately
changing the default password to
use network tools/utilities securely
and to protect your machine from
unauthorized access.
If you cannot find this information, ask your network
administrator or wireless access point/router manufacturer.
If setup is not successful, restart
your Brother machine and your
wireless access point/router, and
repeat
13
.
Find your SSID (Network Name) and Network Key (Password) on your
wireless access point/router and write them in the table provided below.
Select the SSID (Network Name) for
your access point/router and enter the
Network Key (Password).
When the wireless setup is
successful, the touchscreen displays
[Connected].
Go to
12
to install software.
Go to
14
to install apps.
SSID (Network Name)
Network Key (Password)
Computer Mobile Device
Go to
12
and follow the instructions.
Go to
13
and follow the instructions.
For Computer
For Mobile Device
Finished
Can’t Connect? Check the following:
Brother regularly updates firmware to add features and apply bug fixes.
To check for the latest firmware, visit support.brother.com/up7.
Even if you do not have a wireless access point/router, you can connect
your device and your machine directly. For additional wireless network
support, go to support.brother.com/wireless-support.
Brother SupportCenter is a mobile app that provides the latest
support information for your Brother product.
Visit the App Store or Google Play™ to download.
Wireless network
Wired network
USB connection
Restart your wireless access point/router
(if possible).
If still not successful, go to
13
.
Disconnect the cable.
If still not successful, visit support.brother.com
for FAQs and Troubleshooting.
Restart your machine and computer,
and then go to
12
.
Go to your machine, and
press
> [Setu p
Wizard] > [Yes].
Additional Wireless Support: support.brother.com/wireless-support
Download
For Wired Network Connection and USB
Connection:
Locate the correct port (based on the
cable you are using) inside the machine
as shown.
SSID: XXXXXXX
Network key: XXXX
AirPrint is available for all supported iOS devices including
iPhone, iPad, and iPod touch. You do not need to download
any software to use AirPrint. For more information, see the
Online User’s Guide.
Download and install the Mopria
®
Print Service app from
Google Play™ using your Android™ device.
Optional apps
You can print from and scan to your mobile device using various
apps. For instructions, see the Online User’s Guide.
(USA only) For more information on apps, visit
www.brother-usa.com/connect.
Download and install our free application Brother iPrint&Scan
from a mobile application store, such as the App Store, Google
Play™ or Microsoft
®
Store using your mobile device.
1 / 1

Brother MFC-J6545DW(XL) Quick setup guide

Category
Print & Scan
Type
Quick setup guide
This manual is also suitable for

Ask a question and I''ll find the answer in the document

Finding information in a document is now easier with AI

Ask the document