Franke Consumer Products GL 66 M XS User manual

Type
User manual

This manual is also suitable for

Instructions for use and installation
Built-in multi-function oven with 6 cooking modes
Kullanım ve montaj talimatları
6 programçok fonksiyonlu ankastre fırın
GL 62 M XS
GL 66 M XS
GL 66 M NT XS
1
Contents
Introduction ............................................................................................... 1
Switching on the first ti
me ......................................................................... 1
Suggestions................................................................................................. 1
A close look................................................................................................ 2
Use............................................................................................................. 3
Cooking table............................................................................................. 8
Cleaning and maintaining the oven............................................................. 9
Service........................................................................................................ 11
Safety warnings .......................................................................................... 11
Installation .................................................................................................. 13
Installation instructions............................................................................... 14
Connection to power mains ...................................................................... 14
Technical data............................................................................................. 15
Introduction
Than
k y
o
u for choosing a
F
r
an
ke
product.
Before using the
appliance, please read the warnings and instructions in this manual. This will
make it easier to operate and also prolong its service life. Keep this booklet for further
reference.
Switching on the first time
When using the oven for the first time, run it empty with the
temperature knob set to
maximum and the door open for at least 40 minutes – make sure the room is well
ventilated during this procedure.
The odour produced during this procedure is produced by the evaporation of the substance
used to protect the oven during the period between manufacture and installation. The oven
can be used normally once this first procedure has been completed.
Suggestions
When cooking food, do not place it in the oven when the oven is cold; rather, allow it to
reach the set temperature be
fore placing the food in it.
During cooking, never place pans or containers directly on the oven floor; place them on
the provided grills or drip trays in one of the five provided shelves; Failure to observe this
precaution can damage the oven's internal enamelling.
Do not cover the walls of the oven with aluminium foil, especially in the lower part of the
cooking compartment.
Any repairs must be done by Franke authorised service centre.
In case of need, contact our local service centre and use only original spare parts.
Your Franke oven uses a special enamel which is easy to keep clean; make sure to clean it
frequently to avoid baking on dirt and cooking residue.
Self-cleaning panes (if any) can be cleaned with soap and water (see cleaning instructions).
Note: - before switching on the oven, read the Timer Instructions.
- if the oven is equipped with an automatic cooking or switching off programmer, select
the “manual” option indicated by the symbol to use the oven manually .
Timer Instruction....................................................................................... 4-7
2
A close look
Control Panel
Program selector knob
Selects the mode of opera
tion of the oven depending on the type of
cooking desired. When the knob is set to a program, the oven's internal
light lights up to show that the oven is on.
Timer / Programmer
Franke ovens have a variety of methods of monitori
ng and controlling
cooking times, consult pag.4 for specific detailed instructions; after you
have identified the type of control provided by your oven, you will find full
instructions on how to use it
Thermostat indicator light
Highlighted by the symbol this indicates that the electrical heating
ele
ments are on. The indicator light turns off when the set temperature
has been reached, and turns back on again when the heating elements are
switched on again. Use this light to check that the oven is at the correct
temperature before inserting the food.
Temperature regulator knob (Thermostat)
Sets the temperature required for the type of food being cooked, and
ensures that it is kept constant throughout the cooking cy
cle. To select
the temperature, turn the knob clockwise so that the index mark
indicates the temperature in question. Maximum temperature is around
260°C.
Drip tray and grille guides
Used for
locating the grilles and drip tra
y
s in
the f
iv
e
av
a
ila
bl
e positions (1
to 5 starting from the bottom); the cooking table indicates
which position gives best results for each type of cooking.
Drip tray
Normally used for col
lecting juice from roasts or for cooking food
directly; the drip tray can be removed from the oven if not required. The
drip trays are constructed in AA enamelled food safe steel.
Grid
Used for supporting pans, pastry mo
ulds, and any containers other than
the provided drip trays, and especially for cooking with the meat and fish
grill and fan grill functions, toasting bread, etc.
A
B
C D
E
F
G
H
I
I
H
G
GL62M XS
GL66M XS - GL66M NT XS
A
E
B
C
F
A
E
B
D
F
F
B
3
Use
This oven combines the adv
antages of traditional “static” natural convection ovens with
those of modern “fan ovens”. It is an extremely versatile appliance which allows for easy
and safe selection of 5 different cooking methods. Use knobs (B) and (F) on the control
panel to select the program and temperature. For best results from your Franke oven,
consult the cooking table pag. 19.
Cooling fan
In or
der to
reduce th
e
temperature at t
h
e front of the
oven, the cont
rol
panel
and side
panels, Franke ovens are equipped with a cooling fan which automatically turns on when
the oven is hot. When the fan is running, you will notice hot air blowing from the front of
the oven between the front panel and the oven door; Franke has made sure that the air jet
does not disturb the kitchen environment and that noise is kept to a minimum.
To protect the surrounding kitchen units, the fan keeps running after cooking
until the oven has cooled down.
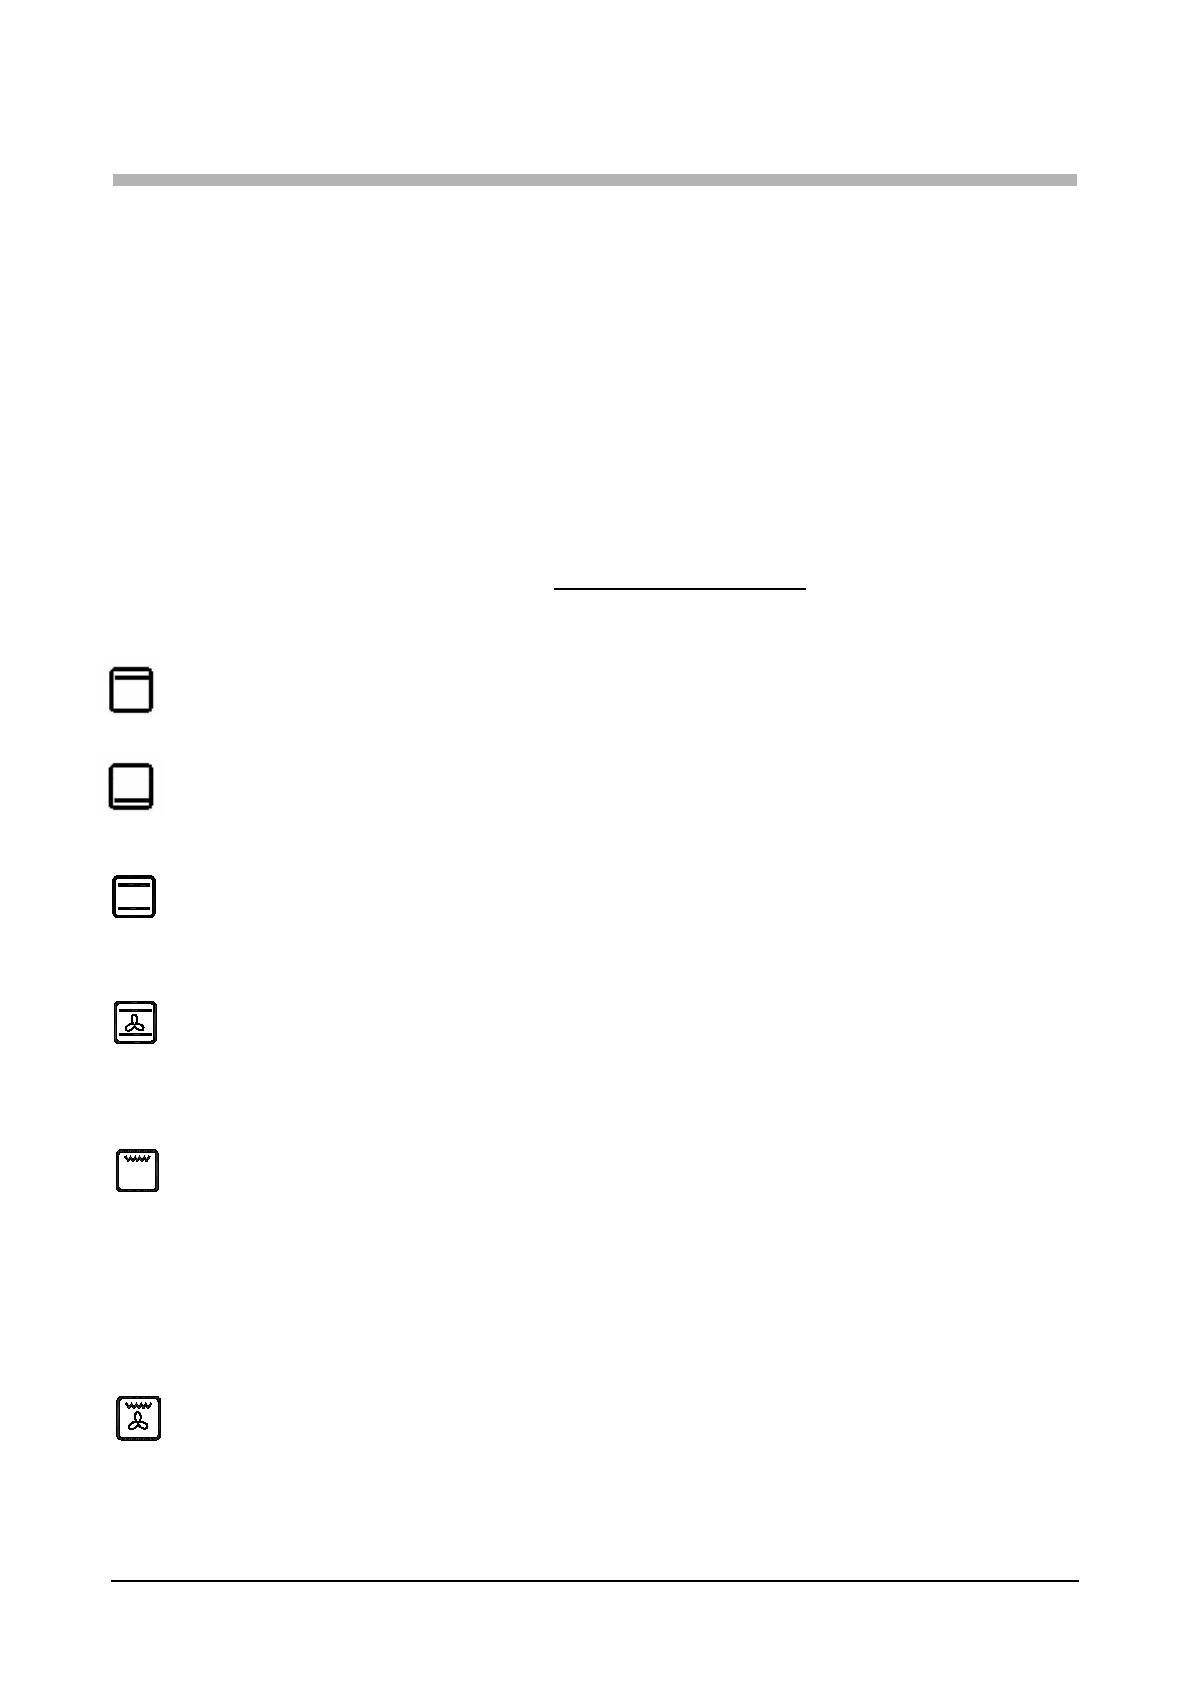
Cooking programmes
Natural static cooking
Set the thermostat knob (F) to between 50°C and Max (250°C).
The he
at source is both above the food (roof heating element) and below it (floor heating
element). This is the traditional cooking method which results in uniform cooking on a
single shelf.
Fan cooking
Set the thermostat knob (F) to between 50°C and Max (250°C).
This turns on the top (roof) element, the bo
ttom (floor) element and the fan.
The resulting constant, even heat cooks and browns the food uniformly. With this mode,
you can also cook various dishes at the same time, on up to a maximum of 2 different rack
heights.
Grill
The thermostat knob (F) should normally be set to Max (250°C), although a
lower temperature can be set, i
n which case grilling will be slower.
The grill heating element at the top of the oven turns on. In this case the fast surface cooking due
to infrared radiation keeps the interior of the meat tender; the grill can also be used quickly
toasting up to 9 slices of bread. Franke ovens, for safety reasons, are intended to grill food with
the oven door completely closed.
Warning: the grill heating element is very hot when in use; take care not to touch it
accidentally when handling the food; Franke has designed the opening of the oven
compartment in such a way as to protect your hands.
Fan grill cooking
The thermostat knob (F) should normally be set to Max (250°C), although a
lower temperature can be set, i
n which case grilling will be slower.
The grill heating element at the top of the oven turns on, as well as the fan. This combines
unidirectional heating with fan driven distribution of the air throughout the oven. It thus
prevents burning the surface of the food and increases penetration of the heat. This
function gives excellent results for mixed meat and vegetable kebabs, sausages, pork ribs
and lamb chops, devilled chicken, quail with sage, pork fillets, etc...
Select termo
stat tempereture from between 50°C to 250 °C for keeping
Select the desired tempereture between 50°C to 250 °C. Suitable for very
or gently reheating.
slow cooking and
warming up of food.
cooked food
warm
Top Element only
Bottom Element only
4
End Cooking Timer Knob
The end cooking timer is a practical device that turns
the oven off automatically at a set time, ranging from
one to 90 minutes. To use the end cooking timer
, the
ringer must be wound up by turning knob (C) almost
one full turn clockwise; now turn back to the time
setting you require (align the index mark on the front
panel with the corresponding number on the knob).
When the cooking time has expired, in addition to the
timer ringing, the oven is automatically turned off.
N.B. The oven will stay hot at around the set
temperature for a considerable period of time after it
has been switched off; to avoid overcooking or
burning the food, remove it from the oven
immediately.
Warning: to use the oven in manual mode, i.e. without using the end cooking
timer, you should align the symbol on the knob with the reference mark
on the control panel. When the oven is turned off, the end cooking timer can
be used just like a normal minute minder.
The electronic cooking timer
C
button, a small
triangle between the hours and minutes will start to flash, use the or buttons for
adjustment. Long presses of those buttons will enable fast adjustments.
1) Switch into time
Adjust the ti een will be
+ or – buttons. nds.
2)
adjustment mode.
the
me using 3) Scr
stabilized in 5 seco
ADJUSTING THE BUZZER ALARM
With this feature, you can program after how much elapsed time you should be warned
by a buzzer sound.
1) Switch into buzzer alarm 2) Give in the period of 3) After a few seconds screen
mode. time to be counted down will return to clock mode
Note: Once programmed, the remaining time can be seen by pressing the
button
once
TIME OF DAY ADJUSTMENT
You can adjust the displayed time only if no automatic cooking program is in progress
(there is just the time and the hand icon on the screen). Press the
Defrost: When the termostat is in off position, perform the oven in upper+bottom+fan position or
gril+fan position
5
CANCELLING THE BUZZER SOUND
1) Buzzer will sound after the programmed 2) Press the button to cancel.
amount of time elapses.
AUTOMATIC COOKING PROGRAM
If you want to start cooking immediately, you just have to give in the cooking time.
Example: We placed our food into the oven and want it to be cooked for 2 hours and 15
minutes.
1) Current time is 18:30. 2) Switch into cooking time 3) Adjust the cooking time using
mode.
the + or – buttons.
Now, you have programmed your
oven to cook the food for 2 hours
and 15 minutes. Please do not
forget to bri ng the function and/or
temperature knobs of your oven to
appropriate positions.
4) After a few seconds, the screen
will indicate that cooking has
started and show the current time
Note: You may cancel the automatic cooking mode any time by pressing the button.
In the above example, cooking immediately started after giving in the cooking period. By
pressing the
button, you can see the ready time , ie. the time when the food will be
ready to serve, and if you want, you can al so change it. In the example below, the ready
time will be changed to 21:30.
1) Displayed is the ready 2) Set it to the desired time 3) In a few seconds, screen
time 18:30+2:15=20:45. by using the + or – buttons. switches to clock mode.
6
We now have programmed our oven to get the food ready at 21:30. Since the cooking
time was preprogrammed as 2 hours 15 minutes, your oven will start cooking at 19:15, so
that the food is ready at 21:30.
Screen just when cooking starts Screen just when cooking ends
When automatic cooking is completed, a buzzer alarm is heared and will sound, if not
stopped, for 7 minutes.
1) Switch your oven OFF
2) Reset the timer.
Note: Your oven will be inoperative until you reset the timer.
In the example shown, cooking time has been progr ammed first, the ready time was
calculated automatically and was editted by us. It is also poss ible first to program the
ready time, in that cas e the cooking time will be calculated automat ically and should be
editted thereafter.
During the automatic cooking program, the backlight color of the screen will be green
before and red during cooking.
IN CASE MAINS POWER LOSS
Mains power interrupts will switch your oven into OFF mode. In that case the hand icon
on the screen will flash and 12:00 will be displayed. Any cooking program will also be
cancelled. Press the
button to get your oven operative, press once again to the
button switch to adjust the clock (See TIME OF DAY ADJUSTMENT)
Note: If you will not use your oven right now, be sure that it is in OFF position.
FLASHING HAND ICON INDICATES THAT YOUR OVEN IS INOPERATIVE AND YOU
SHOULD PRESS THE
BUTTON TO RESET
BUZZER VOLUME ADJUSTMENT
1) Long press the button 2) Using the + or – buttons, 3) Save your selection by
for 5 sec, you will hear the you may adjust the volume pressing the
button.
current tone. (3 steps available).
BUZZER TONE ADJUSTMENT
Press the button for 5 seconds ( till you see ‘pr 1’ on the screen).
Press the
button to decrease buzzer volume
Press the
button to increase buzzer volume (default is already high)
Press the
button to record the last heard tone.
CREATING YOUR BACKLIGHT COLOUR
Press the button for 5 seconds (till display indicates 'r xx' , where xx is a number between
00 and 100 indicating the red content)
Press the
or button to change the red colour content on the display between 00 and 100
You may press
button to switch to green and blue and make the same colour content
adjustment via or as in red.
When desired colour is obtained, press the button for 5 seconds to record it.
Note: To exit without recording press the
button .
AUTO BACKLIGHT COLOUR CHANGE in AUTO MODE ON/OFF
Press the button for 5 seconds ( till display indicates ON or OFF). Backlight colour change
option toggles from ON to OFF or vice versa.
If this option is ON, backlight colour is red during cooking, green as waiting the cooking time
in auto mode. If this option is OFF, backlight colour doesn't change at auto mode.
BACKLIGHT ON/OFF
Press the button 5 second (till display indicates ON or OFF). Backlight option toggles from
ON to OFF or vice versa.
If this option is ON, backlight is always ON. If this option is OFF, backlight is OFF at manual
status. Backlight will be turned on for 15 seconds when a valid button is pressed.
CLICK ON/OFF
Press the button for 5 seconds (till display indicates ON or OFF). Click option toggles from
ON to OFF or vice versa.
If this option is ON, click is heard when a button is pressed. If this option is OFF, no click tone
is produced.
RETURN to DEFAULT SETTINGS
Press the button for 10 seconds (until ‘pr d’ appears on the display ).
Defaults :
Buzzer : high tone
Backlight colour : 0% red, 50% green, 100% blue ( light blue tone )
Backlight colour changing at auto mode : ON
Backlight : ON
Click tone : ON
7
.
8
Cooking table
Note: the instructions in the table below result from cooking tests carried out by a team of professional chefs.
They
are only given as a guideline and can be changed according to personal tastes.
Setting the
selector
knob
Type of food Weight
(Kg
)
Shelf
position
Pre-
heatingtime
(min.)
Setting the
thermostat
knob
Cooking
duration
(min.)
Natural
static
cooking
Lamb
Roast Pork
Roast Veal
Omelette
Fruit
Hake-Sea bream-Turbot
Ordinary bread
Pies
Freshwater fish
Polenta with sauce
Soft Fruit Pies
Ricotta Cakes
Plain Cakes
Vegetables
1
1
1
1
1
1
1
1
1
1
0.5
1
0.5
0.5
3
3
3
2
3
3
2-4 cont.
2
3
2
4
2
4
2
9.5
9.5
10.5
10.5
9.5
9.5
9.5
10.5
10.5
9.5
9.5
9.5
9.5
9.5
180
180
200
200
180
180
175
200
200
180
180
180
180
180
95-100
70-80
140-150
25-30
25-30
20-25
25-30
35-40
30
25-30
25-30
25-30
60
35-40
Fan cooking Saddle of pork
Roast Veal
Baked rabbit
Crescia Marchigiana
(quick flat bread)
Omelettes
Baked Lobsters
Hake-Sea Bream-Trout
Ordinary Bread
Potato Bread
Yellow Saffron Bread
Freshwater fish
Baked Vegetable Dishes
Tuna
Fruit Pies
Savoury Pies
Baked Vegetables
1
1
1
1
0.5
0.5
1
1
1
1
0.5
1
1
1.5
1
1
3
2
2
2
3
3
2-4 cont.
2-4 cont.
3
2
2
2-4 cont.
2
2
3-5 cont.
3-5 cont.
9
10
9.5
10
10
10
7.5
9
9
10
8.5
10
9
9
9
9
180
200
190
200
200
200
150
180
180
200
170
200
175
175
180
180
75-80
80
55-65
25-30
25
20-25
25-30
25-30
20-25
30-35
25-30
25-30
20
30-35
30-35
40
Grill Chicken Wings
Chops
Scallops
Roast Potatoes
Freshwater fish
Tomatoes au Gratin
Eel kebabs
Turkey kebabs
1
0.8
0.5
1
1
0.5
0.5
0.5
4-5 cont.
3
3 or 4
3
3 or 4
2 or 3
3
4
7
7
7
7
7
7
7
7
Max
Max
Max
Max
Max
Max
Max
Max
25-30
20-25
14-16
20-25
25-30
20
20-25
20-25
Fan grill
cooking
Chicken legs
Pork Ribs
Guinea Fowl
Sea bream en papillote
Chicken
Quails
Sausages
Vegetables
1
0.5
1.2
1
1.5
0.8
1
1
4 or 5
4
4
3
3
4
4
4 or 5
11
15
15
8.5
15
15
15
15
220
Max
Max
200
Max
Max
Max
Max
20-25
40-45
30-35
20
35-40
30-35
20-25
10-15
9
Cleaning and maintaining the oven
Important
Before maintaining the oven, al
ways remove the power plug from its mains socket or
switch off power with the master power switch.
The stainless steel and enamelled parts of the oven will stay as good as new if regularly
cleaned with water or special detergents, make sure to dry them carefully after
cleaning.
Never use scouring pads, steel wool, muriatic acid or other products which could
scratch or mark the surface. Do not use steam cleaners.
Stains on the base of the oven, due to various cooking products (sauces, sugar, egg
white and fats) are always produced by spills and splashes. Splashes occur during
cooking and the result of cooking at too high a temperature, while spills are due to the
use of insufficiently capacious cooking vessels or an incorrect estimate of increases in
volume during cooking. These two problems can be solved by using cooking vessels
with high borders or by using the provided drip tray. As regards cleaning the lower part
of the oven, clean off any stains when the oven is still slightly warm; the longer you
delay cleaning them off, the harder it is to remove them.
Cleaning the oven door
The oven door must be cleaned, both inside and out, when the oven
is completely cold using
hot water. Do not use abrasive cloths. Clean the glass with special detergent.
Clean the enamelled surfaces, and the oven interior, with hot water and non-abrasive
detergent.
Replacing the oven light
Franke ovens are equipped with a circular
lamp positioned on the top left at the back of
the compartment.
Replace the oven light as follows:
- Switch off power to the appliance with the master power switch used in connecting the
oven to the mains supply, or by removing the plug from the mains socket, if it can be
reached.
- Unscrew the glass cover (A).
- Unscrew the bulb and replace with a high temperature resistant bulb (300°C) of the
following type:
Voltage: 220/230V - 50Hz
Power: 15W
Fitting: (E14) small
- Refit the glass cover (A) and reconnect the power supply.
A
10
R
emoving the oven door
Removal oven door for easy cleaning
Before cleaning the oven door, we advise you to
follow below steps to
seperate oven door from the oven body:
1. Open the door completely. Dismount the locking part on the hinge by
lifting with screwdriver.
2. Push the locking part in the direction of the glass door to the hinge body.
3. Open the glass door to the back slightly and insert the locking part
to it’s place on hinge. Make sure that this is done on both for left and
right hinges.
4. Lift the door slightly and pull the door with your two hands to
seperate from the oven.
Inserting the oven door
After cleaning, for inserting oven door to oven body it is recommended
to apply below steps:
1. Hold the door in open position and insert the hinge to hinge counter part.
2. Open the glass door to the back slightly for getting the locking part
and then push ahead and lock with screwdriver.
3. Open and close the door to make sure that it has been fitted
correctly.
Don't work the oven unless install the glass door
11
Service
In case of malfunction, contact a Franke Techni
cal Service Centre (see attached list).
Do not call in unauthorised technicians.
When contacting the Service Centre, quote the following information:
–Type of fau
lt;
Appliance model (Art.);
Serial number (S.N.);
This information is given on the appliance dataplate on the warranty certificate.
Safety warnings
Always contact a Franke Technical Service Centre in the following conditions:
To ensure safe, efficient operation of the appliance:
always have the appliance serviced by a Franke Authorised Service Centre
always insist on the use of original spare parts
The appliance is designed for non-professional, domestic use; do not attempt to
modify its specifications.
The dataplate is marked with symbols indicating the countries for which the
instructions apply
The electrical safety of the oven is only guaranteed when the appliance is effectively
earthed, as required by established legislation.
Do not touch the heating elements or the door when the oven is on, as they
reach very high temperatures. Keep children away from the oven when it is in
use.
Do not allow children to touch:
- the controls or the appliance itself;
- the
packing elements (bags, polystyrene, staples, etc.);
- the oven in use, and immediately after use, while it is still hot;
- the appliance when not in use (at which time the otherwise hazardous components are
no longer a source of risk).
12
Do not:
- touch the appliance with wet hands or other parts of the body;
- use the appliance when barefoot;
- pull th
e appliance or power cable to remove the plug from the power socket;
- use the appliance in an unsuitable or hazardous manner;
- block the ventilation and cooling vents;
- route the power cables of other appliances across the hot parts of the appliance;
- expose the oven to atmospheric agents (rain, sun);
- use the oven to store objects of any kind;
- use flammable fluids in the proximity of the appliance;
- use adapters, multiple-sockets and/or extension leads;
- install or repair the appliance without the aid of an authorised technician.
- installation (to the manufacturer's instructions);
- doubt regarding the operation of the appliance;
- replacement of the power socket if incompatible with the appliance's plug,
Contact a Franke Authorised Service Centre in the following cases:
- immediately after having removed the packaging, if you have doubts about the
condition of the applian
ce;
- replacement of or damage to the power cable;
- malfunction or poor operation; always insist on original spare parts.
Observe the following precautions:
- only use the appliance for cooking food, and for no other purposes;
- b
efore cleaning or servicing the oven or in case of malfunction, disconnect the
appliance from the electrical power supply;
- use oven gloves for placing cooking dishes in the oven or removing them;
- since the ends of the door handle may be hotter due to jets of hot air, always grasp it at
its centre;
- always check that the control knobs are in the off position when the oven is not in use;
- should you decide to stop using the oven, disconnect it from the mains.
The manufacturer is not liable for damages resulting from: incorrect installation,
improper, incorrect or unreasonable use.
contact with your electrician.
13
Installation
Important: installat
ion must be done in compliance with established standards and
regulations. It must be done by a Franke Technical Service Centre
Kitchen unit requirements
For built-in units, the components
(plastic materials and wooden
veneer) must be assembled with
heat resistant adhesive
(max
100°C): unsuitable materials and
adhesives can result in warping and
failure of the adhesive. The unit
must allow sufficient room for the
electrical cabling. The unit must be
robust enough to support the
weight of the appliance.
The oven must be securely installed
in the compartment. The oven may
be installed in a column unit or
underneath the top of a modular
unit, so long as sufficient ventilation
is provided.
14
Installation instructions
Connection to power mains
FRANKE ovens are equipped with a three pole power
cable with free terminals.
If the oven is permanently connected to the power supply, install a device to ensure that it
is disconnected from the power supply, with a contacts opening distance (of at least 3
mm) to ensure total disconnection in conditions of category III overvoltage. Make sure:
a) the plug and socket are suitable for a 16A current
b) both are easily accessible and positioned so that no live part can be accessed when
inserting or removing the plug
c) the plug can be easily inserted
d) when plugged in, the oven doesn't rest against the plug when installed in the cabinet
e) the same socket must not be used for two plugs
f) a 3 x 1.5 mm2 cable
type
H05VV-F should b
e used to replace
the power cable
g) the polarity of connection of the free terminals must be
respected
(Brown=Phase – Blue=Neutral – YellowGreen=Earth)
N.B: make sure that the characteristics of your power system
(voltage, maximum power and current), are compatible with
those of your FRANKE oven.
Place the appliance in the compartment; secure the oven to the unit with
the 4 screws provided, through the holes in its side panels.
If the oven is to be fitted underneath a cooktop, first turn the cooktop
assembly (R) to the right or left so that the oven fits properly.
BLU
MARRONE
BROWN
BLUE
GIALLO-VERDE
YELLOW-GREEN
L
N
15
Technical data
INFORMATION FOR USERS
Pursuant to the article of Legislative Decree n. 15, of 25th July
, Actuation of Directives 2002/95/
EC, 2002/96/EC and 2003/108/EC, concerning a reduction in the use of dangerous substances in
electric and electronic appliances, as well as waste disposal”
The symbol of the barred dustbin shown on the appliance indicates that at the end of its useful life it must be
collected separately from other waste.
The user must therefore contact a waste sorting company specialized in the collection of electronic and
electrical appliances, to consign the product.
Proper waste sorting for subsequent recycling of parts and materials, and disposal compatible with the
environment contributes to prevent possible negative effects on public health and the environment and
facilitates the reuse of the materials used to produce the appliance.
Improper disposal may subject the user to the fines indicated in the Legislative Decree. n. 22/1997” (article 50
and thereafter of Leg. Decree n. 22/1997).
Useable dimensions of the oven:
435 mm. wide
424 mm. deep
315 mm. high
Useable volume of the oven:
58 litres
Consumption (static operation):
 0. kWh
Consumption (fan operation):
0.7 kWh
Power voltage and frequency:
20V ~ 50Hz
Total power and fuse rating:
2,500kW - 16A
Heating element power:
roof 1200 W
floor 1300 W
grill 2000 W
fan 30 W
oven light 1 x 15 W
tangential fan 15 W
The appliance complies with the
following EU Directives:
–//EEC
 (LowVoltage);
– 89/336/EECof
//(Electromagnetic
Compatibility)



  • Page 1 1
  • Page 2 2
  • Page 3 3
  • Page 4 4
  • Page 5 5
  • Page 6 6
  • Page 7 7
  • Page 8 8
  • Page 9 9
  • Page 10 10
  • Page 11 11
  • Page 12 12
  • Page 13 13
  • Page 14 14
  • Page 15 15
  • Page 16 16
  • Page 17 17
  • Page 18 18
  • Page 19 19
  • Page 20 20
  • Page 21 21
  • Page 22 22
  • Page 23 23
  • Page 24 24
  • Page 25 25
  • Page 26 26
  • Page 27 27
  • Page 28 28
  • Page 29 29
  • Page 30 30
  • Page 31 31
  • Page 32 32

Franke Consumer Products GL 66 M XS User manual

Type
User manual
This manual is also suitable for

Ask a question and I''ll find the answer in the document

Finding information in a document is now easier with AI