Page 14 Wood Stove - Owner's Manual
ENGLISH
If the ashes are disposed of by burial in soil or otherwise locally dispersed, they should be kept
in a closed metal container until they are completely cooled. No other waste should be placed
in this container.
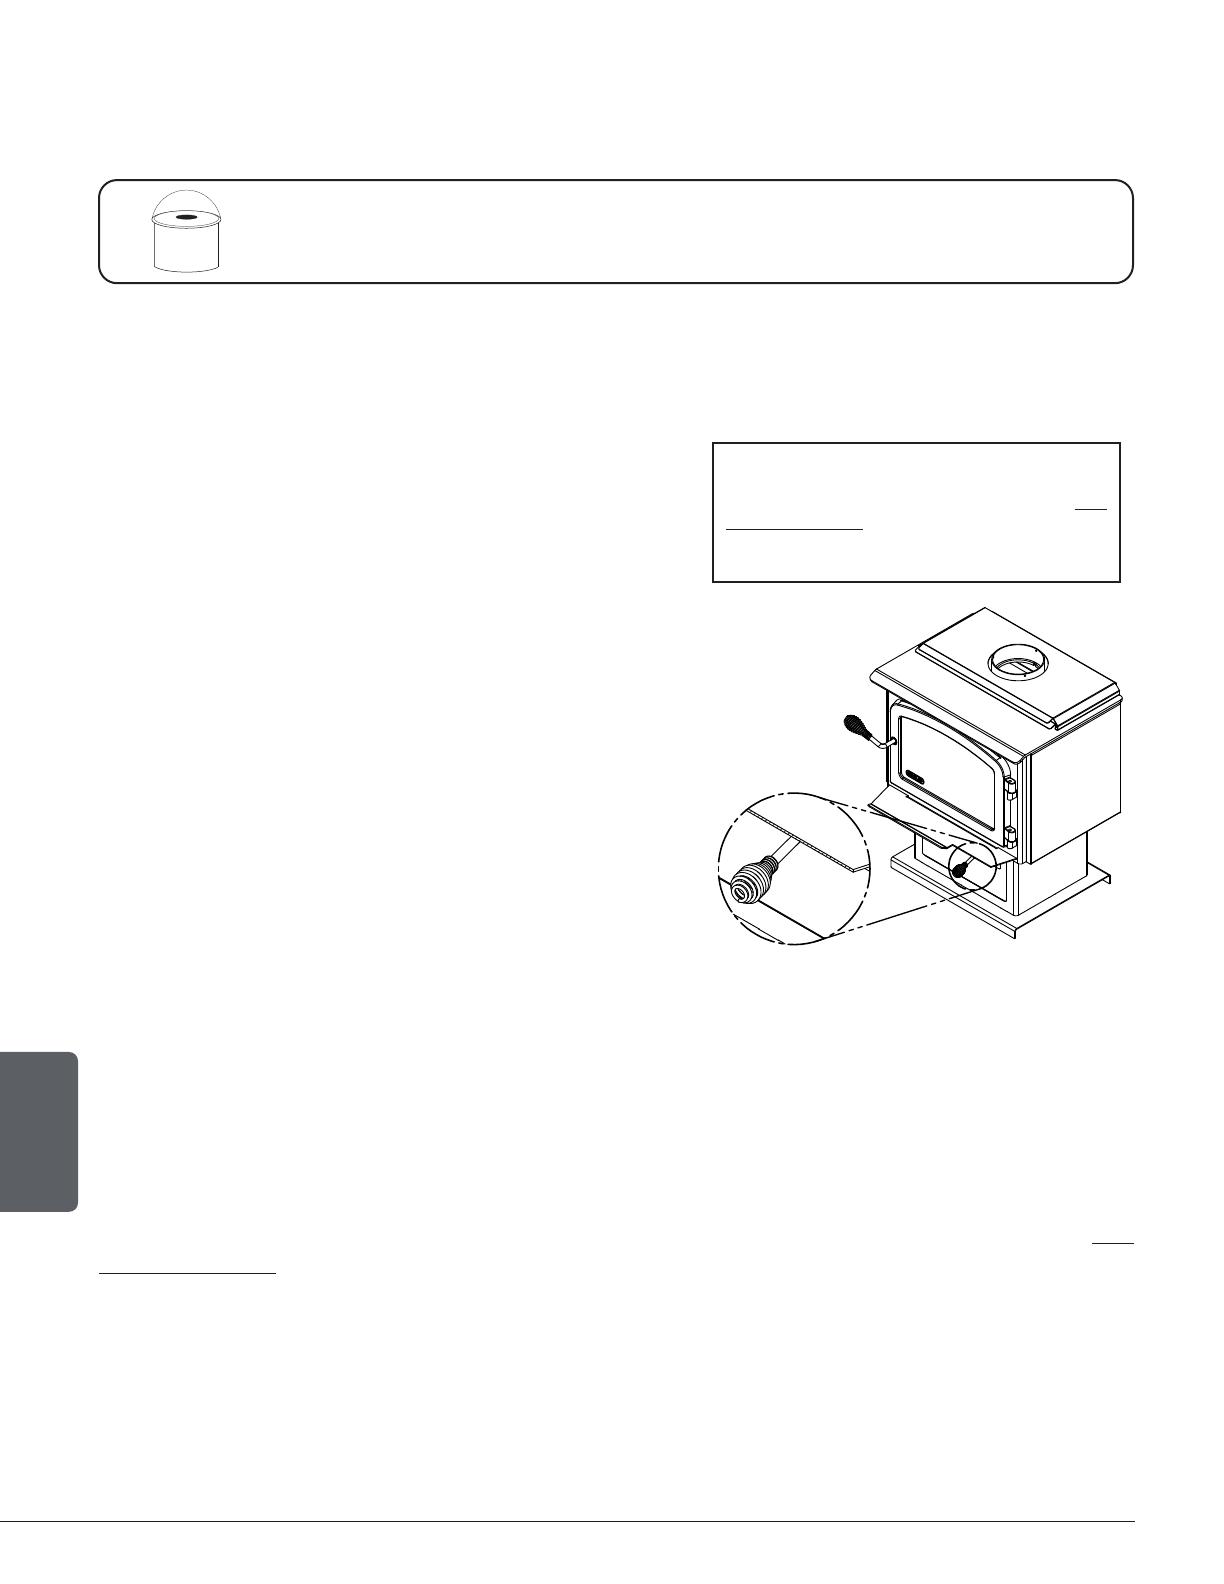
3.7 Air Intake Control
Once the firewood, firebox and chimney are hot, air intake can be reduced to achieve a steady
burn.
As the air intake is reduced, the burn rate decreases.
This has the effect of distributing the thermal energy
of the fuel over a longer period of time. In addition,
the flow rate of exhaust through the appliance and flue
pipe slows down, which increases the duration of the
energy transfer of the exhaust gases. As the air intake
is reduced, the flame slows down.
If the flames diminish to the point of disappearing, the
air intake has been reduced too early in the combustion
cycle or the wood used is too wet. If the wood is dry
and the air control is used properly, the flames should
decrease, but remain bright and stable.
On the other hand, too much air can make the fire
uncontrollable, creating very high temperatures in the unit
as well as in the chimney and seriously damaging them. A
reddish glow on the unit and on the chimney components
indicates overheating. Excessive temperatures can cause
a chimney fire.
The images shown are for guidance only
and may differ from your product, but the
operation remains the same. See the EPA
Loading Section of the Wood Stove Installation
and Operation Manual for a specific overview
of the air control of your appliance.
3.8 Fire Types
Using the air intake control is not the only way to match the appliance heat output to the desired
temperature in the house. A house will need far less heating in October than in January to
maintain a comfortable temperature. Filling the firebox full in fall weather will overheat the space.
Otherwise, the combustion rate will have to be reduced to a minimum and the fire will be smoky
and inefficient. Here are some suggestions for building fires suitable for different heating needs.
The method used to certify your appliance according to EPA Standards is presented in the EPA
Loading Section of the Wood Stove Installation and Operation Manual of your appliance.
3.8.1 Flash Fire
To build a small fire that will produce a low heat output, use small pieces of firewood and load
them crisscross in the firebox. The pieces should only be 3» to 4» in diameter. After raking the
coals, lay two pieces parallel to each other diagonally in the firebox and lay two more across
them in the other direction. Open the air control fully and only reduce the air after the wood
is fully flaming. This kind of fire is good for mild weather and should provide enough heat for
NEVER STORE ASHES INDOORS OR IN A NON-METALLIC
CONTAINER OR ON A WOODEN DECK.
CENDRES
ASHES