Black & Decker LZR5 Owner's manual

Category
Power tools
Type
Owner's manual

This manual is also suitable for

3
Intended use
This Black & Decker tool has been designed to project laser
lines to aid in DIY applications. This tool is intended for
consumer use only.
Safety instructions
Warning! When using battery-powered tools,
basic safety precautions, including the following, should
always be followed to reduce the risk of fire, leaking
batteries, personal injury and material damage.
Read all of this manual carefully before operating the tool.
Retain this manual for future reference.
Keep work area clean
Cluttered areas and benches can cause accidents.
Consider work area environment
Do not expose the tool to rain. Do not use the tool in damp or
wet conditions. Keep the work area well lit. Do not use the
tool where there is a risk of causing fire or explosion, e.g. in
the presence of flammable liquids and gases.
Keep children away
Do not allow children, visitors or animals to come near the
work area or to touch the tool.
Do not overreach
Keep proper footing and balance at all times.
Stay alert
Watch what you are doing. Use common sense. Do not
operate the tool when you are tired.
Use appropriate tool
The intended use is described in this instruction manual.
Warning! The use of any accessory or attachment or
performance of any operation with this tool other than those
recommended in this instruction manual may present a risk of
personal injury.
Check for damaged parts
Before use, carefully check the tool for damage. Ensure that
the tool will operate properly and perform its intended function.
Do not use the tool if any part is damaged or defective.
Store idle tools
When not in use, tools and batteries should be stored in a dry,
locked up or high place, out of reach of children.
Repairs
This tool complies with relevant safety requirements.
Repairs should only be carried out by qualified persons using
original spare parts; otherwise this may result in considerable
danger to the user.
Additional safety instructions for non-rechargeable
batteries
Never attempt to open for any reason.
Do not store in locations where the temperature may
exceed 40 °C.
ENGLISH
When disposing of batteries, follow the instructions given
in the section “Protecting the environment”.
Do not incinerate the batteries.
Under extreme conditions, battery leakage may occur.
When you notice liquid on the batteries, proceed as follows:
- Carefully wipe the liquid off using a cloth.
Avoid skin contact.
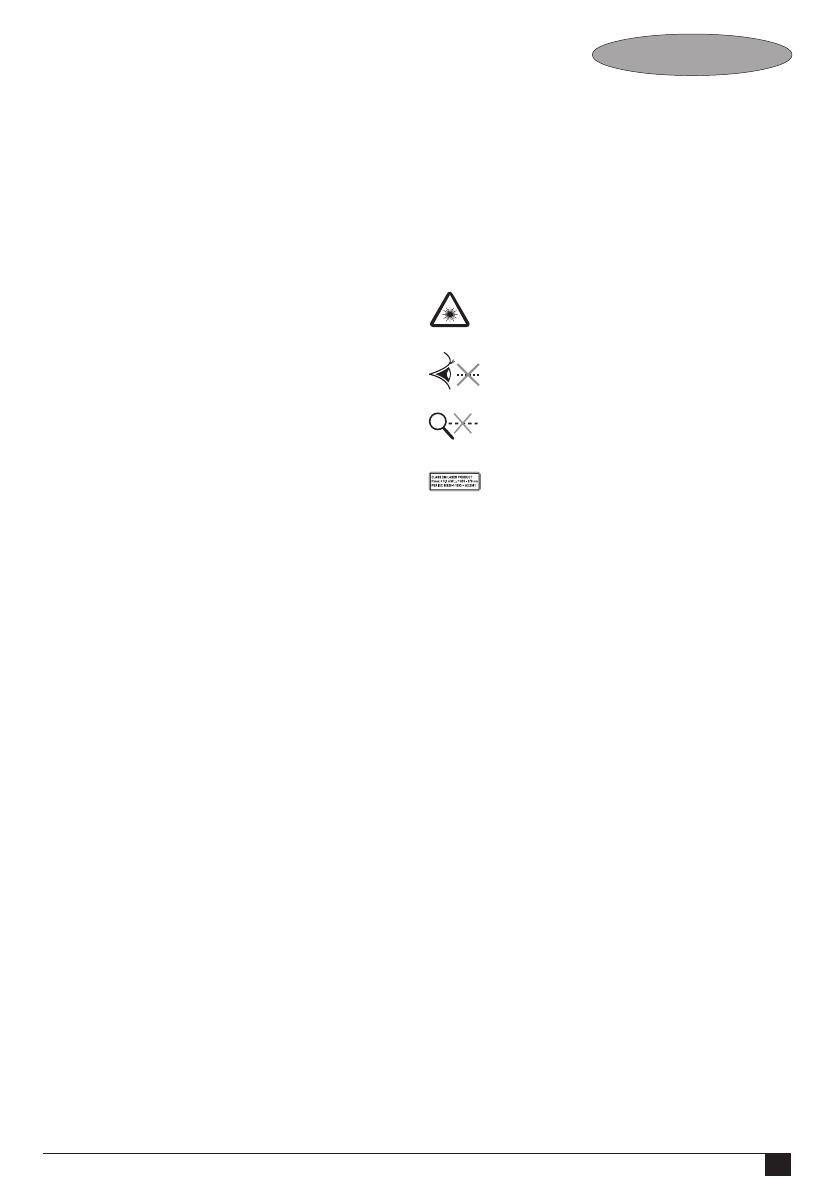
Additional safety instructions for lasers
Warning! Laser radiation.
Do not look into the laser beam.
Do not view the laser beam directly with optical
instruments.
Refer to the laser product characteristics.
This laser complies with class 2 according to
EN 60825-1:1 1994+A11. Do not replace a laser diode
with a different type. If damaged, have the laser repaired
by an authorised repair agent.
Do not use the laser for any purpose other than projecting
laser lines.
An exposure of the eye to the beam of a class 2 laser is
considered safe for a maximum of 0.25 seconds.
Eyelid reflexes will normally provide adequate protection.
At distances over 1 m, the laser complies with class 1 and
thus is considered completely safe.
Never look into the laser beam directly and intentionally.
Do not use optical tools to view the laser beam.
Do not set up the tool at a position where the laser beam
can cross any person at head height.
Do not let children come near the laser.
Features
1. On/off switch
2. Laser apertures
3. Battery cover
4. Hanging insert
5. Keyhole insert
6. Marking target
Assembly
Warning! Make sure that the tool is switched off.
Fitting the battery (fig. A)
Remove the battery cover (3) from the tool.
Connect the battery to the connector.
4
ENGLISH
The larger battery terminal connects to the smaller
connector terminal.
Insert the battery into the tool in the orientation as shown.
Refit the cover and let it click into place.
Fitting and removing inserts
The marking/hanging insert is used to make a mark on the
level line or to hang the tool on a drywall board using the
drywall pin supplied. The keyhole insert is used to hang the
tool on other types of wall using a screw or nail.
Fitting
Place the insert into the holder from the back of the tool.
Align the notches on the insert with the recesses in the
insert holder.
Let the insert click into place.
Removing
Keep the notches on the insert depressed.
Push the insert out of the holder.
Wall mounting (fig. B)
The unit can be mounted to walls using one of the inserts
(4 or 5).
Hanging insert
The hanging insert (4) can be used for mounting to drywall
surfaces only.
Mount the insert to the tool.
Remove the protective cap (7) from the pin (8) and store it
on the insert as shown (fig. B).
Hold the unit in front of a suitable location and press the
pin straight into the wall.
Warning! The pin of the insert is sharp and should be handled
with care. Replace the protective cap immediately after
removing the insert from the wall.
Keyhole insert
For surfaces other than drywall, the keyhole insert (5) can be
used with a screw in a predrilled hole.
Mount the insert to the tool.
Hang the unit on a screw mounted on a suitable location.
Use
Using the laser level function (fig. C)
Using the laser in auto-leveling mode
Place the tool flat against the wall.
Push the on/off switch (1) up to switch the tool on in
auto-leveling mode.
Move the tool as necessary to position the laser line.
If necessary, hang the unit on the wall using the
appropriate insert.
Note: the laser lines will only be level if the tool is kept within
5° from vertical.
Using the laser in locked/layout mode
When operating in the locked/layout mode, the tool can be
held in any position, e.g. to project slope lines.
Place the tool flat against the wall.
Push the on/off switch (1) down to switch the tool on in
locked/layout mode.
Move the tool as necessary to position the laser line.
If necessary, hang the unit on the wall using the
appropriate insert.
Hints for optimum use
If because of the lighting conditions it is difficult to see
the laser line, or if the laser line has to be transferred
over long distances, you can use the marking target (6) to
enhance laser line (fig. D).
Protecting the environment
Tools
Should you find one day that your tool needs
replacement, or if it is of no further use to you, think
of the protection of the environment. Black & Decker
repair agents will accept old Black & Decker tools
and ensure that they are disposed of in an
environmentally safe way.
Battery
If you want to dispose of the tool yourself, the
battery must be removed as described above and
disposed of in accordance with local regulations.
Place the battery in a suitable packaging to ensure that
the terminals cannot be short-circuited. Take the batteries
to a local recycling station.
Technical data
LZR5
Voltage V 9
Battery size 6LR61
Laser class 2
Operating temperature °C 0 - 40
Weight kg 0.3
5
ENGLISH
EC declaration of conformity
LZR5
Black & Decker declares that these products conform to:
EN 61010, EN 60825, EN 61000
Peter Holmes, Director of Engineering
Black & Decker, 56 Bai Yu Road
Suzhou Industrial Park
Suzhou, Jiangsu, 215021
Guarantee
Black & Decker is confident of the quality of its products and
offers an outstanding guarantee. This guarantee statement is
in addition to and in no way prejudices your statutory rights.
The guarantee is valid within the territories of the Member
States of the European Union and the European Free Trade
Area.
If a Black & Decker product becomes defective due to faulty
materials, workmanship or lack of conformity, within 24 months
from the date of purchase, Black & Decker guarantees to
replace defective parts, repair products subjected to fair wear
and tear or replace such products to ensure minimum
inconvenience to the customer unless:
The product has been used for trade, professional or hire
purposes;
The product has been subjected to misuse or neglect;
The product has sustained damage through foreign
objects, substances or accidents;
Repairs have been attempted by persons other than
authorised repair agents or Black & Decker service staff.
To claim on the guarantee, you will need to submit proof of
purchase to the seller or an authorised repair agent. You can
check the location of your nearest authorised repair agent by
contacting your local Black & Decker office at the address
indicated in this manual. Alternatively, a list of authorised
Black & Decker repair agents and full details of our after-sales
service and contacts are available on the Internet at:
www.2helpU.com
Please visit our website www.blackanddecker.co.uk to
register your new Black & Decker product and to be kept up to
date on new products and special offers. Further information
on the Black & Decker brand and our range of products is
available at www.blackanddecker.co.uk
39
∂§§∏¡π∫∞
°È· Ó· ÈÛ¯‡ÛÂÈ Ë ÂÁÁ‡ËÛË, Ú¤ÂÈ Ó· ˘Ô‚¿ÏÂÙ ·fi‰ÂÈÍË
·ÁÔÚ¿˜ ÛÙÔÓ ˆÏËÙ‹ ‹ ÙÔ ÂÍÔ˘ÛÈÔ‰ÔÙË̤ÓÔ Î¤ÓÙÚÔ
ÂÈÛ΢ÒÓ. EÓËÌÂÚˆı›Ù ÁÈ· ÙÔ ÏËÛȤÛÙÂÚÔ Î¤ÓÙÚÔ
ÂÈÛ΢ÒÓ Ù˘ ÂÚÈÔ¯‹˜ Û·˜, ÂÈÎÔÈÓˆÓÒÓÙ·˜ Ì ٷ ÁÚ·Ê›·
Ù˘ Black & Decker ÛÙË ‰È‡ı˘ÓÛË Ô˘ ·Ó·ÁÚ¿ÊÂÙ·È ÛÙÔ
ÂÁ¯ÂÈÚ›‰ÈÔ. E›Û˘, ÁÈ· Ó· ÏËÚÔÊÔÚËı›Ù ÁÈ· Ù·
ÂÍÔ˘ÛÈÔ‰ÔÙË̤ӷ ΤÓÙÚ· ÂÈÛ΢ÒÓ Ù˘ Black & Decker, ÙȘ
ÏÂÙÔ̤ÚÂȘ Î·È ÙÔ˘˜ ·ÚÌfi‰ÈÔ˘˜ ÙˆÓ ˘ËÚÂÛÈÒÓ Ô˘
·Ú¤¯ÔÓÙ·È ÌÂÙ¿ ÙËÓ ÒÏËÛË, ÌÔÚ›Ù ӷ ·Ó·ÙÚ¤ÍÙ ÛÙÔ
¢È·‰›ÎÙ˘Ô ÛÙË ‰È‡ı˘ÓÛË: www.2helpU.com
¶·Ú·Î·Ïԇ̠ӷ ÂÈÛÎÂÊÙ›Ù ÙËÓ ÈÛÙÔÛÂÏ›‰· Ì·˜
www.blackanddecker.com ÁÈ· Ó· ηٷ¯ˆÚ‹ÛÂÙ ÙÔ Ó¤Ô Û·˜
ÚÔ˚fiÓ Black & Decker Î·È ÁÈ· Ó· ÂÓËÌÂÚÒÓÂÛÙ ÁÈ· Ù· Ó¤·
ÚÔ˚fiÓÙ· Î·È ÙȘ ÂȉÈΤ˜ ÚÔÛÊÔÚ¤˜. ¶ÂÚÈÛÛfiÙÂÚ˜
ÏËÚÔÊÔڛ˜ Û¯ÂÙÈο Ì ÙË Ì¿Úη Black & Decker Î·È ÙË ÛÂÈÚ¿
ÚÔ˚fiÓÙˆÓ Ì·˜ ı· ‚Ú›Ù ÛÙË ‰È‡ı˘ÓÛË
www.blackanddecker.com
44
GUARANTEE CARD
GARANTIEKARTE
CARTE DE GARANTIE
TAGLIANDO DI GARANZIA
GARANTIEKAART
TARJETA DE GARANTÍA
CARTÃO DE GARANTIA
GARANTIBEVIS
GARANTI KORT
GARANTI KORT
TAKUUKORTTI
∫∞ƒ∆∞ E°°À∏™∏™
Português Por favor, recorte esta parte, coloque-a num envelope selado e
endereçado e envie-o logo após a compra do seu produto para o
endereço da Black & Decker do seu país.
Svenska Var vänlig klipp ur denna del och sänd den i ett frankerat kuvert till
Black & Deckers adress i Ditt land.
Norsk Vennligst klipp ut denne delen umiddelbart etter du har pakket ut
ditt produkt og legg det i en adressert konvolutt til Black & Decker
(Norge) A/S.
Dansk Venligst klip denne del ud og send frankeret til
Black & Decker i dit land.
Suomi Leikkaa irti tämä osa, laita se kuoreen ja postita kuori paikalliseen
Black & Decker osoitteeseen.
EÏÏËÓÈη ¶·Ú·Î·ÏÒ Îfi„ÂÙ ·˘Ùfi ÙÔ ÎÔÌÌ¿ÙÈ Î·È Ù·¯˘‰ÚÔÌ‹Û·ÙÂ
ÙÔ ·Ì¤Ûˆ˜ ÌÂÙ¿ ÙËÓ ·ÁÔÚ¿ ÙÔ˘ ÚÔ˚fiÓÙÔ˜ Û·˜ ÛÙËÓ
‰È‡ı˘ÓÛË Ù˘ Black & Decker ÛÙËÓ EÏÏ¿‰·.
English Please complete this section immediately after the purchase of your
tool and send it to Black & Decker in your country. If you live in
Australia or New Zealand, please register by using the alternative
guarantee card supplied.
Deutsch Bitte schneiden Sie diesen Abschnitt ab, stecken ihn in einen
frankierten Umschlag und schicken ihn an die Black & Decker
Adresse Ihres Landes.
Français Découpez cette partie et envoyez-la sous enveloppe timbrée à
l’adresse de Black & Decker dans votre pays, ceci immédiatement
après votre achat.
Italiano Per favore ritagliate questa parte, inseritela in una busta con
francobollo e speditela subito dopo l’acquisto del prodotto
all’indirizzo della
Black & Decker nella vostra nazione.
Nederlands Knip dit gedeelte uit en zend het direct na aankoop in een
gefrankeerde, geadresseerde envelop naar het adres van Black &
Decker in uw land.
Español Después de haber comprado su herramienta envíe usted, por favor,
esta tarjeta a la central de
Black & Decker en su país.
585435-01
12/03
  • Page 1 1
  • Page 2 2
  • Page 3 3
  • Page 4 4
  • Page 5 5
  • Page 6 6
  • Page 7 7
  • Page 8 8
  • Page 9 9
  • Page 10 10
  • Page 11 11
  • Page 12 12
  • Page 13 13
  • Page 14 14
  • Page 15 15
  • Page 16 16
  • Page 17 17
  • Page 18 18
  • Page 19 19
  • Page 20 20
  • Page 21 21
  • Page 22 22
  • Page 23 23
  • Page 24 24
  • Page 25 25
  • Page 26 26
  • Page 27 27
  • Page 28 28
  • Page 29 29
  • Page 30 30
  • Page 31 31
  • Page 32 32
  • Page 33 33
  • Page 34 34
  • Page 35 35
  • Page 36 36
  • Page 37 37
  • Page 38 38
  • Page 39 39
  • Page 40 40
  • Page 41 41
  • Page 42 42
  • Page 43 43
  • Page 44 44

Black & Decker LZR5 Owner's manual

Category
Power tools
Type
Owner's manual
This manual is also suitable for

Ask a question and I''ll find the answer in the document

Finding information in a document is now easier with AI