5
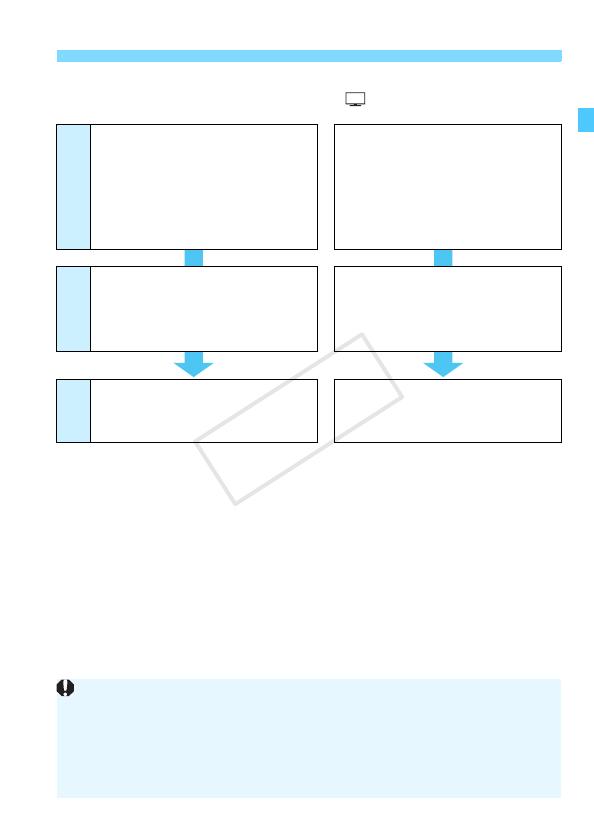
Wi-Fi Function Flowchart
*1 Camera access point mode:
A simple wireless LAN mode where a camera and smartphone, or a camera and
printer can be directly connected via a wireless LAN.
*2 Infrastructure mode:
A wireless LAN mode that connects to each Wi-Fi device via a wireless LAN access
point. In this mode, communication to a distant Wi-Fi device can be established as
long as a wireless LAN access point is located nearby.
*3 Ad hoc mode:
A wireless LAN mode that connects directly to a computer with built-in wireless LAN
functions. When setting the computer’s wireless LAN functions to ad hoc mode, the
camera can be connected using the same operation as when set to infrastructure
mode.
w Send images to a Web service
View images using a media
player
• Set up a computer with EOS Utility
installed and a wireless LAN access
point that can access the Internet
• Sign up as a CANON iMAGE
GATEWAY member
• Configure the camera for Web
service access
• Set up devices supporting DLNA
and a wireless LAN access point
• Connect a media player to a TV set
Infrastructure mode*
2
Infrastructure mode*
2
• Send images to Web services
• Send Emails to your acquaintances
View images on the camera by
operating the media player
CANON iMAGE GATEWAY Web services are not supported in certain
countries and areas. For information on countries and areas supporting
CANON iMAGE GATEWAY services, refer to the Canon Web site
(http://canon.com/cig).
Settings for “Send images to a Web service” may not be performed from
a computer in certain countries and areas.
Setup
Connection
method
Now you
can...


