Maytag MTM4623NEGW Program Chart

Category
Fridge-freezers
Type
Program Chart

This manual is also suitable for

4
7
INSTRUCTIONS FOR USE
BEFORE USING THE APPLIANCE ......................................PAGE 5
SAFEGUARDING THE ENVIRONMENT ...........................PAGE 5
PRECAUTIONS AND GENERAL
RECOMMENDATIONS
............................................................PAGE 6
PRODUCT DESCRIPTION .....................................................PAGE 7
REFRIGERATOR COMPARTMENT .....................................PAGE 8
FREEZER COMPARTMENT .................................................PAGE 11
GUIDE TO STORAGE AND THAWING
OF FOOD
...................................................................................PAGE 13
CARE AND MAINTENANCE...............................................PAGE 15
INSTALLATION.......................................................................PAGE 15
VACATION................................................................................PAGE 18
TROUBLESHOOTING GUIDE / AFTER-SALES
SERVICE
.....................................................................................PAGE 19
AFTER SALES SERVICE ........................................................PAGE 20
ELECTRICAL CONNECTION..............................................PAGE 21
63602055GB.fm Page 4 Thursday, January 24, 2008 4:26 PM
5
BEFORE USING THE APPLIANCE
SAFEGUARDING THE ENVIRONMENT
Your new appliance is designed exclusively for
domestic use.
To ensure best use of your appliance,
carefully read the operating instructions
which contain a description of the product
and useful advice.
Keep these instructions for future
reference.
1. After unpacking the appliance, make sure it is
not damaged and that the door closes properly.
Any damage must be reported to the dealer
within 24 hours of delivery of the appliance.
2.Wait at least two hours before switching the
appliance on, to ensure that the refrigerant
circuit is fully efficient.
3.Installation and the electrical connection must
be carried out by a qualified technician
according to the manufacturer’s instructions
and in compliance with the local safety
regulations.
4.Clean the inside of the appliance before using it.
1. Packaging
The packing material is 100% recyclable and
bears the recycling symbol. For disposal, comply
with the local regulations. Keep the packing
materials (plastic bags, polystyrene parts, etc.)
out of the reach of children, as they are a
potential source of danger.
2. Scrapping/Disposal
The appliance is manufactured using recyclable
material.
This appliance is marked in compliance with
European Directive 2002/96/EC on Waste
Electrical and Electronic Equipment (WEEE). By
ensuring the correct disposal of this appliance,
you can help prevent potentially negative
consequences for the environment and the
health of persons.
The symbol on the appliance, or on the
accompanying documents, indicates that this
appliance should not be treated as domestic
waste but must be taken to a special collection
centre for the recycling of electrical and
electronic equipment.
When scrapping the appliance, make it unusable
by cutting off the power cable and removing the
doors and shelves so that children cannot easily
climb inside and become trapped.
Scrap the appliance in compliance with local
regulations on waste disposal, taking it to a
special collection centre; do not leave the
appliance unattended even for a few days, since
it is a potential source of danger for children.
For further information on the treatment,
recovery and recycling of this product, contact
your competent local office, the household
waste collection service or the shop where you
purchased the appliance.
Information:
This appliance does not contain CFCs.
The refrigerant circuit contains R134a (HFC) or
R600a (HC) (see the rating plate inside the
appliance).
Appliances with Isobutane (R600a): isobutane is
a natural gas without environmental impact, but
is flammable. Therefore, make sure the
refrigerant circuit pipes are not damaged.
This product may contain Fluorinated
Greenhouse Gases covered by the Kyoto
Protocol; the refrigerant gas is inside a
hermetically sealed system.
Refrigerant gas: R134a has a Global Warming
Potential of (GWP) 1300.
Declaration of conformity
This appliance has been designed for preserving
food and is manufactured in compliance with
Regulation (CE) No. 1935/2004.
This appliance has been designed, manufactured
and marketed in compliance with:
safety objectives of the “Low Voltage”
Directive 2006/95/CE (which replaces
73/23/CEE and subsequent amendments);
the protection requirements of Directive
“EMC” 89/336/EEC amended by Directive
93/68/EEC.
Electrical safety of the appliance can only be
guaranteed if it is correctly connected to an
approved earthing system.
63602055GB.fm Page 5 Thursday, January 24, 2008 4:26 PM
6
PRECAUTIONS AND GENERAL
RECOMMENDATIONS
INSTALLATION
The appliance must be handled and installed
by two or more persons.
Be careful not to damage the floors (e.g.
parquet) when moving the appliance.
During installation, make sure the appliance
does not damage the power cable.
Make sure the appliance is not near a heat
source.
To guarantee adequate ventilation, leave a
space on both sides and above the appliance
and follow the installation instructions.
Keep the appliance ventilation openings free.
Do not damage the appliance refrigerant
circuit pipes.
Install and level the appliance on a floor strong
enough to take its weight and in a place
suitable for its size and use.
Install the appliance in a dry and well
ventilated place. The appliance is arranged for
operation in places where the temperature
comes within the following ranges, according
to the climatic class given on the rating plate.
The appliance may not work properly if it is
left for a long time at a temperature outside
the specified range.
Make sure the voltage specified on the rating
plate corresponds to that of your home.
Do not use single/multi adapters or extension
cords.
For the water connection, use the pipe
supplied with the new appliance; do not reuse
that of the previous appliance.
Power cable modification or replacement
must only be carried out by qualified
personnel.
It must be possible to disconnect the
appliance from the power supply by
unplugging it or by means of a mains two-pole
switch installed upstream of the socket.
SAFETY
Do not store or use petrol, flammable liquids
or gas in the vicinity of this or other electrical
appliances. The fumes can cause fires or
explosions.
Do not use mechanical, electric or chemical
means other than those recommended by the
Manufacturer to speed up the defrost
process.
Do not use or place electrical devices inside
the appliance compartments if they are not of
the type expressly authorised by the
Manufacturer.
This appliance is not intended for use by
persons (including children) with reduced
physical, sensory or mental capabilities or lack
of experience and knowledge, unless they
have been given supervision or instruction
concerning use of the appliance by a person
responsible for their safety.
To avoid the risk of children becoming
trapped and suffocating, do not allow them to
play or hide inside the appliance.
Do not swallow the contents (non-toxic) of
the ice packs (in some models).
Do not eat ice cubes or ice lollies immediately
after taking them out of the freezer since they
may cause cold burns.
USE
Before carrying out any maintenance or
cleaning operation, unplug the appliance or
disconnect it from the power supply.
All appliances equipped with an automatic
icemaker and water dispenser must be
connected to a water supply that only delivers
drinking water (with mains water pressure of
between 0.17 and 0.81 Mpa (1.7 and 8.1
bar)). Automatic ice-makers and/or water
dispensers not directly connected to the
water supply must be filled with drinking
water only.
Use the refrigerator compartment only for
storing fresh food and the freezer
compartment only for storing frozen food,
freezing fresh food and making ice cubes.
Do not store glass containers with liquids in
the freezer since they may burst.
The Manufacturer declines any liability if
the above advice and precautions are not
respected.
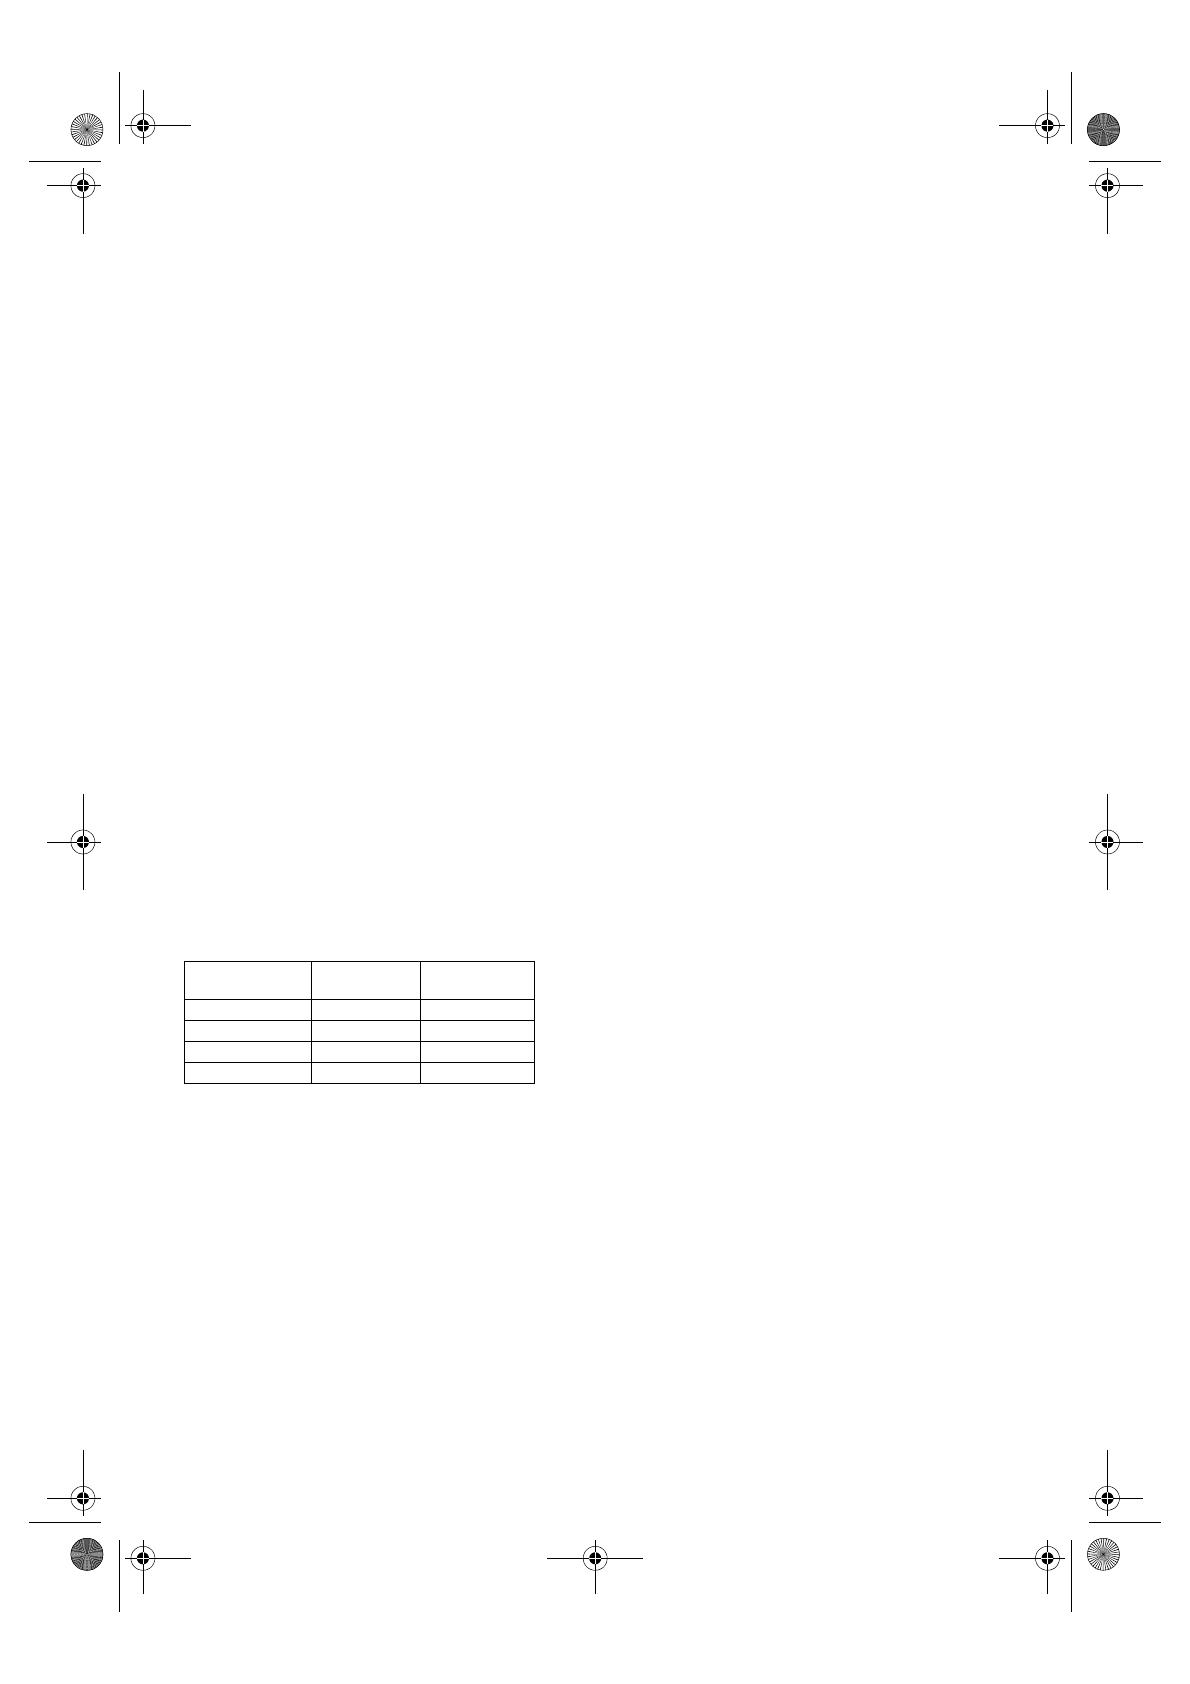
Climatic Class Amb. temp.
(°C)
Amb. temp.
(°F)
SN From 10 to 32 From 50 to 90
N From 16 to 32 From 61 to 90
ST From 16 to 38 From 61 to 100
T From 16 to 43 From 61 to 110
63602055GB.fm Page 6 Thursday, January 24, 2008 4:26 PM
7
PRODUCT DESCRIPTION
1. Fast freezing compartment
2. Ice cube tray
3. Ice compartment
4. Freezer thermostat
5. Freezer shelf
6. Fresh control compartment
7. Refrigerator thermostat
8. Refrigerator shelves
9. Crisper drawer
10. Freezer shelf
11. Egg tray
12. Top shelf
13. Spice rack (*)
14. Bottle rack
15. Bottle holder
(*) Optional
2
3
4
8
14
1
5
6
9
10
11
12
13
15
7
Note: The number of shelves and shape of accessories may vary, depending on the model.
All shelves, door trays and racks are removable.
DO NOT obstruct the fan intake area with food.
Attention: refrigerator/freezer accessories must not be washed in a dishwasher.
63602055GB.fm Page 7 Thursday, January 24, 2008 4:26 PM
8
REFRIGERATOR COMPARTMENT
This appliance is equipped with a No Frost system that does not require manual defrosting.
The appliance is also provided with a ventilated system, thanks to which the internal temperature is to all
intents and purposes uniform.
Food can be arranged on any shelf inside the appliance. However, take care not to obstruct the air vents
in order to allow air to circulate freely.
Optimal performance is obtained at temperatures between +18°C and +43°C.
SWITCHING ON THE APPLIANCE
The appliance will switch on automatically when it is plugged in.
The inside light switches on when the refrigerator door is opened
USING THE REFRIGERATOR
Temperature Adjustment
For correct operation and optimum storage of food, adjust the temperature in the refrigerator and
freezer compartments separately.
REFRIGERATOR THERMOSTAT
To adjust the temperature in the refrigerator compartment, turn the thermostat knob to the desired
position.
After being switched on, the refrigerator needs approximately 2 hours to reach the correct
temperature to store a typical volume of food in the refrigerator compartment.
Storing food in the refrigerator compartment
Position the food as shown in the figure.
A. Cooked food
B. Fish, meat
C. Fruit and vegetables
D. Bottles
E. Butter
F. Dairy products, cheese
To maintain the vitamins, aroma, substance and
freshness of the food to be stored, it is advisable to
wrap food in aluminium foil, cling film or place it in
special freezer containers with lids. This will
prevent odours from mixing.
NOTES:
The space between the shelves and the rear wall must be unobstructed to allow circulation of air.
Do not place food in direct contact with the rear wall of the refrigerator compartment.
Do not place hot food in the refrigerator.
Store liquids in closed containers.
Storing vegetables with a high water content can result in condensation in the crisper drawer: this will
not affect the correct operation of the appliance.
Defrosting of the refrigerator compartment is completely automatic.
The refrigerator can operate at ambient temperatures between +16°C and +43°C.
Temperature Type of use
Minimum
1-2
Small amounts of food stored
The door is seldom opened
Medium
3-4
Normal use
Maximum
5
Large amount of food stored
The door is opened frequently
63602055GB.fm Page 8 Thursday, January 24, 2008 4:26 PM
9
FRESH CONTROL COMPARTMENT
This sliding compartment stays colder than the rest of the refrigerator compartment to keep daily foods
fresh longer.
It is proper for keeping dairy products, cold cuts, sausage and meat.
If necessary, remove the fresh control compartment for cleaning.
DRAWER (depending on the model)
The drawer has four containers which can be used to store small food items.
For ease of use and optimum food storage, you can move the drawer to the right or left.
Furthermore, you can easily remove the drawer if necessary.
Note: close the drawer lids to prevent food from drying out and odours from mixing.
BOTTLE RACK (depending on the model)
Designed to hold bottles in the horizontal position.
The shelf beneath the bottle rack can be easily fitted by simply moving the rack to the right or left.
The bottle rack is easy to remove: simply pull the glass shelf outwards, slide the bottle rack to the right or
left and remove it.
The bottle rack can be fitted on any glass shelf.
Note: make sure bottles are tightly closed to avoid spills.
63602055GB.fm Page 9 Thursday, January 24, 2008 4:26 PM
10
MOISTURE CONTROL (depending on the model)
The fruit and vegetables drawer is provided with a moisture control that allows you to control the
necessary amount of air that goes into the drawer.
We recommend to keep the control closed to preserve leafy vegetables and open to preserve fruit.
CRISPER DRAWER
Foods such as fruit and vegetables dehydrate when stored in direct contact with cold and dry air.
The crisper drawer keeps the temperature and humidity adequate for storage of fruits and vegetables,
preserving their natural characteristics. Furthermore, this drawer is equipped with a filter that eliminates
unpleasant odours.
TO REMOVE THE CRISPER DRAWER LID
First step: removing the crisper drawers
The drawer slides out easily thanks to the wheels.
Slide the drawer out as far as it comes, then lift the front end and pull the drawer out completely.
Second step: removing the central divider located between the drawers
Tilt the divider to the left starting from the back.
Remove the divider.
Third step: removing the crisper drawer lid
Slide the crisper drawer lid outwards.
Remove the lid.
Crisper
drawer
Crisper drawer
lid
Crisper drawer
divider
63602055GB.fm Page 10 Thursday, January 24, 2008 4:26 PM
11
FREEZER COMPARTMENT
TO REPLACE THE CRISPER DRAWER LID
First step: replacing the crisper drawer lid
Insert the back of the lid into the runners.
Push the lid back into place.
Second step: replacing the crisper drawer divider
Refit the divider in the specific slots located on the bottom of the compartment and crisper drawer wall
as shown in the figure.
Third step: replacing the crisper drawers
Replace the drawer on the wheels.
Push it back into place.
After switching on the appliance, the freezer compartment takes approximately 3 hours to reach a suitable
temperature for frozen food storage.
The freezer compartment, marked with the symbol , is used for storing frozen food and freezing
fresh or cooked food. It also allows the making of ice cubes. The inner door of the freezer is especially
suitable for storing ice cream or frozen food with a short storage time.
The maximum quantity of food which can be frozen in a 24 hour period is stated on the rating plate, inside
the refrigerator compartment.
Crisper drawer lid
Crisper drawer
central divider
Crisper drawer
TEMPERATURE LEVEL OF USE
Minimum
1-2
Minimum level: to be used when small amounts of food are stored in the
freezer and the door is seldom opened.
Medium
3-4
Medium level: to be used in normal conditions
Maximum
5
Maximum level: to be used when large amounts of food are stored in the
freezer and the door is opened frequently.
63602055GB.fm Page 11 Thursday, January 24, 2008 4:26 PM
12
ICE CUBES
Take out the ice cube tray.
Fill it with water to the indicated level.
Replace the ice cube tray in its original position.
When the ice cubes are ready, turn the knob to drop them into the ice bin. Do not fill the ice bin with
water.
FAST FREEZING COMPARTMENT
The fast freezing compartment enables you to freeze homemade and fresh foods more quickly.
To open the compartment, lift the front lid and slide it backwards. To close the compartment, proceed
in the same way.
Note: make sure that the front lid of the fast freezing compartment is closed before closing the
door of the compartment.
63602055GB.fm Page 12 Thursday, January 24, 2008 4:26 PM
13
GUIDE TO STORAGE AND THAWING OF
FOOD
PREPARING FRESH FOOD FOR FREEZING
It is important to wrap food so that no water, moisture, or vapour may penetrate; this avoids the transfer
of odours and flavours throughout the refrigerator and allows better storage of frozen food. Use plastic
containers with tight fitting lids, aluminium trays, aluminium foil, cling film and waterproof plastic
wrappings.
Important:
When shopping, leave frozen food purchases until last and transport the products in a thermally
insulated cool bag.
Place the items in the freezer compartment as soon as you get home.
Avoid, or reduce temperature variations to the minimum.
Respect the best-before date on the package.
Always observe the storage information on the package.
SEALING
When sealing food in bags, squeeze out the air first.
Place labels on the inside of clear freezer bags; use self-adhesive labels on the outside of opaque ones.
Fasten the top of the bag with a string.
DEFROSTING
Here are some helpful tips.
Raw vegetables: do not thaw, put straight into boiling water and cook as usual.
Meat (large cuts): thaw in the refrigerator compartment without unwrapping. Before cooking, leave at
room temperature for a couple of hours.
Meat (small cuts): thaw at room temperature or cook from frozen.
Fish: thaw in the refrigerator compartment without unwrapping or cook before fully thawed.
In the event of a power failure, the freezer compartment maintains the appropriate storage temperature
for approximately 12 hours; during this time, we suggest you leave the door of the compartment closed.
Do not refreeze partially thawed food.
Previously cooked food: reheat in the oven without removing it from its aluminium container.
Fruit: thaw in the refrigerator compartment
NOTE: Never place warm food in the freezer, instead allow it to cool at room temperature for 30
minutes, then wrap it and place in the freezer. Cooling hot foods before freezing saves energy and
prolongs the life of the appliance.
63602055GB.fm Page 13 Thursday, January 24, 2008 4:26 PM
14
FOOD STORAGE CHART
Storage time will vary according to the quality of the food, the type of packaging or wrap used (moisture and
vapour proof), and the storage temperature (which should be -18°C).
FOODSTUFF AND STORAGE TIME DAIRY PRODUCTS
PASTRY AND BREAD
Fruit
Concentrated fruit juice 12 months
Fruit (in general) 8 to 12 months
Citrus fruit and fresh fruit
juice
4 to 6 months
Vegetables
Commercially frozen 8 months
Home frozen 8 to 12 months
Meat
Sausages 4 weeks or less
Hamburgers 1 month
Beef, veal, lamb 2 to 3 months
Roasts
Beef 6 to 12 months
Lamb and veal 6 to 12 months
Pork 4 to 8 months
Fresh sausages 1 to 2 months
Steaks and chops
Beef 8 to 12 months
Lamb, veal, pork 2 to 4 months
Fish
Cod, flounder, sole 6 months
Salmon 2 to 3 months
Mackerel, perch 2 to 3 months
Dressed fish (purchased) 3 months
Clams, oysters 3 to 4 months
Boiled fish, crabs 3 to 4 months
Raw prawns 12 months
Poultry
Chicken or turkey (whole or
parts)
12 months
Duck and goose 6 months
Offal 2 to 3 months
Poultry cooked in a sauce 6 months
Sliced meat (no sauce) 1 month
Stews
Meat, poultry, and fish 2 to 3 months
Butter 6 to 9 months
Margarine 12 months
Cheese
Camembert, mozzarella,
spreading cheese
3 months
Cream cheeses do not freeze
Brie, Emmenthal, Swiss
cheese, etc.
(freezing may affect cheese
texture)
6 to 8 months
Ice cream, fruit juices, milk 12 months
Eggs
(Add sugar or salt to yolks or
whole beaten eggs)
Whole (beaten), whites, yolks 12 months
Leavened bread and rolls 3 months
Unbaked bread 1 month
Croissants 3 months
Cakes (not iced) 2 to 4 months
Cakes (iced) and biscuits 6 to 12 months
Fruit pies 12 months
Biscuit pastry 3 months
Pie pastry 4 to 6 months
63602055GB.fm Page 14 Thursday, January 24, 2008 4:26 PM
15
CARE AND MAINTENANCE
INSTALLATION
Freestanding appliances (not built-in)
Fit the spacers (if supplied) on the rear of the
condenser positioned at the back of the appliance
(see figure); alternatively, leave a space of at least
6 cm between the rear of the appliance and the
wall.
To optimize appliance efficiency, leave a 5 cm gap
above the appliance and make sure that adjacent
kitchen units are sufficiently distanced to allow air
circulation.
Ensure that the appliance is level, using the front
adjustment feet if necessary.
Regulations require that the appliance is earthed.
The manufacturer declines all liability for injury to
persons or animals and for damage to property
resulting from failure to observe the above
procedures and reminders.
If the plug and socket are not of the same type,
have the socket replaced by a qualified
electrician.
Do not use extension leads or adapters.
Disconnecting the appliance
It must be possible to disconnect the appliance by
unplugging it or by means of a double-pole switch
isolating the socket.
Before any cleaning or maintenance operation, unplug the appliance from the mains or disconnect the
electrical power supply.
Periodically clean the refrigerator and freezer compartments with a sponge dampened in a solution of
lukewarm water and special detergent for refrigerator interiors. Rinse and dry. Never use abrasive
detergents. Never clean refrigerator parts with flammable fluids. The fumes can create a fire hazard or
explosion.
Clean with a damp cloth.
Do not use abrasive products, scourers, stain-removers (e.g. acetone, trichloroethylene) or vinegar.
Dry with a soft cloth.
Both refrigerator and freezer compartments are provided with an automatic defrosting function (no
frost system).
Do not use steam cleaners.
Regularly clean the condenser (air vents at the rear of the appliance) with a vacuum cleaner or a brush
(see figure).
Ensure the seals are always perfectly clean.
63602055GB.fm Page 15 Thursday, January 24, 2008 4:26 PM
16
DOOR REVERSIBILITY
1. Unscrew the two screws which are fixing the middle hinge. Also
remove the two big caps on the left. (FIG-1)
2. Dismantle the refrigerator and frezeer door from cabinet by
pulling towards to you together with the middle hinge. (FIG-2)
3. Remove the kick plate by pulling forward.
Unscrew the bottom hinge fixing screws and remove it.
Unscrew the pin of hinge from Hole 1, rotate the bottom hinge
90° and screw the pin to Hole 2. (See Detail A) Then screw the
hinge to bottom left side of refrigerator. (FIG-3)
4. Unscrew the screw fixing the top hinge cover and remove it.
Unscrew the two screws fixing the top hinge and remove it.
Insert the two big caps that are put in the user manuel bag to left
side cap holes. (FIG-4)
5. Unscrew the screw fixing the top hinge pin.
Turn the pin by 180° then fix it to left side of the top hinge by
screwing it. (FIG-5)
Figure-1
Figure-2
Figure-3
Figure-4
Figure-5
Remove the
two big caps
Bottom hinge
and kick plate
Hole 2
Hole 1
Detail-A
Insert the
two big
caps
Turn the top hinge
pin 180°
63602055GB.fm Page 16 Thursday, January 24, 2008 4:26 PM
17
6. Assemble the top hinge and hinge cover on the left side. (FIG-6)
7. Replace the top bushing and top bushing cap.
(FIG-7) (You can use the bushing cap that is put in the user
manuel bag)
Remove the bottom bushing and bottom stopper and assemble
it to the left side. (FIG-7)
7.1Remove the door handle caps. Unscrew the screws that are
fixing the door handle. Assemble door handle to the right side
by doing the reverse operation. (FIG-7/Detail-A)
(Only for New Emotion design)
8. Remove the top bushing and insert it into left hole. Remove the
right door catcher and assemble the left door catcher (which is
put in the user manual bag) to the left. (FIG-8)
8.1Remove the door handle caps. Unscrew the screws that are
fixing the door handle. Assemble door handle to the right side
by doing the reverse operation. (FIG-8/Detail-A)
(Only for New Emotion design)
9. Turn the middle hinge 180º. Assemble the freezer door and
refrigerator door together with middle hinge (Reverse
operation of item 2)
Fix the middle hinge by tighting the screws.
Finally,by using a knife cut left side of the kick plate and
assemble it. (FIG-9)
Figure-7
Figure-8
Figure-9
FREEZER
DOOR
REFRIGERATOR
DOOR
DETAIL-A
Right catcher
Left catcher
Turn the
middle hinge
180°
Figure-6
DETAIL-A
63602055GB.fm Page 17 Thursday, January 24, 2008 4:26 PM
18
VACATION
Short vacation
There is no need to disconnect the refrigerator from the power supply if you will be away for less than
three weeks. Use up perishable food, freeze other food.
Long vacation
Remove all the food if you are going away for three weeks or more. Unplug the refrigerator and clean it,
rinse and dry.
Fix some wooden or plastic wedges to the upper part of both doors with adhesive tape and leave the
doors open enough for air to circulate inside both compartments. This will prevent odour and mould
from setting in.
Moving
Take out all removable parts, wrap them well, and fix them together with adhesive tape so that they
do not bang together or get lost.
Close and fix both doors with adhesive tape and, again using adhesive tape, fix the power cable to the
appliance.
Power failure
In the event of a power failure, call the local office of your electricity supply company and ask how long
it is going to last.
1. For power failures lasting up to 24 hours, keep both doors of the appliance closed. This will allow
the stored food to stay cold as long as possible.
2. Should the power failure last more than 24 hours, remove all frozen food and put it in a portable
freezer with a key lock. If this type of freezer is not available and, likewise, no artificial ice packs are
available, try to use up the food which is more easily perishable.
3. Bear in mind that a full freezer compartment will stay cold longer than a partially filled one.
4. Empty the ice bucket.
Furthermore, a freezer full of frozen meat will stay cold longer than a freezer filled with pre-cooked
food.
If ice crystals are still visible on the food, it may be frozen again, although flavour and aroma may be
affected. If food is found to be in a poor condition, it is best to throw it away.
63602055GB.fm Page 18 Thursday, January 24, 2008 4:26 PM
19
TROUBLESHOOTING GUIDE / AFTER-SALES
SERVICE
Some noises are normal when the appliance is operating
Before contacting After-sales Service....
Performance problems often result from little things you can find and fix yourself without tools of any
kind.
The appliance is not working
Is the power cord damaged?
Have you checked your home's fuses?
Water collects at the bottom of the refrigerator compartment:
Is the defrost water drain blocked?
If there is water in the defrost pan:
This is normal in hot, damp weather. The pan can even be half full. Make sure the refrigerator is level
so that the water does not overflow.
If the edges of the refrigerator cabinet, which come in contact with the door seal, are warm to
the touch:
This is normal in hot weather and when the compressor is running.
If the light does not work:
Have you checked your home's fuses?
Is the power cable plugged into a live socket with the proper voltage?
Has the light bulb burnt out?
In the case of burnt-out bulbs:
1. Always unplug the appliance from the mains.
See the “Troubleshooting guide/After-sales Service” chapter”.
If the motor seems to run too much:
Is the condenser free of dust and fluff?
Are the doors properly closed?
Are the door seals properly fitted?
On hot days or if the room is warm, the motor naturally runs longer.
The appliance is excessively noisy:
Is the appliance in contact with other furniture or objects?
Are the pipes at the back touching or vibrating?
If the appliance door has been left open for a while or if large amounts of food have been stored, the
motor will run longer in order to cool down the interior of the appliance.
63602055GB.fm Page 19 Thursday, January 24, 2008 4:26 PM
20
AFTER SALES SERVICE
Before contacting After Sales Service:
1. See if you can solve the problem yourself (see
“TROUBLESHOOTING GUIDE / AFTER-SALES
SERVICE”).
2. Switch the appliance on again to see if the
problem has been solved. If it has not, disconnect
the appliance from the power supply and wait for
about an hour before switching on again.
3. If the problem persists after this course of action,
contact After-sales Service.
Specify:
the nature of the fault,
the model,
the Service number (the number after the word
SERVICE on the rating plate inside the appliance),
your full address,
your telephone number and area code
Note:
The direction of door opening can be changed.
If this operation is performed by After-sales
Service it is not covered by the warranty.
Remember
Motor running time depends on different things: number of door openings, amount of food stored,
temperature of the room, setting of the temperature controls.
If, after performing the above checks, your appliance still does not work properly, contact the After-sales
Service, explain the problem, specifying the model and appliance service number (stated on the data
plate).
If the refrigerator temperature is too high
Is the appliance installed near a heat source?
Are the refrigerator controls correctly set?
Has a large amount of food been added to the refrigerator or freezer?
Check that the doors are not opened too often.
Check that the doors close properly.
Make sure that air flow vents inside the compartment are not blocked, as this prevents the circulation
of cold air.
If there is moisture build-up
Make sure that the food is properly packaged. Dry any dampness on food containers before placing
them in the refrigerator.
Check that the doors are not opened too often. When the door is opened, humidity from the room air
enters the refrigerator. The more often the door is opened, the faster humidity builds up, especially
when the room itself is very humid.
If the room is very humid, it is normal for moisture to build up inside the refrigerator.
It is normal for droplets of water to form on the back wall after the refrigerator self-defrosts.
If the doors do not open and close properly
Check that food packages are not blocking the door.
Check that the door trays, shelves and drawers are all positioned correctly.
Check that the door seals are not dirty or sticky.
Ensure the appliance is level.
Always disconnect the refrigerator from the power supply before replacing any light bulbs.
If the inside light is not working:
Disconnect the appliance from the mains power supply.
Depending on the model
Remove the bulb cover (depending on model)
Unscrew or remove the bulb.
Check the bulb and if necessary replace it.
Some models are equipped with a special bulb, which does not unscrew. Pull towards the inside of the
appliance. This bulb is available only from our After-sales Service. Replace using maximum 15W bulb.
63602055GB.fm Page 20 Thursday, January 24, 2008 4:26 PM
21
ELECTRICAL CONNECTION
1) For Great Britain only
Warning - this appliance must be earthed
Fuse replacement
If the mains lead of this appliance is fitted with a BS 1363A
13amp fused plug, to change a fuse in this type of plug use an
A.S.T.A. approved fuse to BS 1362 type and proceed as follows:
1. Remove the fuse cover (A) and fuse (B).
2. Fit replacement 13A fuse into fuse cover.
3. Refit both into plug.
Important:
The fuse cover must be refitted when changing a fuse and if the
fuse cover is lost the plug must not be used until a correct
replacement is fitted.
Correct replacement are identified by the colour insert or the
colour embossed in words on the base of the plug.
Replacement fuse covers are available from your local electrical
store.
2) For the Republic of Ireland only
The information given in respect of Great Britain will frequently
apply, but a third type of plug and socket is also used, the
2-pin, side earth type.
3) Socket outlet / plug (valid for both countries)
If the fitted plug is not suitable for your socket outlet, please
contact Whirlpool Service for further instruction. Please do not
attempt to change plug yourself. This procedure needs to be
carried out by a qualified Whirlpool technician in compliance
with the manufactures instructions and current standard safety
regulations.
63602055GB.fm Page 21 Thursday, January 24, 2008 4:26 PM
  • Page 1 1
  • Page 2 2
  • Page 3 3
  • Page 4 4
  • Page 5 5
  • Page 6 6
  • Page 7 7
  • Page 8 8
  • Page 9 9
  • Page 10 10
  • Page 11 11
  • Page 12 12
  • Page 13 13
  • Page 14 14
  • Page 15 15
  • Page 16 16
  • Page 17 17
  • Page 18 18

Maytag MTM4623NEGW Program Chart

Category
Fridge-freezers
Type
Program Chart
This manual is also suitable for

Ask a question and I''ll find the answer in the document

Finding information in a document is now easier with AI