1
PRINTING FROM WINDOWS
9
CONTENTS
Basic printing
(part 3)
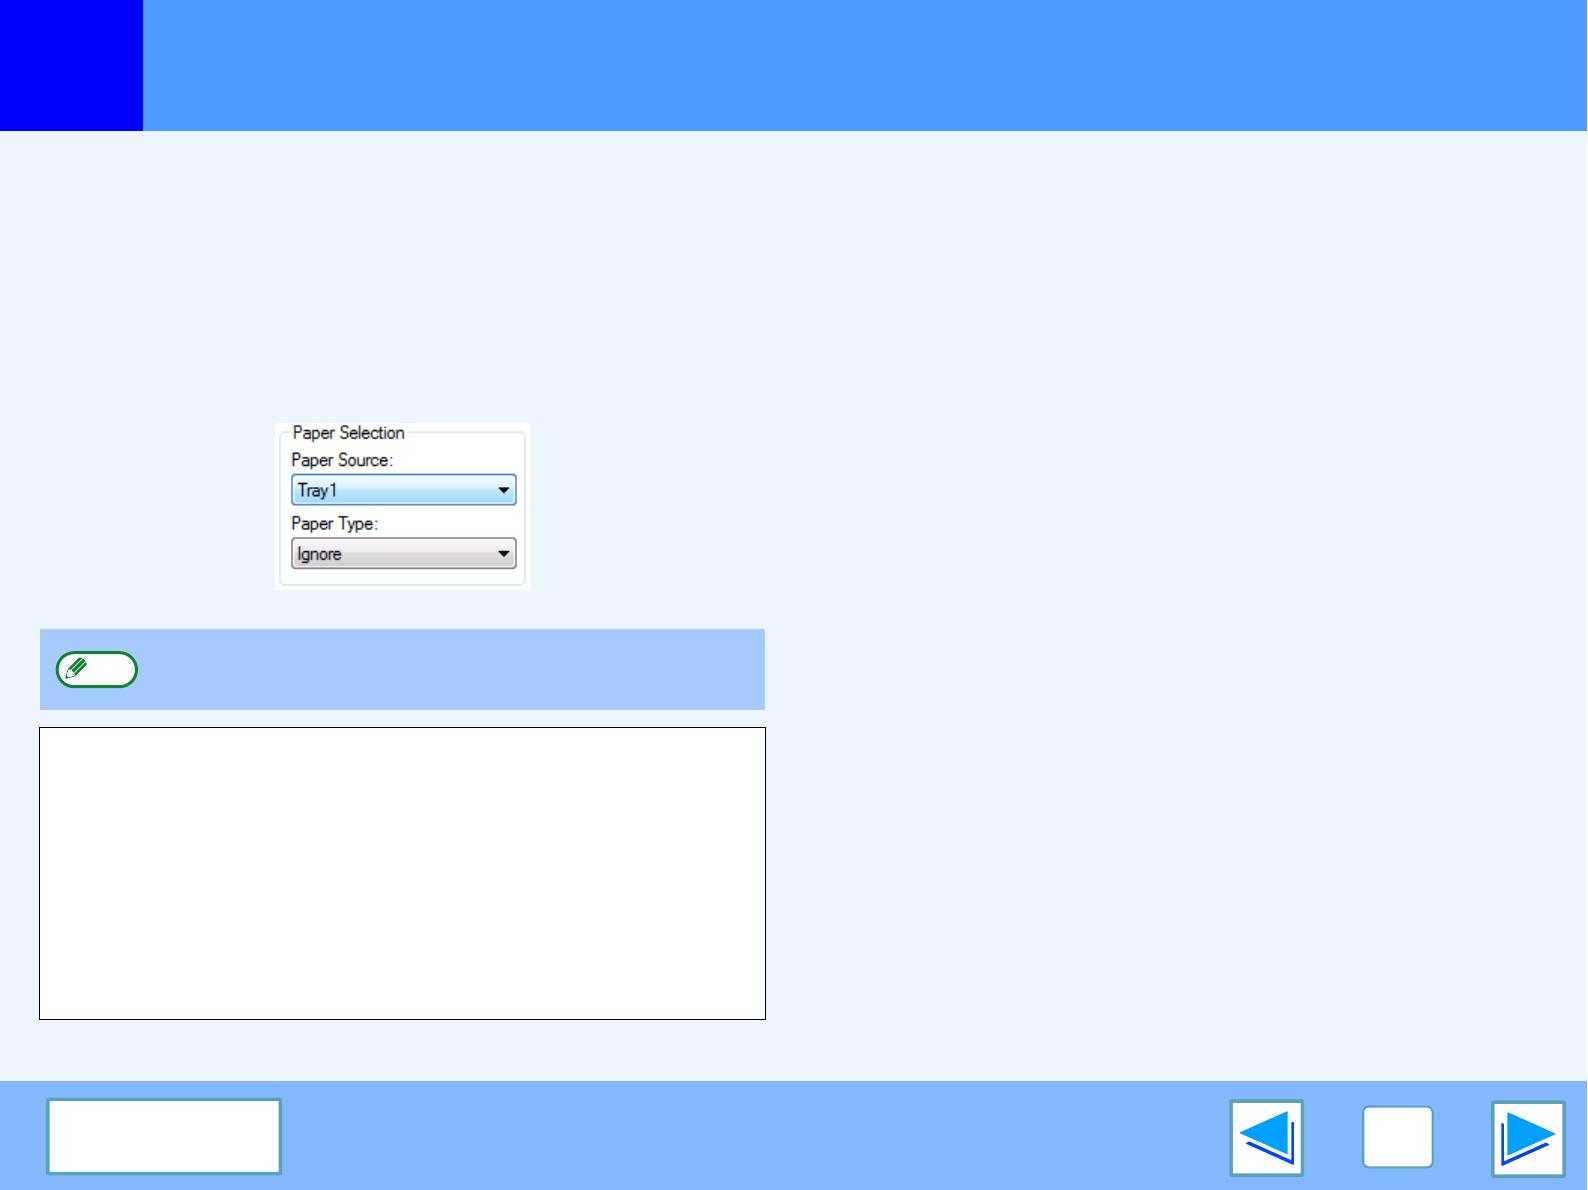
When the "Paper Selection" setting is "Paper Source" or "Paper Type"
When "Paper Selection" in the "Paper" tab of the printer driver
setup screen is set to:
●
Specify the tray to be used for printing in the "Paper Source"
pull-down menu.
●
Specify the type of paper to be used for printing in the
"Paper Type" pull-down menu.
If you selected the "Paper Source" or "Paper Type" in the printer
driver setup screen but there is no paper in the trays that
matches your selection, printing will take place as follows:
You selected a tray in "Paper Source", but the size
of the paper in the selected tray does not match
the printing size.
Even though the paper size is different, printing will take place
using the paper in the selected tray.
You selected a "Paper Type", and although the
selected type of paper is loaded in the machine, its
size does not match the printing size.
Even though the paper size is different, printing will take place
using the selected paper type.
However, if "FORCED OUTPUT OF PRINT" is disabled,
printing will not take place.
You selected a "Paper Type", but the selected type
of paper is not loaded in the machine.
If the bypass tray can be used, a message prompting you to
print from the bypass tray will appear. Press the [PRINT] key on
the operation panel, touch the [BYPASS TRAY] key, load the
correct size and type of paper in the bypass tray, and then
touch the [BYPASS] key. Printing will begin automatically.
"Paper Source" and "Paper Type" cannot be
simultaneously selected.
The size and type of paper loaded in each tray and whether or
not the paper loaded in each tray can be used for printing are
specified in the "TRAY SETTINGS" of the system settings.
(See "SYSTEM SETTINGS (GENERAL)" in the operation
manual.)
If you wish to select the "Paper Source" or "Paper Type" when
printing, be sure to select these settings in the "Configuration"
tab of the printer driver setup screen. (See "CONFIGURING
THE PRINTER DRIVER" in the software setup guide.)
Note


