Dell 2335dn Multifunctional Laser Printer User guide

Category
Laser/LED printers
Type
User guide
Dellâ„¢ 2335dn MFP User's Guide
Click the links to the left for information on the features, options, and operation of your printer. For
information on other documentation included with your printer, see "Finding Information".
To order replacement toner cartridges or supplies from Dell:
Double-click the Dell 2335dn MFP Toner Reorder icon on your desktop.1.
OR
Visit Dell's website, or order Dell printer supplies by phone.2.
http://www.dell.com/supplies
Contacting Dell
NOTE: If you do not have an active Internet connection, you can find contact information on your
purchase invoice, packing slip, bill, or Dell product catalog.
Dell provides several online and telephone-based support and service options. Availability varies by country
and product, and some services may not be available in your area. To contact Dell for sales, technical
support, or customer service issues:
Visit www.support.dell.com.1.
Verify your country or region in the Choose A Country/Region drop-down menu at the bottom of the
page.
2.
Click Contact Us on the left side of the page.3.
Select the appropriate service or support link based on your need.4.
Choose the method of contacting Dell that is convenient for you.5.
Notes, Notices, and Cautions
NOTE: A NOTE indicates important information that helps you make better use of your printer.
NOTICE: A NOTICE indicates either potential damage to hardware or loss of data and tells you how
to avoid the problem.
CAUTION: A CAUTION indicates a potential for property damage, personal injury, or death.
Information in this document is subject to change without notice.
2008-2010 Dell Inc. All rights reserved.
Reproduction of these materials in any manner whatsoever without the written permission of Dell Inc.is
strictly forbidden.
Trademarks used in this text: Dell and DELL logo are trademarks of Dell Inc.; Microsoft and Windows are
registered trademarks of Microsoft Corporation.
PaperPort is a registered trademark of ScanSoft, Inc.
Adobe
®
and PhotoShop
®
are registered trademarks of Adobe Systems Incorporated.
Other trademarks and trade names may be used in this document to refer to the entities claiming the marks
and names of their products. Dell Inc. disclaims any proprietary interest in trademarks and trade names
other than its own.
Finding Information
What Are You
Looking For?
Find It Here
•
Drivers for my
printer
•
My User's
Guide
DRIVERS AND UTILITIES CD
You can use the DRIVERS AND UTILITIES CD to install, uninstall, reinstall drivers and utilities or
access your User's Guide . For details, see "Software Overview" .
Readme files may be included on your DRIVERS AND UTILITIES CD to provide last-minute
updates about technical changes to your printer or advanced technical reference material for
experienced users or technicians.
•
How to use my
printer
Owner's manual
NOTE: Owner's Manual may not be provided with your product depending on your
country.
•
How to set up
my printer
Setup diagram
•
Safety
information
•
Warranty
information
•
Regulatory
Notice
Product Information Guide
Express Service
Express Service Code
Code
Identify your printer when you use support.dell.com or contact technical support.
Enter the Express Service Code to direct your call when contacting technical support. The Express
Service Code is not available in all countries.
•
Latest drivers
for my printer
•
Answers to
technical
service and
support
questions
•
Documentation
for my printer
Dell Support Website: support.dell.com
The Dell Support Website provides several online tools, including:
•
Solutions- Troubleshooting hints and tips, articles from technicians, and online courses
•
Upgrades- Upgrade information for components, such as memory
•
Customer Care- Contact information, order status, warranty, and repair information
•
Downloads- Drivers
•
Reference- Printer documentation and product specifications
You can access Dell Support at support.dell.com . Select your region on the WELCOME TO DELL
SUPPORT page, and fill in the requested details to access help tools and information.
Unpacking Your Printer
Select a location for your printer.1.
CAUTION: The printer requires at least two people to lift it safely.
Leave enough room to open the printer tray, covers, doors, and options. It is also important to allow
enough space around the printer for proper ventilation.
Provide the proper environment:
A firm, level surface
Away from the direct airflow of air conditioners, heaters, or ventilators
Away from sunlight, extreme humidity, or high fluctuations in temperature
A clean, dry, and dust free location
Select a level, stable place with adequate space for air circulation. See "Setting up the hardware"
.
Do not set the machine close to the edge of your desk or table.
NOTE: Leave the printer in the box until you are ready to install it.
In addition to the Dell 2335dn MFP , ensure that you have the following items in the box. If there is a
missing item, contact Dell:
2.
toner cartridge
power cord
a
DRIVERS AND UTILITIES CD
b
owner's manual
c
telephone line cord
a
setup diagram
terminator
d
Product Information Guide
The appearance of the power cord and the telephone line cord may differ according to your country's
specifications.
a.
The DRIVERS AND UTILITIES CD contains Dell printer drivers, Scan drivers, Printer Settings Utility, Set
IP, Macintosh driver, Linux driver, Dell Toner Management System, Dell ScanCenter, PaperPort
®
and
an HTML User's Guide.
b.
Owner's Manual may not be provided with your product depending on your country.c.
This item is only provided in some countries.d.
NOTE: Use the telephone line cord supplied with your printer. You can also use AWG#26 or lower
gauge cord that is less than 250 cms in length.
NOTE: The power cord must be plugged into a grounded power socket.
Save the carton and packing material in case the printer needs to be repacked.3.
Remove the packing tape from the front, back and, sides of the printer.4.
Remove the label completely from the scanner module by gently pulling it. The scan unlock switch
should move forward to the unlock position as the label is pulled out.
5.
5.
NOTE: To confirm the scanner is unlocked, open the scanner cover and ensure that the blue
latch is in the unlocked ( ) position. If the latch is not in the unlocked position, reach under
the operator panel and pull it forward. If the scan switch is locked, you can not copy or scan.
NOTE: When you are moving the printer or do not intend to use it for a long period of time,
move the switch BACKWARD to the lock position, as shown.
To scan or copy a document, the switch must be unlocked.
About Your Printer
These are the main components of your printer. The following illustrations show the standard Dell 2335dn
MFP and an optional tray 2 attached:
Front View
Rear View
Operator Panel Button Functions
Common Keys
Press:
To:
Scroll through available options.
Confirm the selection on the display.
Return to the upper menu.
Stop an operation at any time, or return to main menu.
Start a job.
Fax Keys
Press:
To:
Dial/Enter number or enter alphanumeric characters.
Store frequently used fax numbers in memory or search for stored fax
numbers or email addresses.
It also allows you to print a Phonebook list.
Insert a pause into a fax number in edit mode.
Understanding the Status LED
When the problem occurs, the Status LED indicates the machine's condition by the light color of it's action.
Status
Description
Off
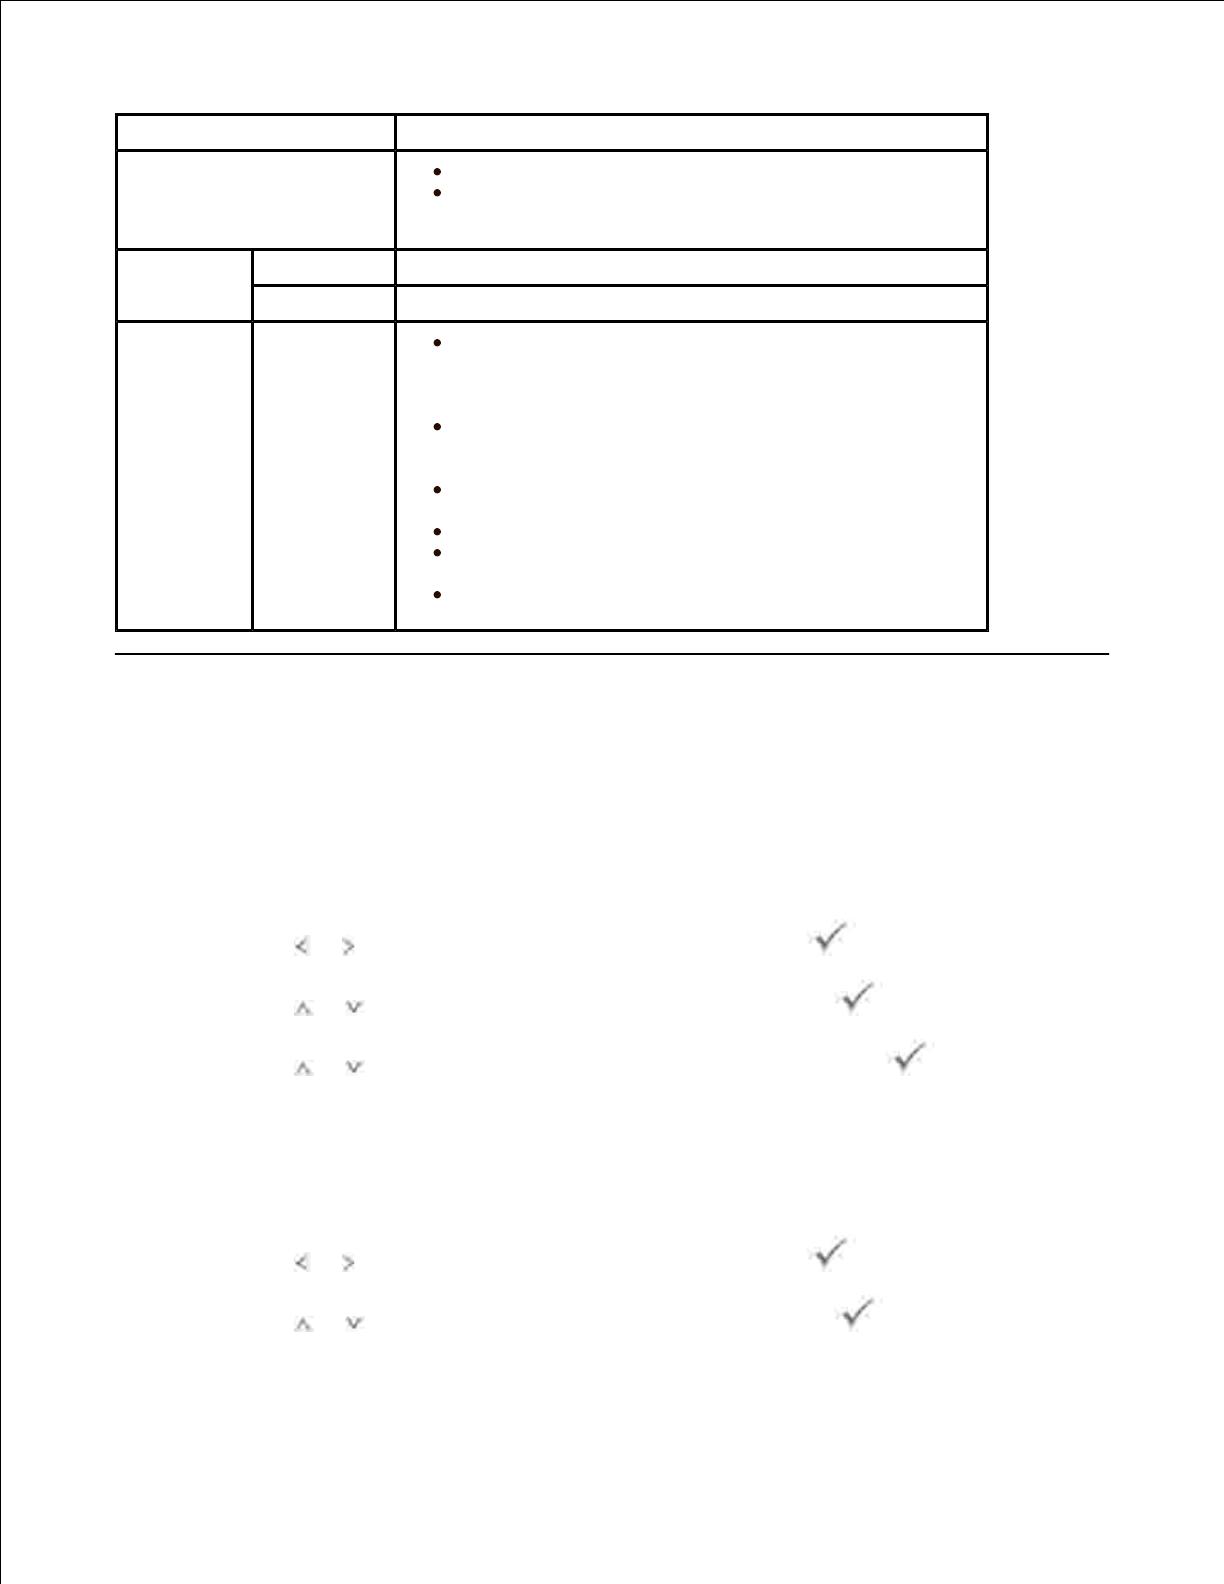
The machine is off-line.
The machine is in power save mode. When data is
received, or any button is pressed, it switches to on-line
automatically.
Green
Blinking
The machine is warming up or ready to receive the data.
On
The machine is on-line and can be used.
Orange
Blinking
A minor error has occurred and the machine is
waiting the error to be cleared. Check the display
message. When the problem is cleared, the machine
resumes.
The toner cartridge is low. Order a new toner
cartridge. You can temporarily improve print quality by
redistributing the toner.
The toner cartridge is totally empty. Remove the
old toner cartridge and install a new one.
A paper jam has occurred.
There is no paper in the tray. Load paper in the
tray.
The machine has stopped due to a major error.
Check the display message.
Internal Fonts
The Dell 2335dn MFP Laser printer supports the PCL and PS fonts.
If you want to see the PCL and PS font list, follow these steps:
Printing the PCL Font list
Press Scroll ( or ) to highlight Setup and then press Select ( ).1.
Press Scroll ( or ) to highlight Reports and then press Select ( ).2.
Press Scroll ( or ) to highlight PCL Font List and then press Select ( ).3.
PCL Font list pages print out.4.
Printing the PS3 Font list
Press Scroll ( or ) to highlight Setup and then press Select ( ).1.
Press Scroll ( or ) to highlight Reports and then press Select ( ).2.
3.
4.
2.
Press Scroll ( or ) to highlight PS Font List and then press Select ( ).3.
PS Font list pages print out.4.
NOTE: You can add additional PCL fonts and PS fonts in Printer Settings Utility. See "Printer Settings
Utility" .
Setting up the hardware
This section shows the steps to set up the hardware which is explained in the Placemat. Make sure you read
Placemat and complete following steps.
Select a stable location.1.
Select a level, stable place with adequate space for air circulation. Allow extra space to open covers
and trays.
The area should be well-ventilated and away from direct sunlight or sources of heat, cold, and
humidity. Do not set the machine close to the edge of your desk or table.
Place the machine on a flat, stable surface so that there is no incline greater than 2 mm (0.08 inch).
Otherwise, printing quality may be affected.
Unpack the machine and check all the enclosed items.2.
Remove the tape holding the machine tightly.3.
Install both the print cartridge.4.
Load paper. See "Loading Paper" .5.
Make sure that all the cables are connected to the printer.6.
Turn the printer on.7.
NOTE: When you move the printer, do not tilt or turn it upside down. Otherwise, the inside of the
printer may be contaminated by toner, which can cause damage to the printer or bad printing quality.
Installing the Toner Cartridge
Open the front cover.1.
CAUTION: To prevent damage, do not expose the toner cartridge to light for more than a
few minutes.
CAUTION: Do not touch the green underside of the toner cartridge. Use the handle on the
cartridge to avoid touching this area.
2.
Remove the toner cartridge from its bag and thoroughly shake the cartridge from side-to-side to
distribute the toner evenly inside the cartridge.
2.
NOTE: If toner comes into contact with your clothing, wipe the toner off with a dry cloth and
wash your clothing in cold water. Hot water sets toner into fabric.
Holding the toner cartridge by the handle, slide it into the printer until it locks firmly into place.3.
Close the front cover.4.
Loading Paper
Load up to 250 sheets of plain paper (75 g/m
2
, 20lb) in the paper tray.
NOTE: Set the paper type and size after loading paper into the paper tray. See "Setting the Paper
Type" and "Setting the Paper Size" for the paper used in copying and faxing, or "Paper Tab" for
Computer printing.
Load the paper:
Pull the paper tray out of the printer.1.
If you load paper that is longer than a standard (Letter or A4) size, such as Legal paper, press and
unlatch the guide lock, and then slide the paper length guide out completely to extend the paper tray
to its full length.
2.
Slide in the paper length guide until it rests against the end of the paper stack.3.
3.
For paper smaller than Letter size, adjust the rear paper length guide so that it lightly touches the
paper stack.
Pinch the paper width guide, and move it towards the stack of paper until it touches the side of the
stack.
4.
Flex the sheets back and forth to loosen them, and then fan them out. Do not fold or crease the print
media. Align the edges on a level surface.
5.
Insert the paper stack into the paper tray with the side to be printed on facing down.6.
6.
Do not exceed the maximum stack height indicated by the paper limit marks on the both inside walls of
the tray.
7.
NOTE: Overloading the paper tray may cause paper jams.
NOTE: Improper adjustment of paper guides can result in paper jams.
Slide the paper tray back into the printer.8.
9.
Set the paper type and size. For more information, see "Setting the Paper Type" and "Setting the Paper
Size" .
9.
Making Connections
Connecting the Telephone Line
Plug one end of a telephone line cord into the RJ11 telephone line socket (FAX) and the other end into
an active wall jack.
1.
To connect a telephone and/or answering machine to your printer, remove the plug from the extension
telephone socket (EXT) ( ) and plug the telephone or answering machine into the extension
telephone socket (EXT).
Alternative setup of Fax connected to a wall socket and a external phone or Telephone answering
device (TAD).
2.
If connecting a FAX using an answering machine or telephone answering device (TAD).
NOTE: Set rings to answer to digit greater than the "Ring To Answer" setting for the telephone
answering device (TAD).
If connecting a FAX using a computer modem.
NOTE: Set rings to answer to digit greater than the "Ring To Answer" setting for the telephone
answering device (TAD).
NOTE: For additional information, see "Using an Answering machine" or "Using a Computer Modem" .
NOTE: Phone adaptor not supplied with unit for UK setup, advice to buy from local market or check
with telephone service provider. Terminator plug is provided along the unit.
If the phone communication is serial in your coun try (such as Germany, Sweden, Denmark, Austria,
Belgium, Italy, France, and Switzerland), remove the plug from the extension telephone socket (EXT) ( )
and insert the supplied terminator.
Connecting the Printer Cable
Connecting the printer Locally
Local printer refers to a printer connected to your computer using a USB cable. If your printer is attached to
a network instead of your computer, skip this step and go on to "Connecting the printer to the Network" .
NOTE: USB cables are sold separately. Contact Dell to purchase a USB cable.
NOTE: Connecting the printer to the USB port of the computer requires a certified USB cable. You will
need to buy a USB 2.0 compliant cable that is about 3 m in length.
Ensure that the printer, computer, and any other attached devices are powered off and unplugged.1.
Connect a USB cable to the USB port on your printer.2.
  • Page 1 1
  • Page 2 2
  • Page 3 3
  • Page 4 4
  • Page 5 5
  • Page 6 6
  • Page 7 7
  • Page 8 8
  • Page 9 9
  • Page 10 10
  • Page 11 11
  • Page 12 12
  • Page 13 13
  • Page 14 14
  • Page 15 15
  • Page 16 16
  • Page 17 17
  • Page 18 18
  • Page 19 19
  • Page 20 20
  • Page 21 21
  • Page 22 22
  • Page 23 23
  • Page 24 24
  • Page 25 25
  • Page 26 26
  • Page 27 27
  • Page 28 28
  • Page 29 29
  • Page 30 30
  • Page 31 31
  • Page 32 32
  • Page 33 33
  • Page 34 34
  • Page 35 35
  • Page 36 36
  • Page 37 37
  • Page 38 38
  • Page 39 39
  • Page 40 40
  • Page 41 41
  • Page 42 42
  • Page 43 43
  • Page 44 44
  • Page 45 45
  • Page 46 46
  • Page 47 47
  • Page 48 48
  • Page 49 49
  • Page 50 50
  • Page 51 51
  • Page 52 52
  • Page 53 53
  • Page 54 54
  • Page 55 55
  • Page 56 56
  • Page 57 57
  • Page 58 58
  • Page 59 59
  • Page 60 60
  • Page 61 61
  • Page 62 62
  • Page 63 63
  • Page 64 64
  • Page 65 65
  • Page 66 66
  • Page 67 67
  • Page 68 68
  • Page 69 69
  • Page 70 70
  • Page 71 71
  • Page 72 72
  • Page 73 73
  • Page 74 74
  • Page 75 75
  • Page 76 76
  • Page 77 77
  • Page 78 78
  • Page 79 79
  • Page 80 80
  • Page 81 81
  • Page 82 82
  • Page 83 83
  • Page 84 84
  • Page 85 85
  • Page 86 86
  • Page 87 87
  • Page 88 88
  • Page 89 89
  • Page 90 90
  • Page 91 91
  • Page 92 92
  • Page 93 93
  • Page 94 94
  • Page 95 95
  • Page 96 96
  • Page 97 97
  • Page 98 98
  • Page 99 99
  • Page 100 100
  • Page 101 101
  • Page 102 102
  • Page 103 103
  • Page 104 104
  • Page 105 105
  • Page 106 106
  • Page 107 107
  • Page 108 108
  • Page 109 109
  • Page 110 110
  • Page 111 111
  • Page 112 112
  • Page 113 113
  • Page 114 114
  • Page 115 115
  • Page 116 116
  • Page 117 117
  • Page 118 118
  • Page 119 119
  • Page 120 120
  • Page 121 121
  • Page 122 122
  • Page 123 123
  • Page 124 124
  • Page 125 125
  • Page 126 126
  • Page 127 127
  • Page 128 128
  • Page 129 129
  • Page 130 130
  • Page 131 131
  • Page 132 132
  • Page 133 133
  • Page 134 134
  • Page 135 135
  • Page 136 136
  • Page 137 137
  • Page 138 138
  • Page 139 139
  • Page 140 140
  • Page 141 141
  • Page 142 142
  • Page 143 143
  • Page 144 144
  • Page 145 145
  • Page 146 146
  • Page 147 147
  • Page 148 148
  • Page 149 149
  • Page 150 150
  • Page 151 151
  • Page 152 152
  • Page 153 153
  • Page 154 154
  • Page 155 155
  • Page 156 156
  • Page 157 157
  • Page 158 158
  • Page 159 159
  • Page 160 160
  • Page 161 161
  • Page 162 162
  • Page 163 163
  • Page 164 164
  • Page 165 165
  • Page 166 166
  • Page 167 167
  • Page 168 168
  • Page 169 169
  • Page 170 170
  • Page 171 171
  • Page 172 172
  • Page 173 173
  • Page 174 174
  • Page 175 175
  • Page 176 176
  • Page 177 177
  • Page 178 178
  • Page 179 179
  • Page 180 180
  • Page 181 181
  • Page 182 182
  • Page 183 183
  • Page 184 184
  • Page 185 185
  • Page 186 186
  • Page 187 187
  • Page 188 188
  • Page 189 189
  • Page 190 190
  • Page 191 191
  • Page 192 192
  • Page 193 193
  • Page 194 194
  • Page 195 195
  • Page 196 196
  • Page 197 197
  • Page 198 198
  • Page 199 199
  • Page 200 200
  • Page 201 201
  • Page 202 202
  • Page 203 203
  • Page 204 204
  • Page 205 205
  • Page 206 206
  • Page 207 207
  • Page 208 208
  • Page 209 209
  • Page 210 210
  • Page 211 211
  • Page 212 212
  • Page 213 213
  • Page 214 214
  • Page 215 215
  • Page 216 216
  • Page 217 217
  • Page 218 218
  • Page 219 219
  • Page 220 220
  • Page 221 221
  • Page 222 222
  • Page 223 223
  • Page 224 224
  • Page 225 225
  • Page 226 226
  • Page 227 227
  • Page 228 228
  • Page 229 229
  • Page 230 230
  • Page 231 231
  • Page 232 232
  • Page 233 233
  • Page 234 234
  • Page 235 235
  • Page 236 236
  • Page 237 237
  • Page 238 238
  • Page 239 239
  • Page 240 240
  • Page 241 241
  • Page 242 242
  • Page 243 243
  • Page 244 244
  • Page 245 245
  • Page 246 246
  • Page 247 247
  • Page 248 248
  • Page 249 249
  • Page 250 250
  • Page 251 251
  • Page 252 252
  • Page 253 253
  • Page 254 254
  • Page 255 255
  • Page 256 256
  • Page 257 257
  • Page 258 258
  • Page 259 259
  • Page 260 260
  • Page 261 261
  • Page 262 262
  • Page 263 263
  • Page 264 264
  • Page 265 265
  • Page 266 266
  • Page 267 267
  • Page 268 268
  • Page 269 269
  • Page 270 270
  • Page 271 271
  • Page 272 272
  • Page 273 273
  • Page 274 274
  • Page 275 275
  • Page 276 276
  • Page 277 277
  • Page 278 278
  • Page 279 279
  • Page 280 280
  • Page 281 281
  • Page 282 282
  • Page 283 283
  • Page 284 284

Dell 2335dn Multifunctional Laser Printer User guide

Category
Laser/LED printers
Type
User guide

Ask a question and I''ll find the answer in the document

Finding information in a document is now easier with AI