en
12
Freezer compartment
Use the freezer compartment for the
following:
■ Storing deep frozen food.
■ To make ice cubes.
■ To freeze food.
Note
Make sure that the freezer compartment door is always
closed. When the door is open, the frozen foods defrost
and the freezer compartment ices up heavily. In
addition: Energy is wasted due to the power
consumption.
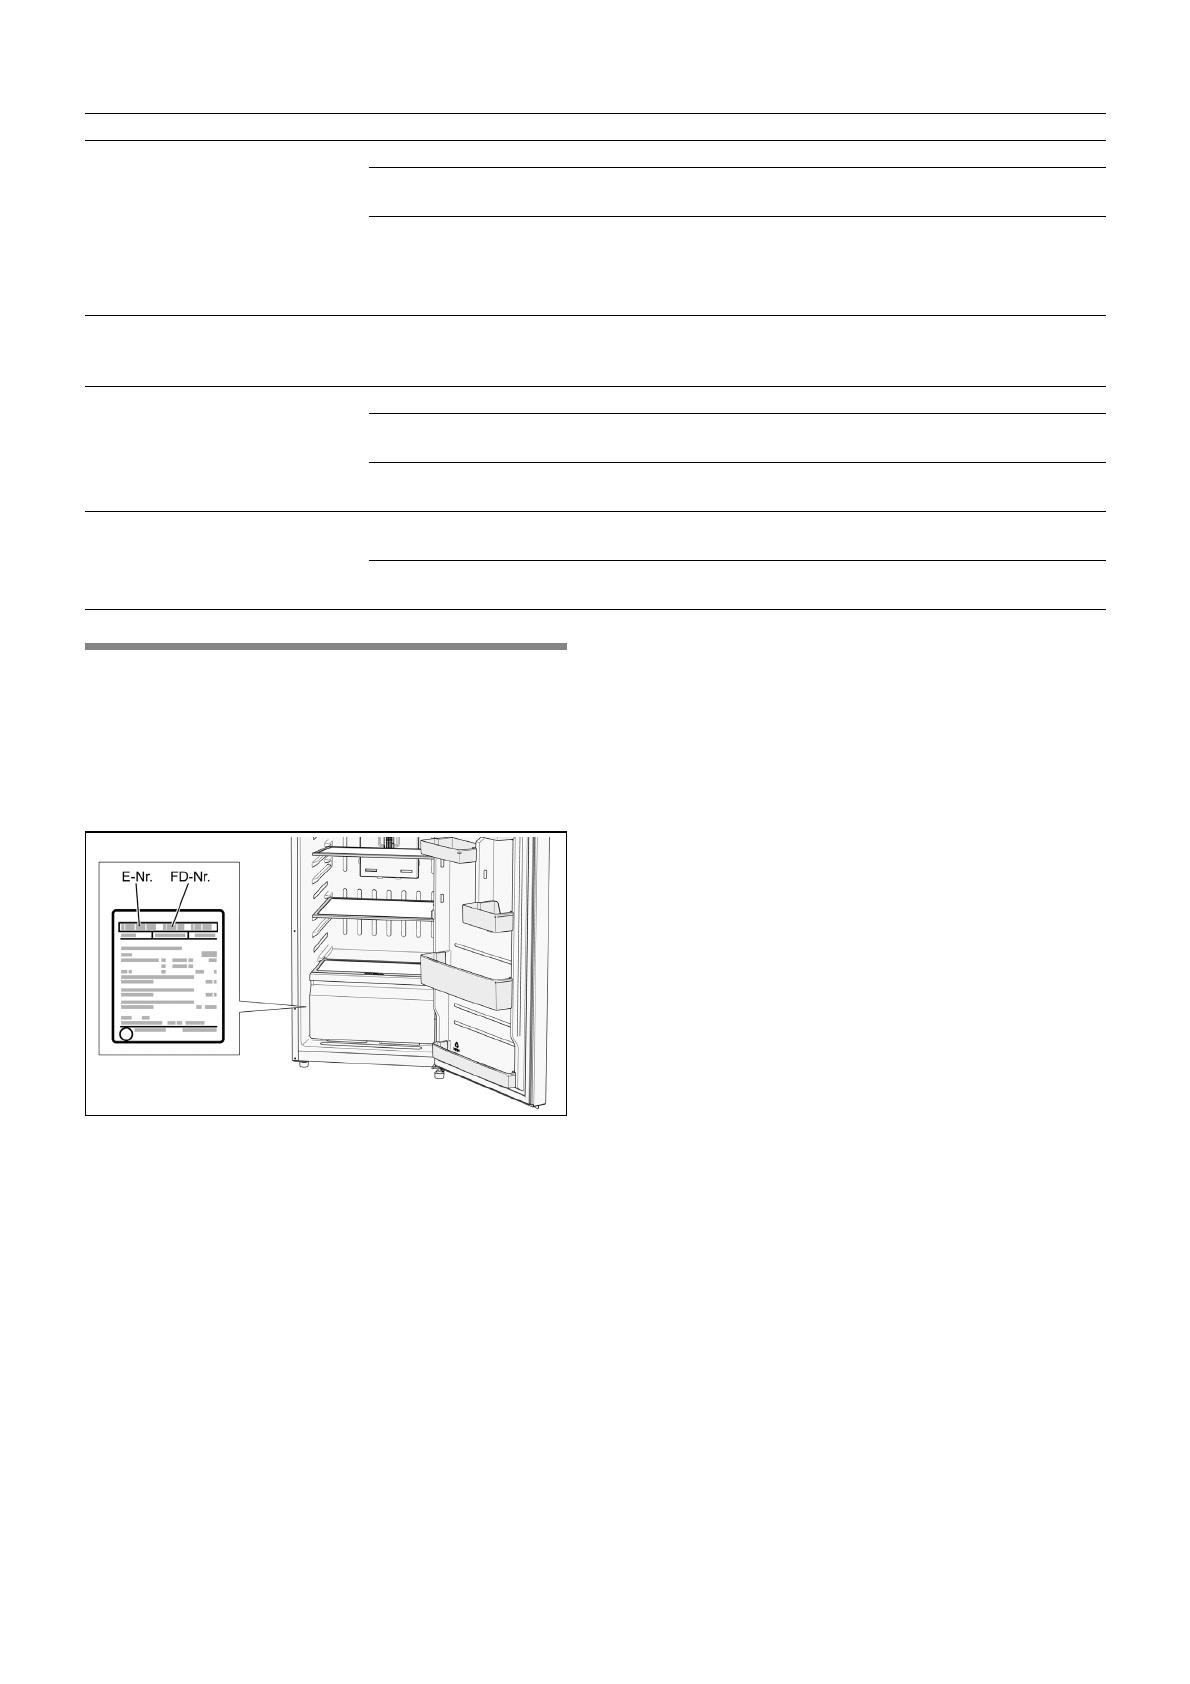
Max. freezing capacity
You will find information on the maximum freezing
capacity in 24 hours on the rating plate.
Conditions for use of max. freezing
capacity
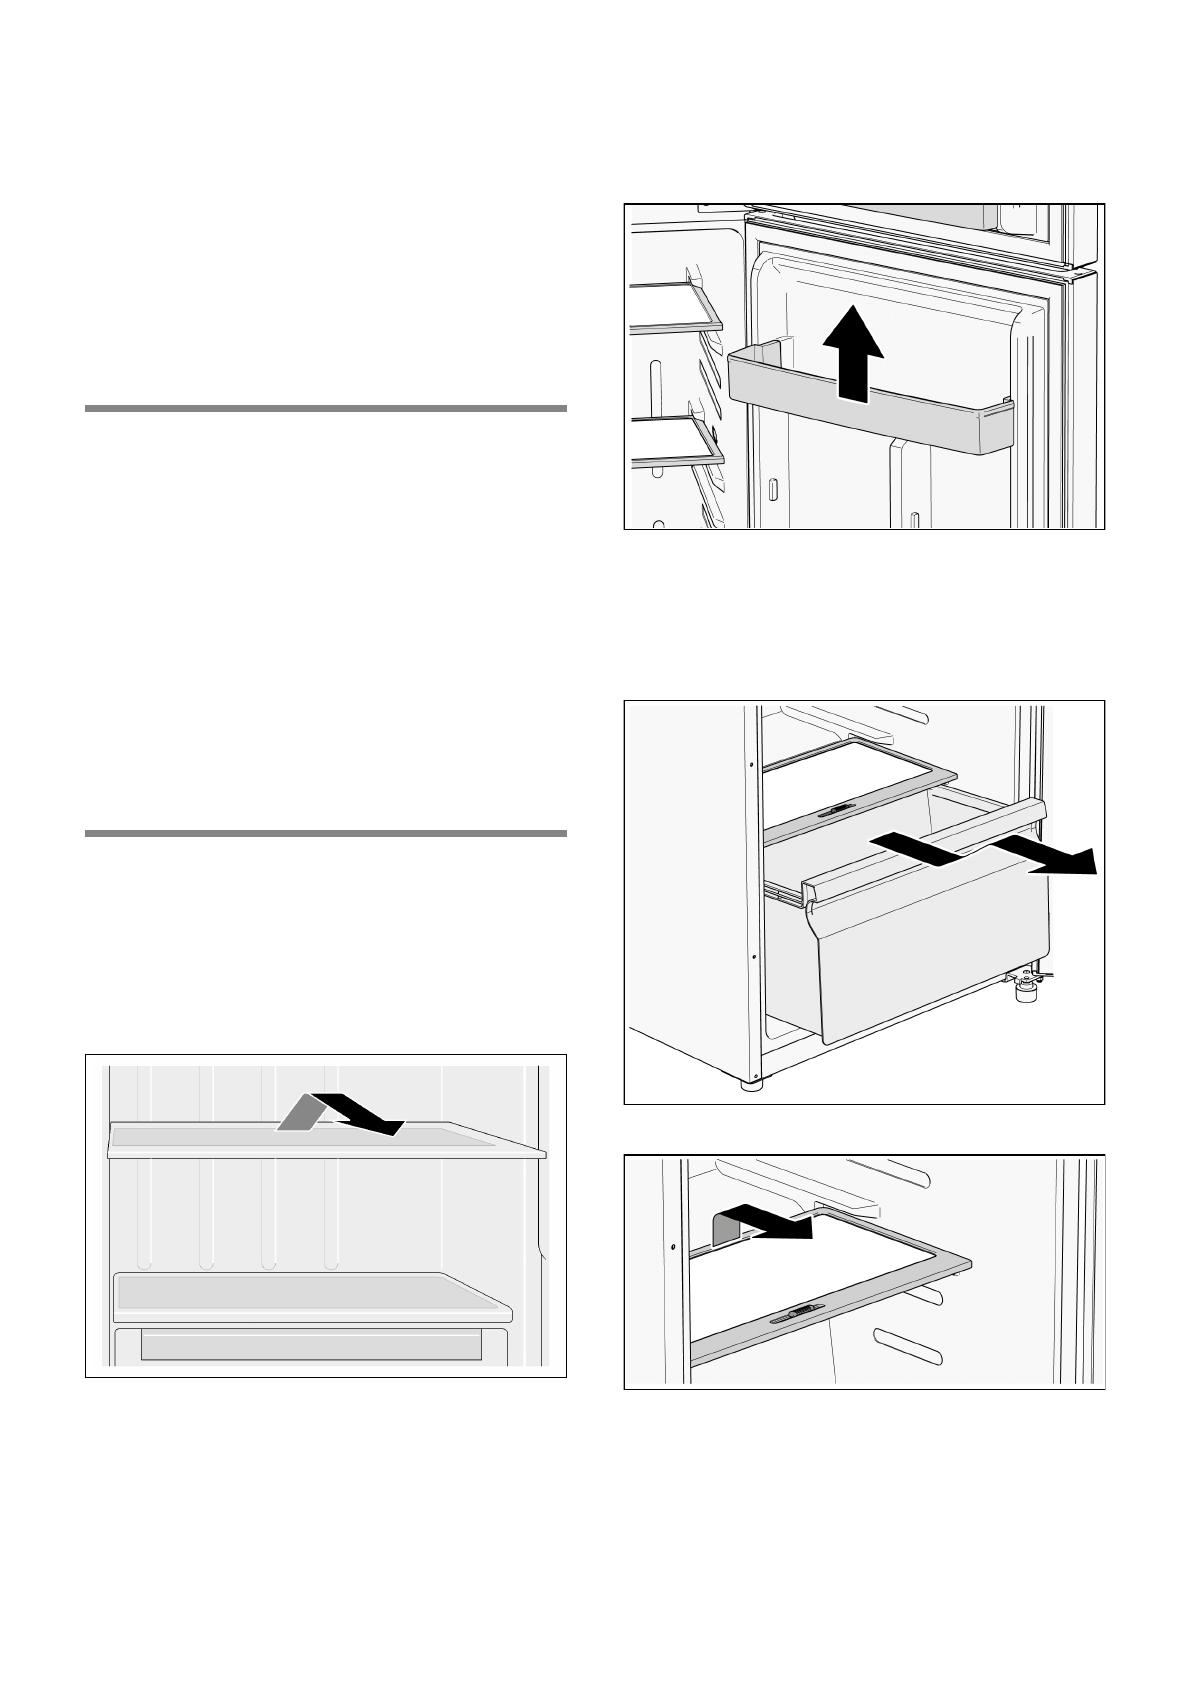
■ Remove the freezer compartment fittings.
■ Stack the food directly on the shelves and the
bottom of the freezer compartment.
Note
Do not cover over the ventilation slots in the rear
panel with the food you are freezing.
Freezing and storing
Purchasing frozen foods
■ Packaging must not be damaged.
■ Observe the best before date.
■ The temperature in the commercial chest freezer
must be -18 °C or colder.
■ As far as possible, frozen food must be transported
in an insulated container and quickly placed in the
freezer compartment.
When arranging the food, note the
following:
Spread the items out well in the compartments/trays.
Note
Food that is already frozen must not come into contact
with the food that is to be freshly frozen.
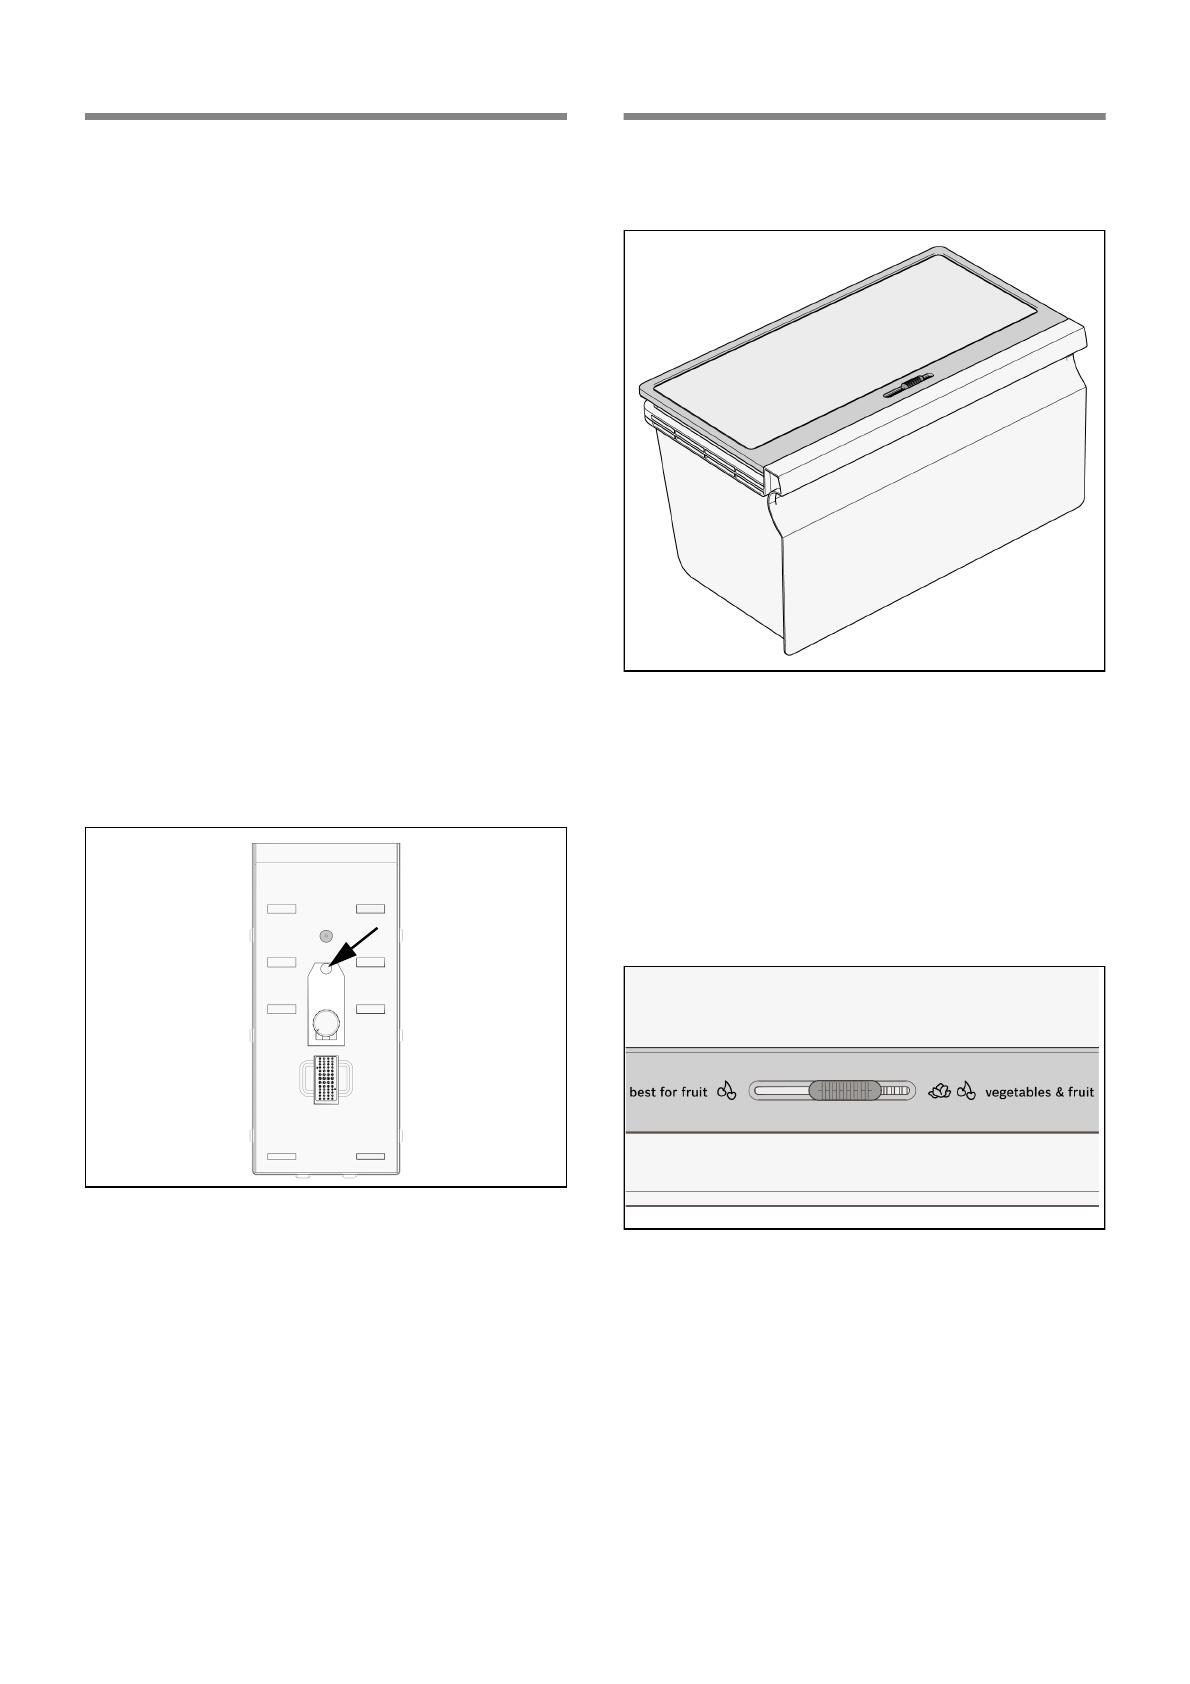
Storing frozen food
If lots of food is to be stored, you can remove the glass
shelf.
Avoid contact between food and rear panel. Otherwise
the air circulation will be impaired.
Food or packaging could freeze to the rear panel.
Freezing fresh food
Only use fresh, undamaged food for freezing.
In order to retain the nutritional value, aroma and colour
of the food as much as possible, blanch vegetables
before they are frozen.
Blanching is not required for aubergines, peppers,
courgettes and asparagus.
You can find literature about freezing and blanching in
bookshops.
Note
Do not allow food that is to be frozen to sit right next to
food that has already been frozen.
■ The following are suitable for freezing:
Baked goods, fish and seafood, meat, game, poultry,
vegetables, fruit, herbs, eggs without their shells,
dairy products such as cheese, butter and curd
cheese, prepared dishes and leftovers such as
soups, stews, cooked meat and fish, potato dishes,
baked casseroles and sweet foods.
■ The following are not suitable for freezing:
types of vegetable that are usually eaten raw, such
as lettuces or radishes, eggs in their shells, grapes,
whole apples, pears and peaches, hard-boiled eggs,
yoghurt, curds, soured cream, crème fraîche and
mayonnaise.
Packing frozen food
Pack food so that it is airtight to prevent it from losing
its flavour or drying out.
1. Store food in its packaging.
2. Press out any air.
3. Close the packaging tightly.
4. Label packaging with its contents and date of
freezing.
The following are suitable as packaging:
Plastic film, polyethylene hose film, aluminium foil,
freezer bags.
You will find these products at your specialist dealer.
The following are not suitable as packaging:
Wrapping paper, greaseproof paper, cellophane,
rubbish bags and used shopping bags.
The following are suitable for sealing packaging:
Rubber bands, plastic clips, pack-twines, cold-resistant
scotch tape, or similar.
Polyethylene bags and hose film can be fused closed
using a bag sealer.