Page is loading ...

MIRROR WITH HALOGENOUS ILLUMINATION
INSTRUCTIONS FOR ASSEMBLY: Read these instructions
sincerely before any manipulation of this mirror.
1. ATTENTION: Never put the mirror on the floor or on hard
surfaces.
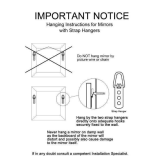
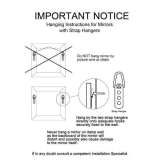
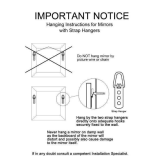
2. FITTING INSTRUCTIONS FOR MIRROR. The mirror should be
installed outside of the volumes 1 and 2, or inside the
volume 2 but, in the case, the plug base should be at a
distance of more than a meter of the bathtub or shower
plate, according to illustration A (the distances that
determine each volume can vary depending on the laws of
each country). Once choose the place where put it, make
two drills of 5 millimeters in the wall at a distance of the
metallic hangers of the mirror. Insert the plastic plugs in the
hole and screw the hooks in them.
3. ASSEMBLY OF THE LIGHTS. Check that lights type takes
your mirror (B, C, or D) and to fix it to the same one, install
it following the corresponding illustration. It is very
important don’t forget to put the washer and don’t tighten
in excess the nut, since you could break the mirror.
4. ASSEMBLY OF THE SHELF. If your mirror takes shelf, the
glass shelf will be in the back part of the mirror. To place it,
loosen the screw located under the two brackets, put the
glass shelf them, and screw gently until the glass shelf is
fixed.
5. ASSEMBLY OF ELECTRIC INSTALLATION. To connect the
cable from the lights to the cables on the electric net, work
on the following way, according to illustration E:
a) Disconnect the general switch of the electric net
before carrying out the connection. The electric
installation has to be protected by a differential device
of 30MA.
b) Open the two covers of the transformer located in the
back part of the mirror according to illustration E(1)
c) Loosen the screws of the poles of the transformer
placed in the part that indicates SEC AC 12 V.
d) Connect the brown cables coming from each light to
the poles L of the transformer, a single cable for each
pole, and in a same way, the blue cables coming from
each light to the poles N of the transformer and, press
the screws again.
e) Loosen the screws of the poles of the transformer
place in the part that indicates PRI AC 230 V.
f) Connect the brown cable coming from the electric net
to the pole L of the transformer, the blue one to the
pole N, and press the screws again.
g) Place the covers of the transformer again holding them
by means of the screws.
h) Connect the general switch of the electric net again
6. Hang the mirror on the two hooks and it will have finished
your installation.
The manufacturer and the distributor won’t take the responsibility for eventual
physical damages taken place by a faulty application and inadequate use of this
product.
/
