Monte Carlo Fan Company 5LNR52XXD Series User manual
- Category
- Household fans
- Type
- User manual
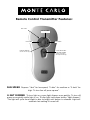
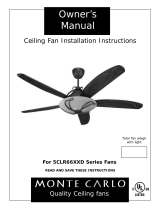
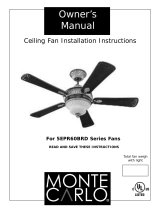
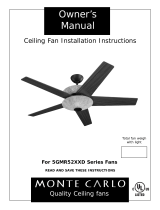
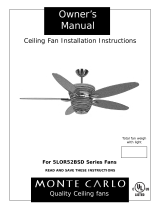
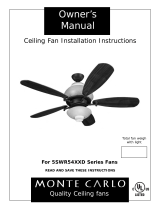
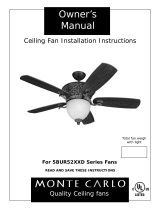
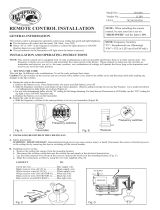
Monte Carlo Fan Company 5LNR52XXD Series is a ceiling fan with a light kit that can be controlled remotely. It features 3-speed and reversible motor, remote control with dimming capabilities, and a stylish design that complements any home décor. The fan is suitable for both indoor and outdoor use, making it a versatile choice for cooling and circulating air in various spaces.
Monte Carlo Fan Company 5LNR52XXD Series is a ceiling fan with a light kit that can be controlled remotely. It features 3-speed and reversible motor, remote control with dimming capabilities, and a stylish design that complements any home décor. The fan is suitable for both indoor and outdoor use, making it a versatile choice for cooling and circulating air in various spaces.


-
 1
1
-
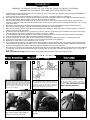 2
2
-
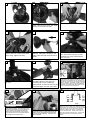 3
3
-
 4
4
-
 5
5
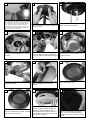
-
 6
6
-
 7
7
-
 8
8


Monte Carlo Fan Company 5LNR52XXD Series User manual
- Category
- Household fans
- Type
- User manual
Monte Carlo Fan Company 5LNR52XXD Series is a ceiling fan with a light kit that can be controlled remotely. It features 3-speed and reversible motor, remote control with dimming capabilities, and a stylish design that complements any home décor. The fan is suitable for both indoor and outdoor use, making it a versatile choice for cooling and circulating air in various spaces.
Ask a question and I''ll find the answer in the document
Finding information in a document is now easier with AI
Related papers
-
 Monte Carlo Fan Company 5CLR66XXD Series User manual
-
 Monte Carlo Fan Company 5EPR60BRD Series User manual
-
 Monte Carlo Fan Company 5GMR52XXD Series User manual
-
 Monte Carlo Fan Company 5BUR52XXD Series User manual
-
 Monte Carlo Fan Company 5BUR52XXD Series User manual
-
Monte Carlo Fan Company 5SRR54XXD Series Installation Instructions Manual
-
 Monte Carlo Fan Company 5BUR52XXD Series User manual
-
Monte Carlo 5CNR52 Installation guide
-
 Monte Carlo Fan Company 5FNR60 Series Installation Instructions Manual
-
Monte Carlo Fan Company 5AHR60 User manual


Other documents
-
 Monte Carlo 3MO52RBO-L Installation guide
-
Hampton Bay 51012 User guide
-
 Hampton Bay 42010 User guide
-
 Generation Lighting CT150 Operating instructions
-
 Hampton Bay 70830 Operating instructions
-
TroposAir 1133+1135 Installation guide
-
Sea gull lighting 16004-15 User guide
-
Home Decorators Collection 26660 User guide
-
-
 Hunter Fan 20321 Owner's manual


