3-2
ASUS LCD Monitor VX279H, VX279Q
In the Standard Mode, the Saturation, Skin Tone, Sharpness, and
ASCR functions are not user-configurable.
In the sRGB Mode, the Brightness, Contrast, Saturation, Color
Temp., Skin Tone, Sharpness, and ASCR functions are not user-
configurable.
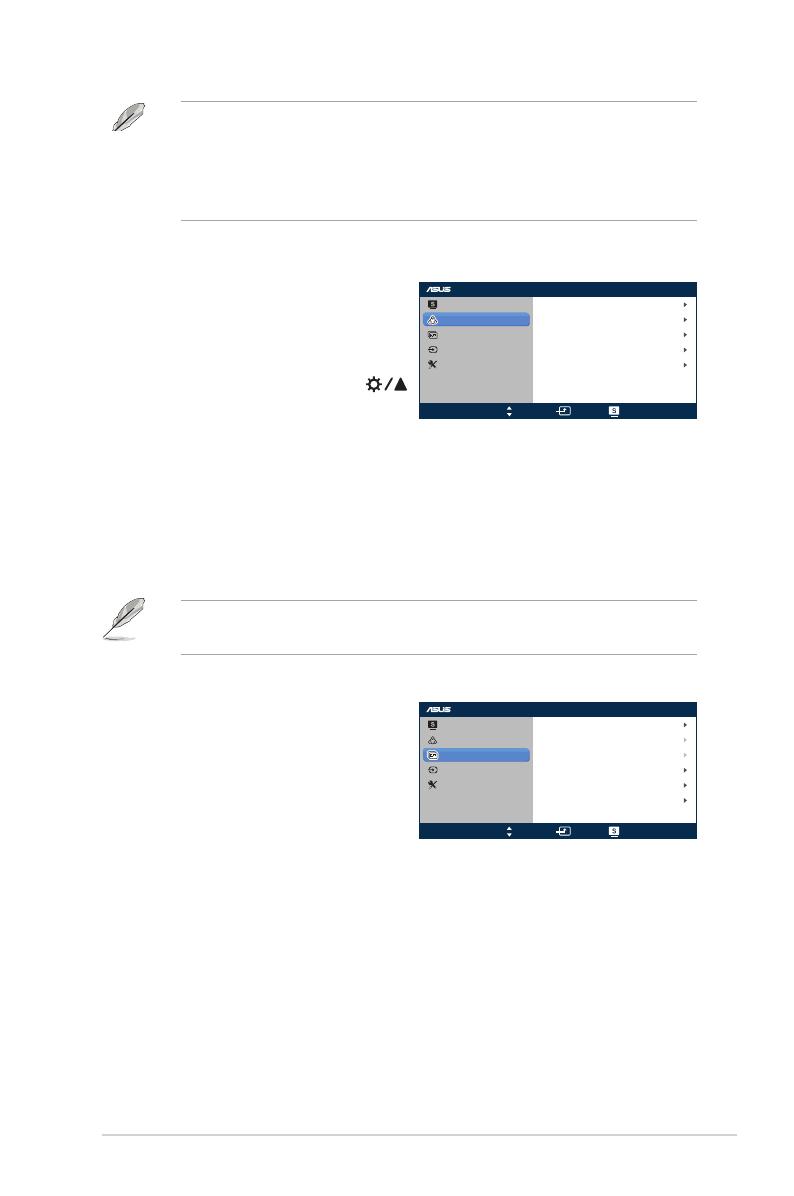
2. Color
You can adjust Brightness, Contrast,
Saturation, Color Temp., and Skin
Tone from this menu.
• Brightness: the adjusting
range is from 0 to 100.
button is a hotkey to activate
this function.
• Contrast: the adjusting range is from 0 to 100.
• Saturation: the adjusting range is from 0 to 100.
• Color Temp.: contains four modes including Cool, Normal,
Warm and User Mode.
• Skin Tone: contains three color modes including Reddish,
Natural, and Yellowish.
In the User Mode, colors of R (Red), G (Green), and B (Blue) are
user-configurable; the adjusting range is from 0 ~ 100.
3. Image
You can adjust Sharpness, Aspect
Control, Vivid Image, ASCR, Position
(VGA only), and Focus (VGA only)
from this menu.
• Sharpness: the adjusting
range is from 0 to 100.
• Aspect Control: adjusts the aspect ratio to “Full”, “4:3”, or “Over
Scan” (only available for HDMI input.)
• VividPixel: enhances the outline of the displayed picture and
generates high-quality images on screen.
• ASCR: turns on/off the ASCR (ASUS Smart Contrast Ratio)
function (only available in Scenery Mode, Theater Mode, Game
Mode, and Night View Mode).
• Position: adjusts the horizontal postition (H-Position) and the
vertical position (V-Position) of the image. The adjusting range is
from 0 to 100 (only available for VGA input).
VX279
Splendid
Color
Image
Input Select
System Setup
Brightness 100
Contrast 80
Color Temp
ser Mode
Saturation 50
NaturalSkin Tone
Move Menu Exit
VX279
Splendid
Color
Image
Input Select
Move Menu Exit
System Setup
Sharpness 60
OFF
FullAspect Control
0VividPixel
ASCR
Position
Focus


