MSI MS-AE03 Owner's manual

Category
All-in-One workstations
Type
Owner's manual

MSI MS-AE03 is an all-in-one PC with a 24-inch display, powered by Windows 10, that combines the functionality of a desktop computer and a monitor into a single, space-saving device. With its sleek and stylish design, it's ideal for both home and office use. It features a USB 3.2 Gen 1 port for fast data transfer, an HDMI 2.0a port for connecting to an external display, and a LAN jack for wired network connectivity. It also has built-in stereo speakers and a microphone for video conferencing.

MSI MS-AE03 is an all-in-one PC with a 24-inch display, powered by Windows 10, that combines the functionality of a desktop computer and a monitor into a single, space-saving device. With its sleek and stylish design, it's ideal for both home and office use. It features a USB 3.2 Gen 1 port for fast data transfer, an HDMI 2.0a port for connecting to an external display, and a LAN jack for wired network connectivity. It also has built-in stereo speakers and a microphone for video conferencing.

PRO Series
All-in-one PC
PRO AP241
(MS-AE03)
User Guide
2Contents
Contents
Getting Started .............................................................................................................. 3
Package Contents ................................................................................................... 3
Safety & Comfort Tips ............................................................................................ 3
System Overview..................................................................................................... 4
Hardware Setup ...................................................................................................... 7
Component Replacement & Upgrade .................................................................. 10
System Operations ..................................................................................................... 11
Power Management ............................................................................................. 11
Network Connection (Windows 10) ...................................................................... 13
System Recovery (Windows 10) ............................................................................ 16
System Recovery (F3 Hotkey Recovery) (Optional) .............................................. 20
Troubleshooting.......................................................................................................... 21
Safety Instructions ...................................................................................................... 23
Regulatory Notices ..................................................................................................... 25
Revision
V1.0, 2021/07
3
Getting Started
Getting Started
This chapter provides you with the information on hardware setup procedures. While
connecting devices, be careful in holding the devices and use a grounded wrist strap
to avoid static electricity.
Package Contents
All-in-one PC MS-AE03
Documentation
User Guide (Optional)
Quick Guide (Optional)
Warranty Card & Warranty Book (Optional)
Accessories
Mouse (Optional)
Keyboard (Optional)
Webcam (Optional)
AC/DC Adapter
Power Cord
Important
Contact your place of purchase or local distributor if any of the items is damaged or
missing.
Package contents may vary by country.
The included power cord is exclusively for this personal computer and should not be
used with other products.
Safety & Comfort Tips
Choosing a good workspace is important if you have to work with your PC for a long
period of time.
Your work area should have enough illumination.
Choose the proper desk and chair and adjust their height to fit your posture when
operating.
When sitting on the chair, sit straight and keep a good posture. Adjust the chair’s
back (if available) to support your back comfortably.
Place you feet flat and naturally on the floor, so that your knees and elbows have the
proper position (about 90-degree) when operating.
Put your hands on the desk naturally to support your wrists.
Avoid using your PC in a place where discomfort may occur (such as on the bed).
The PC is an electrical device. Please treat it with great care to avoid personal
injury.
4Getting Started
System Overview
1
4
789
6
11
2
12 13
3
10 10
55
5
Getting Started
1USB 2.0 Port
This connector is provided for USB peripheral devices. (Speed up to 480
Mbps)
Important
High-speed devices are recommended for USB 3.2 ports whereas low-
speed devices, such as mouse or keyboard, are suggested to be plugged
into the USB 2.0 ports.
2Ventilator
3Power Button
4Brighness Adjustment Button
5Stereo Speaker
6Kensington Lock
7Power Jack
8HDMI 2.0a Port
Supports a maximum resolution of 4K 60Hz.
Important
Available for the processor with integrated graphics.
Graphics specifications may vary depending on the installed CPU.
9Serial Port
10 USB 3.2 Gen 1 Port
This connector is provided for USB peripheral devices. (Speed up to 5 Gbps)
6Getting Started
11 LAN Jack
The standard RJ-45 LAN jack is provided for connection to the Local Area
Network (LAN). You can connect a network cable to it.
LINK/ACT
LED
SPEED
LED
LED Status Description
Link/ Activity
LED
Off No link
Yellow Linked
Blinking Data activity
Speed LED
Off 10 Mbps
Green 100 Mbps
Orange 1 Gbps
12 Mic-In Jack
13 Line-Out
7
Getting Started
Hardware Setup
Installing the Monitor Stand
1. Take out the stand assembly and base from the package.
2. Rotate the stand assembly counter-clockwise and push the it downwards to the
base.
3. Rotate closewise until it locks in place. You can hear an audible “Click” when the
latch is engaged.
4. Align the stand to sockets on monitor groove. Push the stand up until it snaps into
its place. Make sure the stand assembly is properly installed before setting the
monitor upright.
45°
45°
2
3
4
8Getting Started
Connecting the Power
Connect the adapter to the AIO PC and plug in the power cord.
•90W: 100-240V, 19V 4.74A (optional)
•120W: 100-240V, 19.5V 6.15A
1
32
Press the power button to power on the AIO PC.
9
Getting Started
Adjusting the Monitor
This AIO PC is designed to maximize your viewing comfort with its adjustment
capabilities.
Important
The illustrations are for reference only. Your AIO PC may vary in appearance.
Please make sure the AIO PC has been grounded to earth through the AC power
cord and the electrical outlet before powering on the AIO PC.
Do not use any sharp objects on the display panel.
Avoid pressing the display panel when adjusting.
-5
O
20
O
10 Getting Started
Component Replacement & Upgrade
Please note that certain components preinstalled in the product may be upgradable or
replaceable by user’s request depending on the models users purchased.
For any further information on the product users purchased, please contact the local
dealer. Do not attempt to upgrade or replace any component of the product if you are
not an authorized dealer or service center, since it may cause the warranty void. It is
strongly recommended that you contact the authorized dealer or service center for
any upgrade or replace service.
11
System Operations
System Operations
This chapter provides you with essential information on system operations.
Important
All information is subject to change without prior notice.
Power Management
Power management of personal computers (PCs) and monitors has the potential to
save significant amounts of electricity as well as deliver environmental benefits.
To be energy efficient, turn off your display or set your PC to sleep mode after a period
of user inactivity.
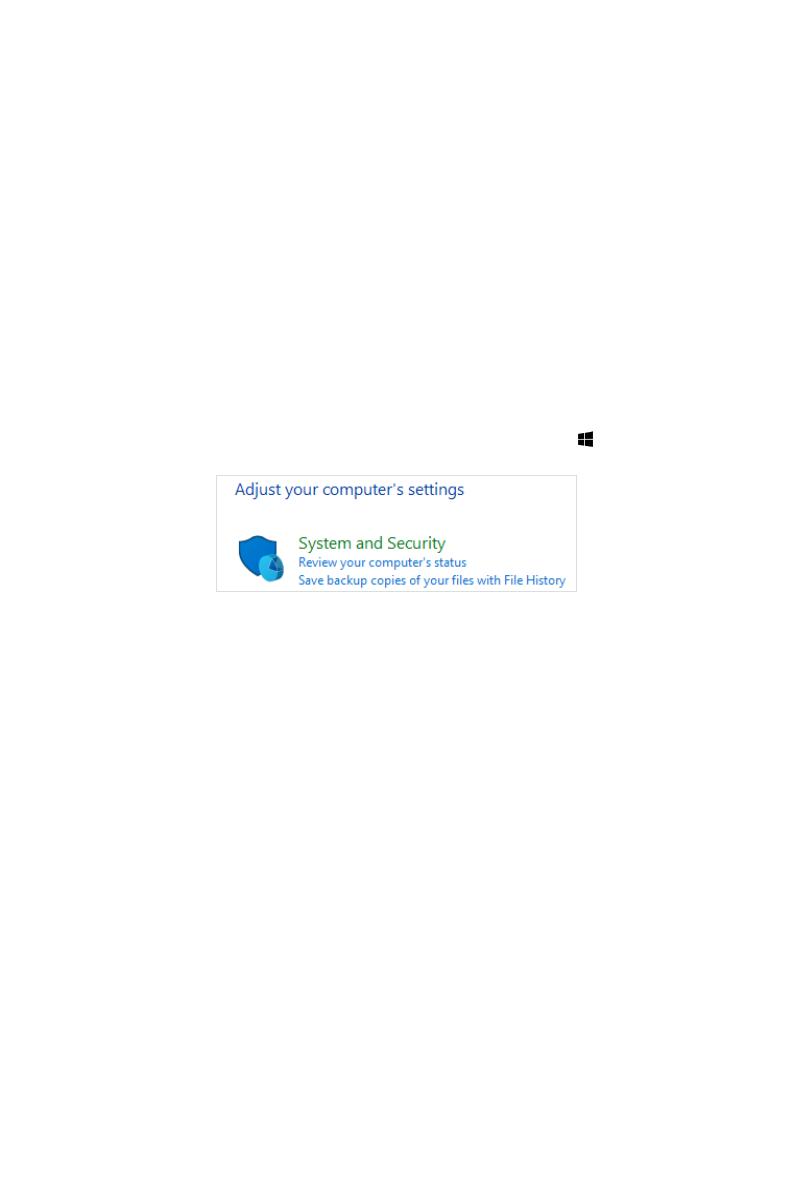
Power Management in Windows 10
[Power Options] in Windows OS allow you to control the power management
features of your display, hard drive, and battery. Right-click [Start] , select
[Control Panel] from the list and then click [System and Security].
Select [Power Options] and choose a power plan that suits your personal needs. You
may also fine-tune the settings by clicking [Change plan settings].
The Shut Down Computer menu presents the options of Sleep (S3/S4) & Shut Down
(S5) for rapid and easy management of your system power.
Power Management
The power management feature allows the computer to initiate a low-power or
“Sleep” mode after a period of user inactivity. To take advantage of these potential
energy savings, the power management feature has been preset to behave in the
following ways when the system is operating on AC power:
Turn off the display after 10 minutes
Initiate Sleep after 30 minutes
12 System Operations
Waking the System Up
The computer shall be able to wake up from power saving mode in response to a
command from any of the following:
the power button,
the network (Wake On LAN),
the mouse,
the keyboard.
Energy Saving Tips:
Turn off the monitor by pressing the monitor power button after a period of user
inactivity.
Tune the settings in Power Options under Windows OS to optimize your PC’s power
management.
Install power saving software to manage your PC’s energy consumption.
Always disconnect the AC power cord or switch the wall socket off if your PC would
be left unused for a certain time to achieve zero energy consumption.
13
System Operations
Network Connection (Windows 10)
Wired Network
1. Right-click [Start] and select [Network Connections] from the list.
2. Select [Ethernet] and then [Network and Sharing Center].
3. Select [Set up a new connection or network].
4. Choose [Connect to the Internet] and click [Next].
14 System Operations
5. Select [Broadband (PPPoE)] to connect using DSL or cable that requires a user
name and password.
6. Type the information from your Internet Service Provider (ISP) and click [Connect]
to establish your LAN connection.
15
System Operations
Wireless Network
1. Go to [Start] , click [Settings] and select [Network and Internet].
2. A list of available WLAN connections pops up. Choose a connection from the list.
3. To establish a new connection, select [Network and Sharing Center].
4. Select [Set up a new connection or network].
5. Followingly, choose [Manually connect to a wireless network] and click [Next] to
continue.
6. Enter information for the wireless network you intend to add and click [Next] to
proceed.
7. A new WLAN connection has been made.
16 System Operations
System Recovery (Windows 10)
The purposes for using the System Recovery Function may include:
Restore the system back to the initial status of original manufacturer’s default
settings.
When some errors have occurred to the operating system in use.
When the operating system is affected by virus and is not able to work normally.
When you want to install the OS with other built-in languages.
Before using the System Recovery Function, please back up the important data saved
on your system drive to other storage devices.
If the following solution fails to recover your system, please contact the authorized
local distributor or service center for further assistance.
17
System Operations
Reset this PC
1. Go to [Start] , click [Settings] and select [Update and security].
2. Select [Recovery] and click [Get started] under [Reset this PC] to start the system
recovery.
3. The [Choose an option] screen pops up. Choose between [Keep my files] and
[Remove everything].
Reset this PC Keep my files
Remove
everything
Only the drive
where Windows is
installed
Just remove my files
Remove files and clean the
drive
All drives Just remove my files
Remove files and clean the
drive
18 System Operations
Keep my files
1. Select [Keep my files].
2. The [Your apps will be removed] screen shows a list of apps that will need to be
reinstalled from the web or installation discs. Click [Next] to continue.
3. The next screen will show the changes to be made during the process. Click
[Reset] to start the system reset.
19
System Operations
Remove everything
1. Select [Remove everything].
2. If you have multiple hard drives, a screen will pop up, asking you to choose
between [Only the drive where Windows is installed] and [All drives].
3. Then select between [Just remove my files] and [Remove files and clean the drive].
4. The next screen will show the changes to be made during the process. Click
[Reset] to start the system reset.
20 System Operations
System Recovery (F3 Hotkey Recovery) (Optional)
Precautions for Using the System Recovery Function
1. If your hard drive and system encountered non-recoverable problems, please use
the F3 Hotkey recovery from the Hard Drive first to perform the System Recover
Function.
2. Before using the System Recovery Function, please backup the important data
saved on your system drive to other storage devices.
Recovering the system with the F3 Hotkey
Follow the instructions below to continue:
1. Restart the PC.
2. Press the F3 hotkey on the keyboard promptly when the MSI greeting appears on
the display.
3. On the [Choose an Option] screen, select [Troubleshoot].
4. On the [Troubleshoot] screen, select [Restore MSI factory] to reset the system to
the default settings.
5. On the [RECOVERY SYSTEM] screen, select [System Partition Recovery].
6. Follow the on-screen instructions to continue and complete the Recovery Function.
  • Page 1 1
  • Page 2 2
  • Page 3 3
  • Page 4 4
  • Page 5 5
  • Page 6 6
  • Page 7 7
  • Page 8 8
  • Page 9 9
  • Page 10 10
  • Page 11 11
  • Page 12 12
  • Page 13 13
  • Page 14 14
  • Page 15 15
  • Page 16 16
  • Page 17 17
  • Page 18 18
  • Page 19 19
  • Page 20 20
  • Page 21 21
  • Page 22 22
  • Page 23 23
  • Page 24 24
  • Page 25 25
  • Page 26 26
  • Page 27 27
  • Page 28 28
  • Page 29 29

MSI MS-AE03 Owner's manual

Category
All-in-One workstations
Type
Owner's manual

MSI MS-AE03 is an all-in-one PC with a 24-inch display, powered by Windows 10, that combines the functionality of a desktop computer and a monitor into a single, space-saving device. With its sleek and stylish design, it's ideal for both home and office use. It features a USB 3.2 Gen 1 port for fast data transfer, an HDMI 2.0a port for connecting to an external display, and a LAN jack for wired network connectivity. It also has built-in stereo speakers and a microphone for video conferencing.

Ask a question and I''ll find the answer in the document

Finding information in a document is now easier with AI