Team Associated Reflex 14R RTR User manual

Category
Remote controlled toys
Type
User manual

Team Associated Reflex 14R RTR is a high-performance radio-controlled car with exceptional capabilities. Its Reflex 14R radio system and licensed 1965 Ford Mustang Hoonigan Hoonicorn body give users an immersive and realistic driving experience. With features like injection-molded brake calipers and rotors, adjustable body post height locations, and fluid damped coilover shock absorbers, the Reflex 14R RTR is perfect for adrenaline-seekers and hobbyists alike.

Team Associated Reflex 14R RTR is a high-performance radio-controlled car with exceptional capabilities. Its Reflex 14R radio system and licensed 1965 Ford Mustang Hoonigan Hoonicorn body give users an immersive and realistic driving experience. With features like injection-molded brake calipers and rotors, adjustable body post height locations, and fluid damped coilover shock absorbers, the Reflex 14R RTR is perfect for adrenaline-seekers and hobbyists alike.

2
:: Introduction:: Introduction
:: RC14R RTR Features:: RC14R RTR Features
:: Additional:: Additional
:: Other Helpful Items:: Other Helpful Items
Thank you for purchasing this Team Associated product. This assembly manual contains instructions and tips for building and
maintaining your new vehicle. Please take a moment to read through the manual and familiarize yourself with the steps.
We are continually changing and improving our designs; therefore, actual parts may appear slightly different than the illustrations.
New parts will be noted on supplementary sheets located in the appropriate parts bags. Check each bag for these sheets before
you start to build.
• Reflex 14R with licensed 1965 Ford Mustang Hoonigan Hoonicorn and officially licensed American Racing VF503 Wheels
• Injection molded brake calipers and rotors with 12mm hex
• 2.4GHz 2-channel radio system
• Reedy brushed speed control and 3-pole brushed motor
• High-Torque Digital Servo with spring-style servo saver
• Molded front universals and rear dog bones
• Sealed front and rear gear differentials
• Center spool with 58T spur (70T included) and protective cover
• Bushings with Oilite® coating
• Molded one-piece tie rods and steering links
• Adjustable body post height locations
• Molded front and rear shock towers with adjustable shock positions
• Fluid damped coilover shock absorbers
• Molded tub chassis with covered center driveshaft
• Adjustable battery tray
• Aluminum center driveshaft
• Serrated wheel screw with 2.0mm hex and 5.5mm nut drive
• Foam front bumper
Your new Reflex 14R RTR comes assembled. The following items are needed for completion
• 6-cell NiMh or 2 LiPo battery • Suitable battery charger • (4) AA batteries
Tools included: • Multi-wrench
• Silicone Shock Fluid • Silicone Diff Fluid • Body Scissors (AE Part # 1737)
• Reamer / Hole Punch (#1499) • Shock Pliers (#1681) • FT Hex/Nut Wrenches (AE Part # 1519)
• Wire Cutters • Soldering Iron • Green Slime shock lube (AE Part # 1105)
• Needle Nose Pliers • Hobby Knife • Calipers or a Precision Ruler
• FT Dual Turnbuckle Wrench (#1114) • FT Universal Tire Balancer (#1498)
:: Table of Contents:: Table of Contents
1................... Cover
2................... Introduction
3...................1:1 Hardware “Fold Out”
4 - 5............. Quick Start Guide
6 - 17............Steps 1- 33
18................ Back Cover
:: Notes:: Notes
This symbol indicates a special note or instruction in the manual.
!
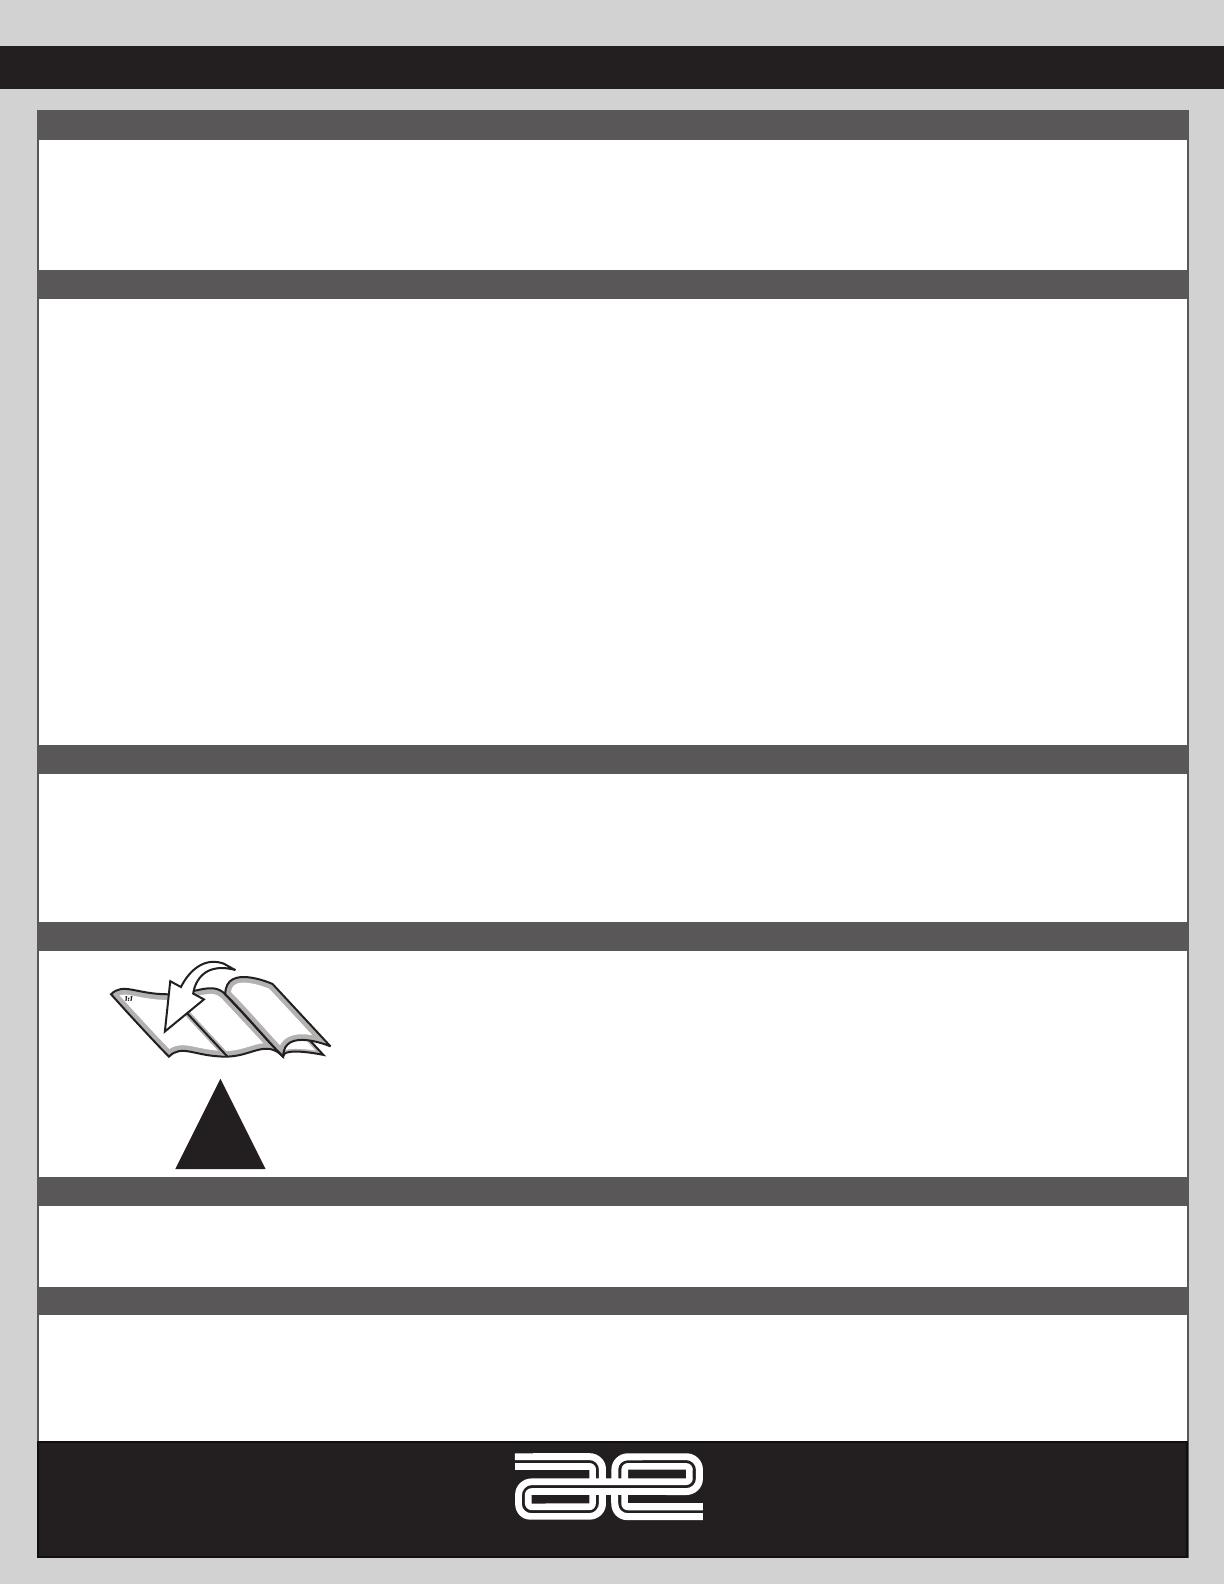
There is a 1:1 hardware foldout page in the front of the manual. To check
the size of a part, line up your hardware with the correct drawing until you
find the exact size. Each part in the foldout has a number assigned to it
for ordering replacement parts.
Associated Electrics, Inc.
21062 Bake Parkway
Lake Forest, CA 92630
http://www.RC10.com · http://twitter.com/Team_Associated · http://www.instagram.com/teamassociatedrc/ · http://www.facebook.com/TeamAssociated/
Customer Service
Tel: 949.544.7500
Fax: 949.544.7501
3
:: Hardware - 1:1 Scale View:: Hardware - 1:1 Scale View
3x2.5mm (31500)
3x3mm (25225)
3x8mm (4670)
Set Screws
Notes:
Flat Head (fhcs)
2.5x10mm (21546)
2.5x3mm (89201)
2.5x6mm (31520)
3x6mm (31531)
Button Head (bhcs)
2.5x12mm (21582)
2.6x6mm (21546)
2.6x8mm (21546)
2.6x10mm (21546)
Button Head (bhst)
Bushings
4x7x2.5mm (21512)
4x8x3mm (21512)
8x12x3.5mm (21512)
2.7x6.7x0.5mm (21546)
4x8x0.5mm (21516)
Shims and Washers
Flat Head (fhst)
2x8mm (21546)
2.6x8mm (21546)
2.6x10mm (21546)
Cap Head (shcs)
2.5x12mm (8691)
1.5x3.8 (21516)
Pin
M2.5 Locknut (89215, 21546)
Nuts (lock/plain)
4
:: :: Quick Start GuideQuick Start Guide
:: :: Quick Start GuideQuick Start Guide - (cont.) - (cont.)
Battery Charging Steps and Safety:
Remove the battery from the vehicle before charging.
Place battery on a fire resistant surface.
Avoid any contact with water or other liquids.
Be sure to select the correct charging mode for the type
of battery you are charging.
ALWAYS use a compatible charger for charging your batteries.
Caution: Never leave the battery unattended while charging.
Always disconnect the charger from the power source when
finished charging.
Caution: Always disconnect the battery when you are
finished driving the vehicle.
Battery Installation:
1. Ins t all the batter y with the batter y wires direct ed
towards the rear of the vehicle.
2. Secure the battery strap using two body clips.
Peak Detection
Quick Charger
1 2
Battery Notes and Tip:
Connect the battery as shown.
Disconnect the battery when not in use!
LiPo: LiPo batteries (lithium polymer) are high current
rechargeable batteries. LiPo batteries offer extended run time
and peak performance over NiMH batteries. They require a
peak detection charger designed specifically for LiPo batteries.
These batteries require special care and handling.
LiPo batteries are recommended for advanced users only!
ALWAYS charge a LiPo battery in LiPo mode.
5
8/22
:: :: Quick Start GuideQuick Start Guide - (cont.) - (cont.)
Radio System Tuning and Controls:
RULE: Transmitter on First/Vehicle on Second,
Vehicle off First/ Transmitter off Last!
1) Slide the battery cover to remove cover.
2) Install alkaline or rechargeable AA size
batteries into the battery holder.
3) Slide the battery cover back into place making
sure it is completely closed and secure.
4) Turn the power ON. If the power indicator LED
fails to light, check the batteries for insufficient
contact or incorrect polarity.
On/Off Switch
Radio System Tuning and Controls:
DO NOT hold the trigger when turning on the radio.
If using optional battery for transmitter, be sure to plug
it in correctly. Plugging in a battery backwards can
cause damage.
Refer to Radio owners manual for more in-depth
instructions on radio operation and functions.
Throttle set to Neutral!
Adjust steering
trim with this
knob so wheels
point straight.
Adjust steering
knob so wheels
Neutral
Push trigger
for Brake
Pull trigger
for Throttle Install body and body clips.
Ready to go!
:: :: Step 3Step 3
:: :: Step 2Step 2
6
:: :: Step 1Step 1
Build 2 (1 front, 1 rear)
21529
Diff
case
21530
O-Ring
3.8 x 1mm
21530
O-Ring
3.8 x 1mm
21516
Washer
4x8x0.5mm
21516
Washer
4x8x0.5mm
21524
Diff
outdrive
21529
Diff
cap
21524
Diff
outdrive
x3x3
x2x2
21529
Diff
planetary
gear
21580
8x12x3.5mm
bushing
21529
Diff
cross pin
21529
Diff sun
gear
21529
Diff sun
gear
21516
Pin
1.5 x 6mm
21516
Pin
1.5 x 6mm
1.5 x 6mm
#6588
black grease
x3x3
21546
M2x8mm
FHST
21526
Diff ring
gear (37T)
:: :: Step 6Step 6
:: :: Step 5Step 5
7
:: :: Step 4Step 4
21580
8x12x3.5mm
bushing
21516
Pin
1.5 x 6mm
21526
Pinion
gear
(15T)
x4x4
4670
3x8mm
set screw
21570
Chassis
Top of set screw head
should be flush with
the top of the chassis
!
21516
Pin
1.5 x 6mm
21527
Spur gear, 58T (Kit)
Spur gear 70T
(Included)
21516
Pin
1.5 x 6mm
21573
Spur gear
spool mount
21577
Center
outdrive
x3x3
21580
8x12x3.5mm
bushing
21580
4x8x3mm
bushing
21546
M2x8mm
FHST
Install pin
before bushing!
Install pin before
installing outdrive
into spool mount!
!!
8
:: :: Step 9Step 9
:: :: Step 8Step 8
:: :: Step 7Step 7
21577
Outdrive
center,
front
x2x2
21580
4x8x3mm
bushing
21516
Pin
1.5 x 6mm
21526
Pinion
gear
(15T)
x10x10
21546
M2.6x8mm
BHST
21504
Gear box
cap, front
21504
Drive shaft
cover
21504
Drive shaft
cap
21504
Gear box
cap, rear
21577
Drive
shaft
x2x2
x2x2
x4x4
x2x2
x2x2
21546
M2.6x8mm
BHST
21509
Hat
bushing
21510
Steering
post
31732
4x7x2.5mm
bearing
21522
Ball stud
12.5mm
21573
Steering
rack
21505
Steering
bellcrank
(left)
21505
Steering
bellcrank
(right)
9
:: :: Step 1Step 122
:: :: Step 1Step 111
:: :: Step 10Step 10
x2x2
x2x2
x2x2
21546
M2.6x8mm
BHST
21546
Washer
2.7x0.5mm
31520
M2.5x6mm
BHCS
21504
Top plate
x2x2
21546
M2.5x10mm
FHCS
21505
Battery
Mount,
(rear)
21505
Battery
Mount,
(front)
21505
Wire clip
21505
Servo
Mount
x4x4
21546
M2.5x10mm
FHCS
x4x4
21546
M2.6x8mm
BHST
21573
Shock
tower,
front
x2x2
21546
M2.6x10mm
BHST
21573
Shock
tower
support,
rear
x6x6
21546
M2.6x8mm
BHST
21573
Shock
tower,
rear
10
:: :: Step 1Step 155
:: :: Step 1Step 144
:: :: Step 1Step 133
21573
Skid
plate,
front x6x6
21546
M2.5x10mm
FHCS
x2x2
21546
M2.6x8mm
BHST
x2x2
x2x2
x2x2
21579
Inner
hinge pin,
3x47mm
21574
Front
suspension arms
21574
Front arm
spacers
21501
Arm
mount, A
21501
Arm
mount, B
x2x2
21501
Arm mount
bushing
x2x2
21546
M2.6x10mm
BHST
21546
M2.6x8mm
BHST
21576
Universal
drive shaft
21575
Brake
caliper
21575
Wheel hex
21575
Caster
block,
left
21575
Steering
block,
left
x2x2
21522
Ball stud
12.5mm
x2x2
x2x2
21580
4x8x3mm
bushing
21523
Caster block
bushings
Build left and right sides!
21579
Outer
hinge pin,
2x22mm
25225
M3x3mm
set screw
11
:: :: Step 18
:: :: Step 17Step 17
:: :: Step 16Step 16
21575
Wheel hex
x6x6
21546
M2.5x10mm
FHCS
21501
Skid
plate,
rear
21576
Dog
bone,
rear
21575
Rear
hub,
right
21577
Axle,
rear
x2x2
x2x2
x2x2
x2x2
x2x2
21580
4x8x3mm
bushing
21173
Body clip
21574
Body post
stand
21574
Body post,
rear, right
21574
Body post,
rear, left
Build left and right sides!
x2x2
x2x2
21574
Rear
suspension arms
21574
Rear arm
spacers
21501
Arm
mount, D
21501
Arm
mount, C
x2x2
21501
Arm mount
bushing
x2x2
21546
M2.6x8mm
BHST
x2x2
21579
Inner
hinge pin,
3x47mm
25225
M3x3mm
set screw
21579
Outer
hinge pin,
2x22mm
21546
M2.6x8mm
BHST
21575
Brake
caliper
x2x2
21546
M2.6x8mm
BHST
12
:: :: Step 21
:: :: Step 20Step 20
:: :: Step 19Step 19
Build x2 (right and left side)
Build x4 (x2 front, x2 rear)
21571
Shock spring
collar
21571
Shock
body
21571
Shock
shaft
21571
Shock Spring
cup
21572
Shock spring
21577
Ballstud,
4.3mm
21577
Ballstud,
4.3mm
21582
M2.5x12mm
BHCS
21582
M2.5x12mm
BHCS Build x2 (right and left side)
21571
Shock
holder
21577
Rod end
ball, 4.3mm
shock fluid
80k #5448
x2x2
x2x2
x2x2
x2x2
21577
Ballstud
4.3mm
21582
M2.5x12mm
BHST
21582
M2.5x12mm
BHST
21577
Ballstud
4.3mm
21574
Rod end
link
21574
Rod end
link
21574
Rod end
link
x2x2
x2x2
13
:: :: Step 24
:: :: Step 23Step 23
:: :: Step 22Step 22
Set The Gear Mesh:
To set the gear mesh, push the teeth of the motor
mount cam #21531 into the corresponding tooth
pattern of the motor mount insert. Once the teeth
are seated, you should be able to rock the spur gear
back and forth without making the pinion gear move.
Exessive amounts of spur gear movement (loose
gear mesh) will cause premature gear failure. If the
spur gear mesh is tight, there will be no movement
between the spur and pinion gears. A gear mesh that
is too tight or too loose will reduce power and
damage the gear teeth.
x2x2
21546
M2.5x8mm
FHST
21501
Bottom spur
cap (58T)
x2x2
31520
M2.5x6mm
BHCS
21532
Pinion
gear, 16T
31500
M3x2.5mm
set screw
Brushed
motor
21531
Motor mount
cam
x6x6
21546
M2.6x10mm
BHST, silver
21531
Motor mount
insert
21504
Center diff
cap
x2x2 x3x3
21546
M2.5x10mm
FHCS
21573
Front
bumper
mount
21546
M2.5x10mm
FHCS
21573
Front
bumper
foam
x2x2
21173
Body clip
x2x2
21574
Body post
stand
x2x2
21574
Body post,
front
14
:: :: Step 27Step 27
:: :: Step 26Step 26
:: :: Step 25Step 25
21514
Steering link
ball Cup 21505
Servo saver
21546
M2x8mm
FHST
21505
ESC mount
21522
Pivot ball
21513
Steering
link rod
17.40mm
Steering Link
21546
M2.6x8mm
BHST
x2x2
6727
Servo
tape
x4x4 x2x2
21546
M2.6x8mm
BHST
21546
M2.6x10mm
BHST
21546
M2x8mm
FHST
21522
Pivot ball
x4x4
21546
Washer
2.7x0.5mm
6727
Servo
tape
21505
Battery
strap
x2x2
21173
Body
clips
Steering
servo
Receiver
ESC
Battery
:: :: Step 29Step 29
:: :: Step 30
15
:: :: Step 28Step 28
21566 - Printed
21567 - Clear
Hoonicorn body,
bumper
21568
Diffuser
21568
Spoiler
Install x4 wheel/tires
x2x2
x2x2
21583
Wheel
screw
21569
Reflex 14R
Hoonicorn
mounted
wheel and
tire, rubber
x2x2 x2x2
x2x2
31531
M3x6mm
BHCS
31531
M3x6mm
BHCS
21568
Spacer
nut
x2x2
x2x2
21568
Taillight
bucket
21568
Taillight
nut
x2x2
31520
M2.5x6mm
BHCS
x2x2
21568
Spacer
nut
21566 - Printed
21567 - Clear
Hoonicorn body
x2x2
x2x2
31520
M2.5x6mm
BHCS
89215
M2.5mm
Locknut
16
:: :: Step 33Step 33
:: :: Step 31Step 31
:: :: Step 32Step 32
x4x4
21173
Body
clips
21568
M2.5x6mm
BHCS
21568
Turbo,
right side
31520
Manifold
21568
Turbo,
left side
x3x3
89201
M2.5x3mm
BHCS
17
  • Page 1 1
  • Page 2 2
  • Page 3 3
  • Page 4 4
  • Page 5 5
  • Page 6 6
  • Page 7 7
  • Page 8 8
  • Page 9 9
  • Page 10 10
  • Page 11 11
  • Page 12 12
  • Page 13 13
  • Page 14 14
  • Page 15 15
  • Page 16 16
  • Page 17 17
  • Page 18 18

Team Associated Reflex 14R RTR User manual

Category
Remote controlled toys
Type
User manual

Team Associated Reflex 14R RTR is a high-performance radio-controlled car with exceptional capabilities. Its Reflex 14R radio system and licensed 1965 Ford Mustang Hoonigan Hoonicorn body give users an immersive and realistic driving experience. With features like injection-molded brake calipers and rotors, adjustable body post height locations, and fluid damped coilover shock absorbers, the Reflex 14R RTR is perfect for adrenaline-seekers and hobbyists alike.

Ask a question and I''ll find the answer in the document

Finding information in a document is now easier with AI